How to Create MST File (MSI Transform)
UPDATED: July 15, 2022
In application packaging, when you receive a Windows Installer (MSI) file or if it can be extracted from Setup.exe, all modifications to it should be done through MST files.
This practical step-by-step guide highlights the basics of Transform Files creation. Create an MST file to tune your MSI package in the application packaging tool PACE Suite with the help of an intelligent step-by-step Wizard.
Bonus: Creation of MST will be done using simulation and will not affect your real system.
What is an MST File?
MST or MSI Transform files are small files that modify the content of MSI.
MSTs come along with the original MSI packages like a satellite and affect the behavior of its parent MSI file during the installation. The main purpose of .mst is to customize MSI settings when installing an application, for example, to disable software updates, add or remove files, shortcuts, registry, upgrades, etc.
How to open MST files?
MST files can be found on any operating system. You can open an .mst extension file with the help of Windows. However, opening MST files for editing requires a more sophisticated tool. In this tutorial, we are using the PACE Suite for application packaging to create and edit an MST file.
Download the tool with unlimited functions and open MSI/ MST File Editor. You can run it either from the Start Menu shortcut in your operating system or from PACE Suite Launcher on your screen.
How to Create MST for MSI
To create an MST file for MSI, you can choose one of the next three scenarios that suit your needs:
Create Blank MST
Create a new empty transform file (MST) for your MSI package using MSI Editor. All changes made to the opened MSI database will be saved to the MST file.
1. In the MSI Editor, click on the MENU tab to open the necessary MSI package.
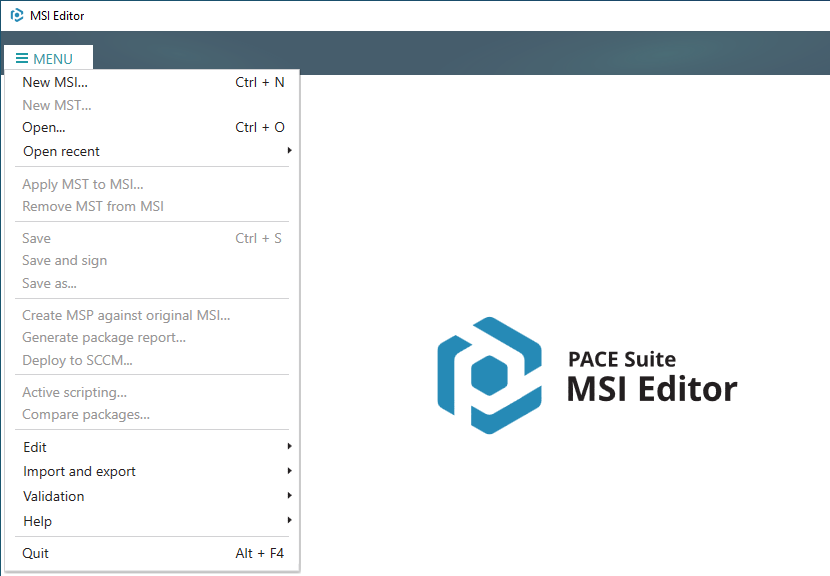
2. Select New MST… from MENU.
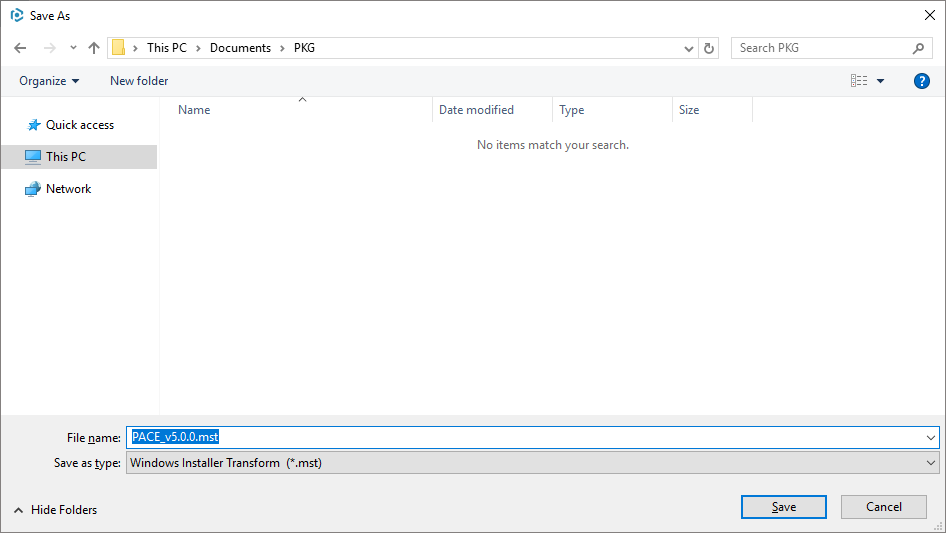
3. Specify the destination location and the name of the blank MST file and click Save.
4. Make necessary changes to the opened MSI database. Detailed instructions on how to edit MSI are in our complete guide.
5. To save your MSI package, select Save from the MENU.
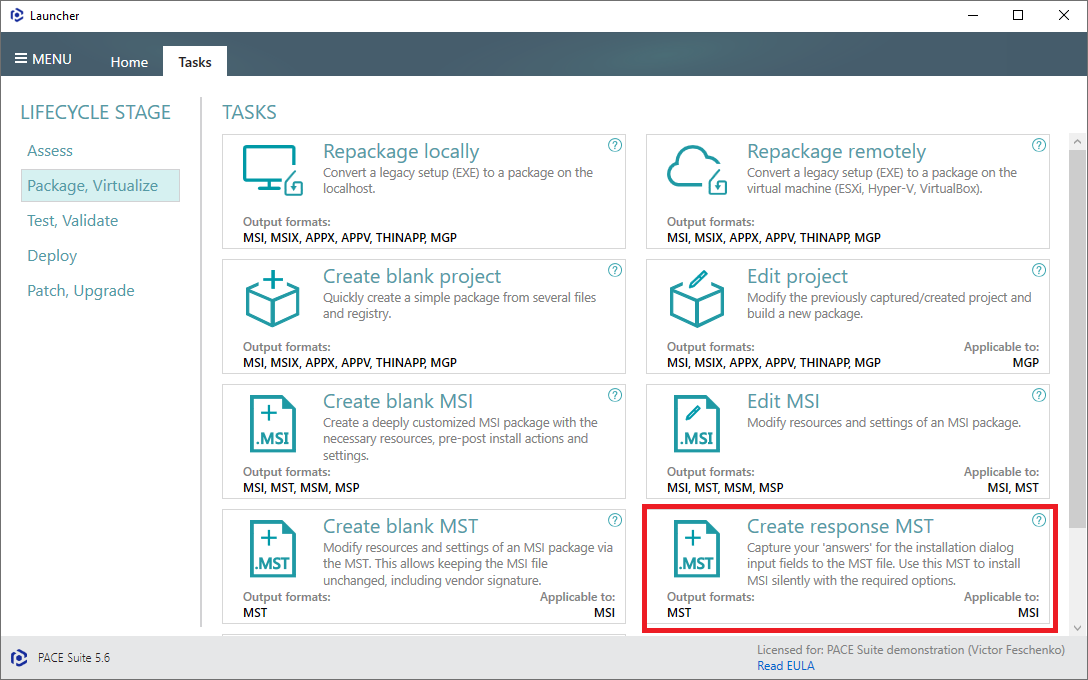
Create Response MST
Response MST is a transform file that contains your ‘responses’ to the installation dialog options, input fileds, etc. and is used to install the MSI package silently with the necessary options. Response MST allows you to capture all your inputs and changes made to the Windows Installer UI dialogs of the MSI installation and save them to the MST file. The MSI installation will be simulated, allowing capturing all necessary changes promptly and without affecting your real system.
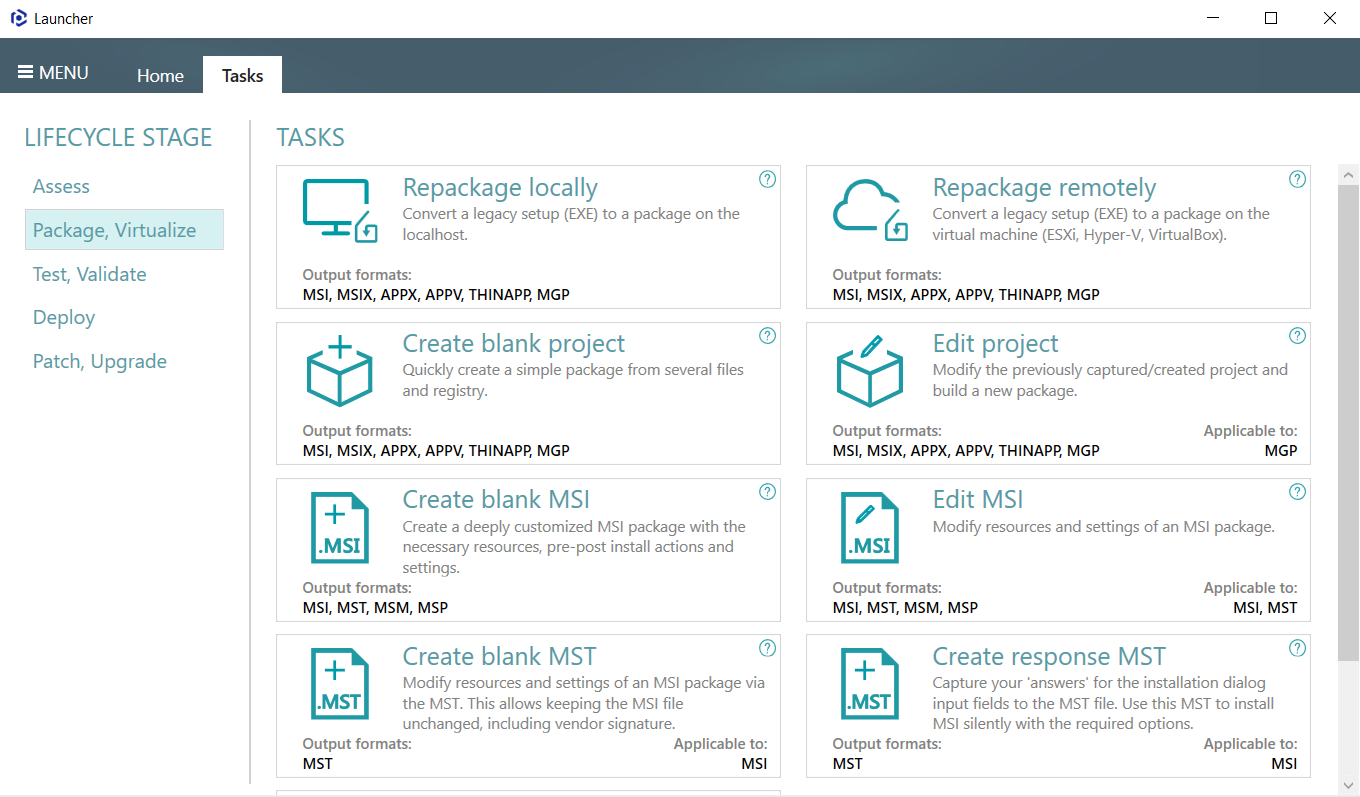
1. Run PACE Suite Launcher either from the Start Menu or Desktop shortcut on your PC. On the Tasks tab, choose Package, Virtualize group and click Create response transform.
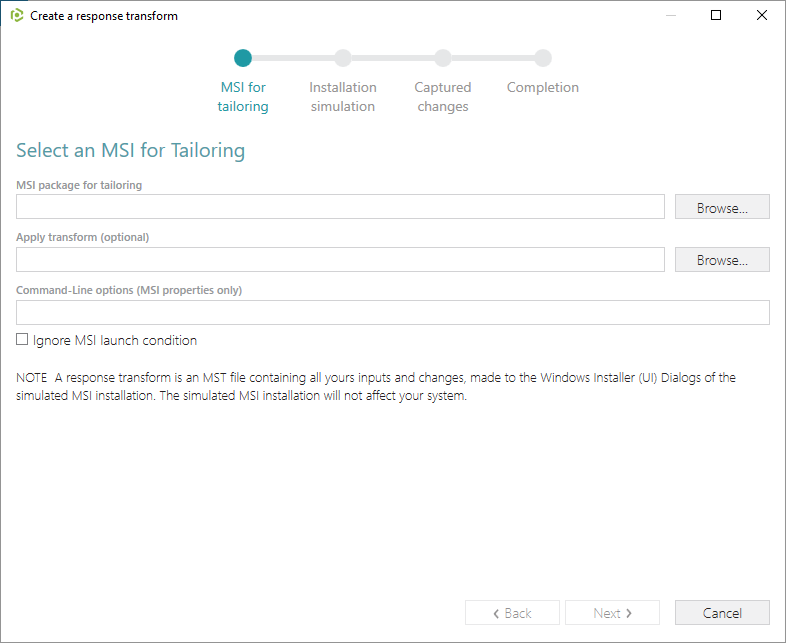
2. To select an MSI package for tailoring, click Browse… , which is located next to the MSI package for tailoring field.
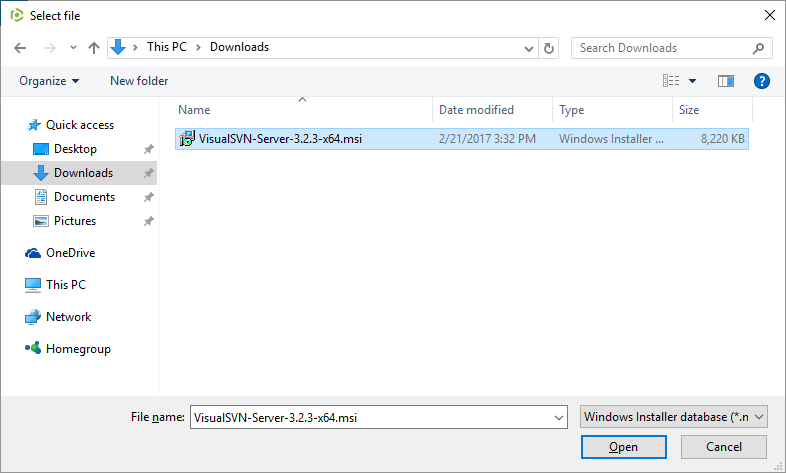
3. Choose an MSI package (e.g., VisualSVN-Server-3.2.3-x64.msi), for which you want to create a response transform, and click Open.
4. Optional step. You can specify an additional MST, which you want to apply to MSI during the installation simulation in the Apply Transform . You can also specify public properties to the Command-Line options field to set the necessary values before MSI tailoring. If the package can’t be run for the simulation because some installation conditions are not satisfied, tick the Ignore MSI launch condition option to skip all ‘Launch Conditions’.
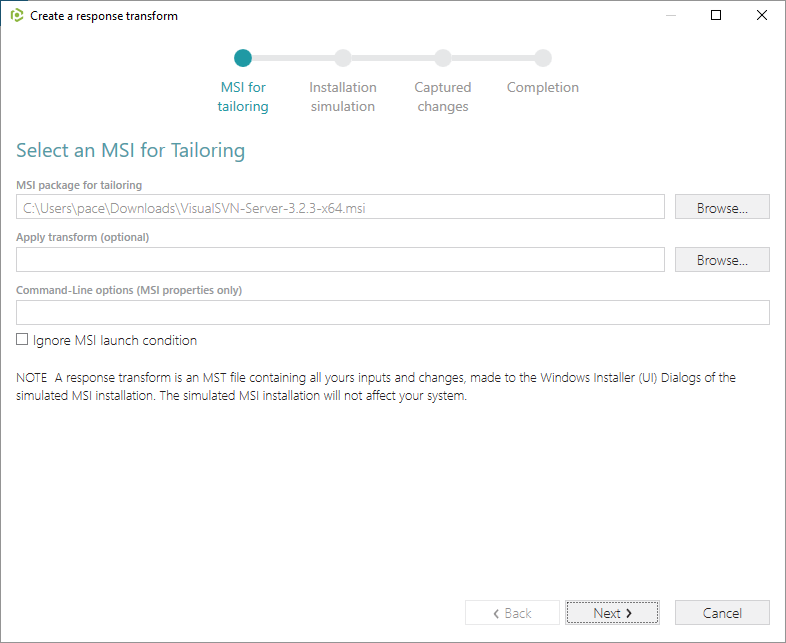
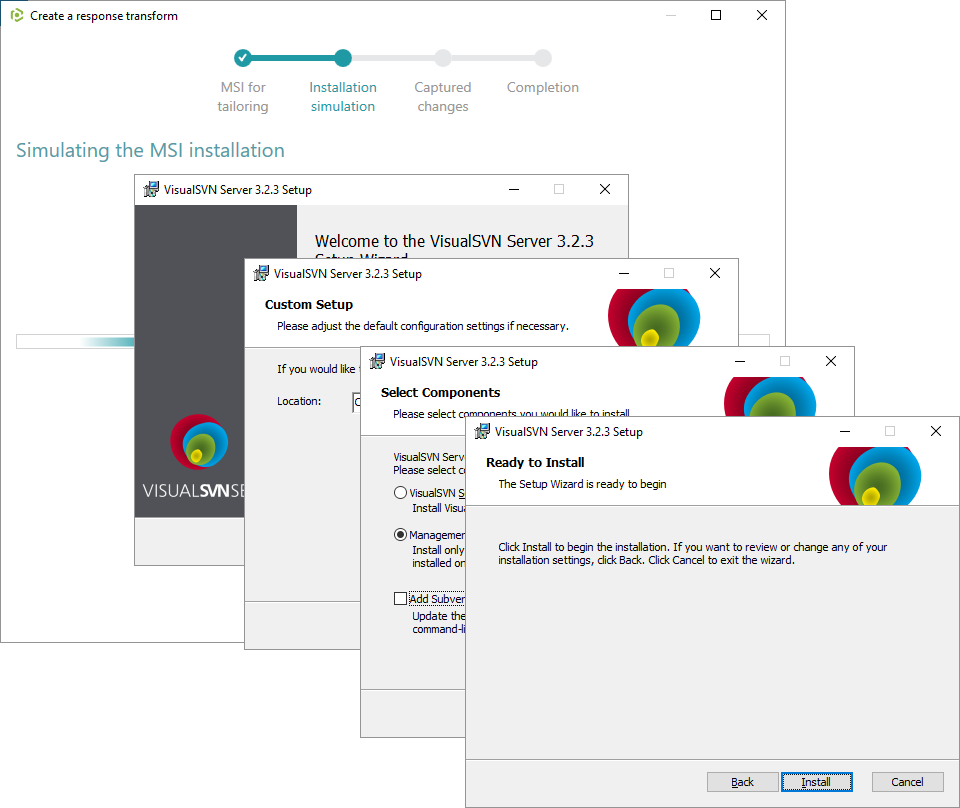
5. Click Next to start the MSI installation simulation.
6. Complete the simulated MSI installation following the Windows Installer dialogs and choose the options you need to be captured and saved to the response transform.
7. Review captured changes and inputs such as Properties, Features, and Directories by opening the corresponding tab. If needed, you can add or remove a property, feature, or directory by clicking the Add or Remove buttons in the tabs. Data from these tabs will be saved to the response transform.
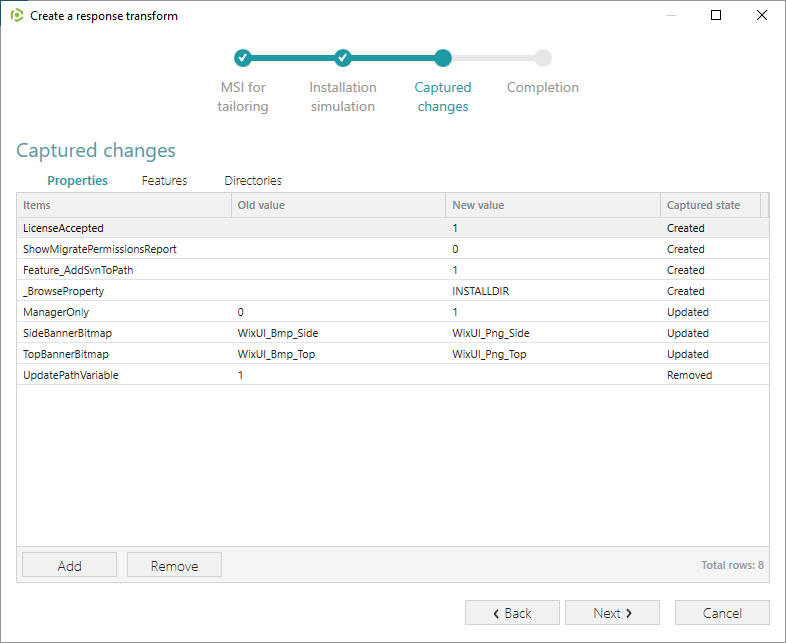
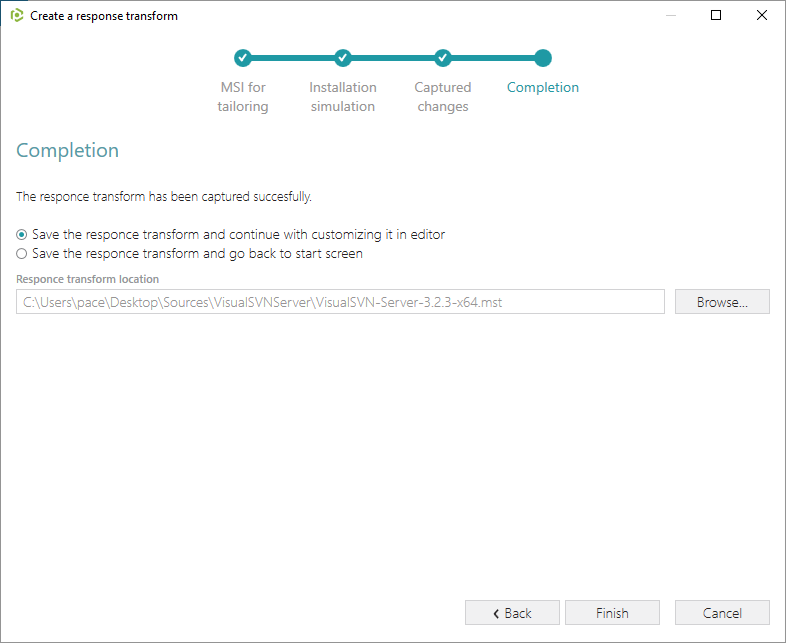
8. Click Next to to the response transform creation step. If necessary, you can change the name and destination location of the response transform by clicking the Browse button. Select a necessary saving option and click Finish to create MST file.
Capture System Changes to MST
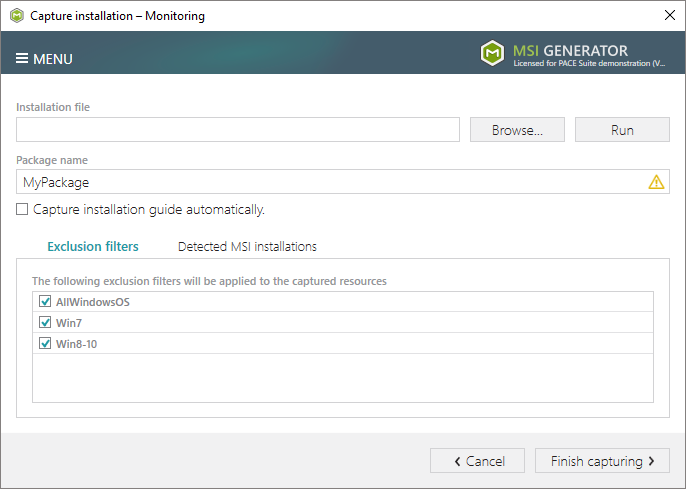
Capture all changes to the local drives, registry, services and other areas of the system and save them to MST. The system changes can be made eiter by a source installation or by the user’s actions (like copying files, importing .REG to the system registry, changing app settings).
1. In the PACE Launcher menu choose the Tasks > Package, Virtualize group.
2. Then choose if you want to repackage remotely or locally.
Please wait a little for the capturing process to start.
- Make any changes to the file system and registry you want to capture and include in the transform (MST) file, e.g., create new or copy-paste files and folders, import registry, or launch the app to capture necessary application configuration like disabled updates, etc.
- Click Finish Capturing to complete the capturing process.
- Please wait while the capturing process is finishing, filtering captured data, and creating the project.
- Once the project is opened, go through the Files, Registry, and Shortcuts tabs to review captured resources and exclude unnecessary ones from the project.
Note:
Unnecessary resources are files, and registry entries which are usually created or modified due to operating system work, and could not be a part of your captured application.There is no universal rule to discover which captured files or registry entries should be excluded, so exclude only those which are almost 100% do not refer to your captured application (e.g., NOD32 antivirus files could be a part of the Firefox application).
3. Once capturing is completed, open the capturing project in the Package Generator. By default, it will be opened automatically.
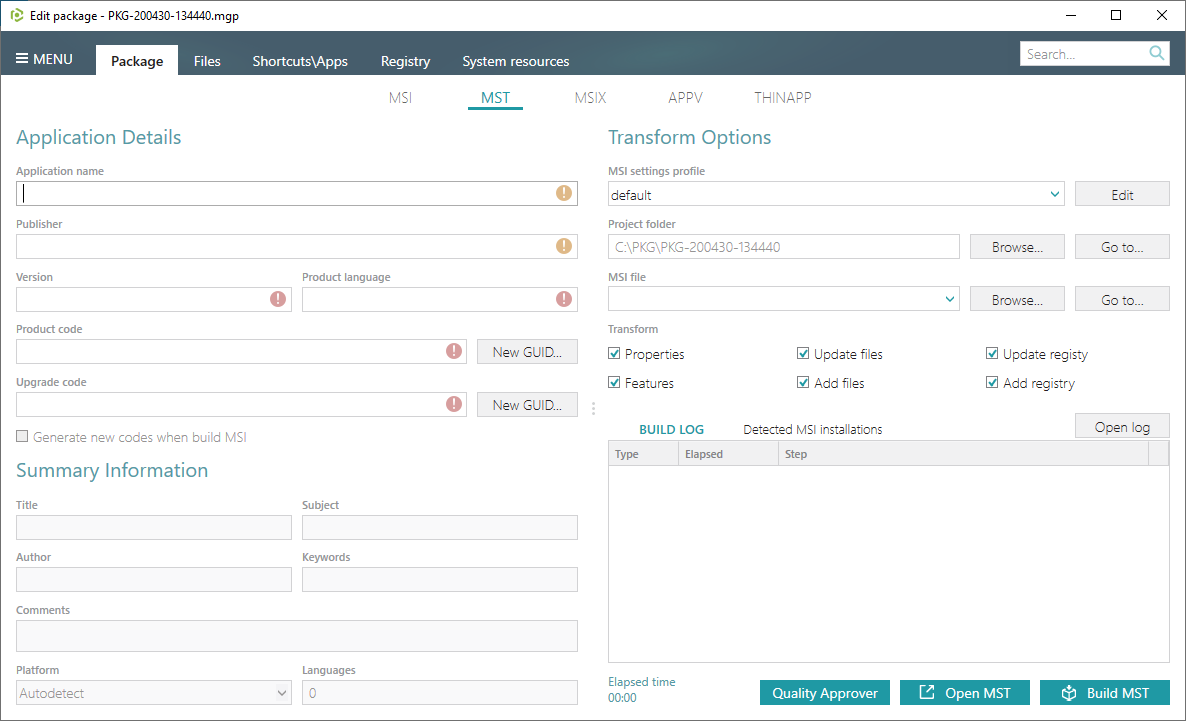
4. To create MST file from your project, go to the Package -> MST tab and click Browse located next to the MSI file field – then select the MSI package for which you need to create a transform (MST) file.
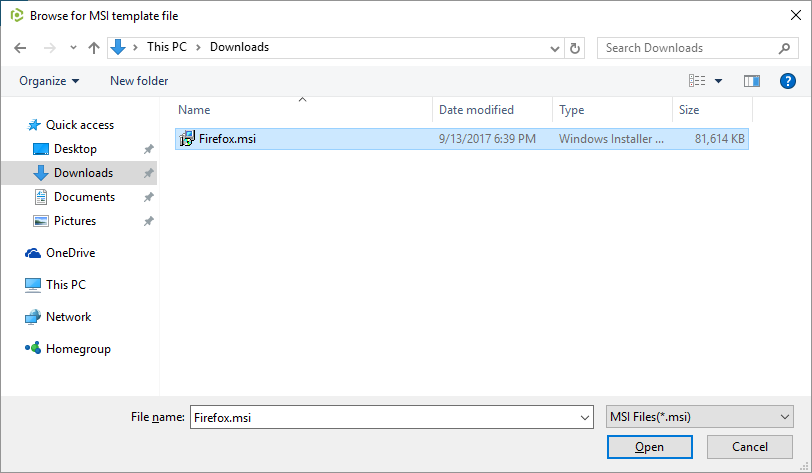
5. Choose an MSI package (e.g. Firefox Installer.msi), for which you want to create a transform file and click Open.
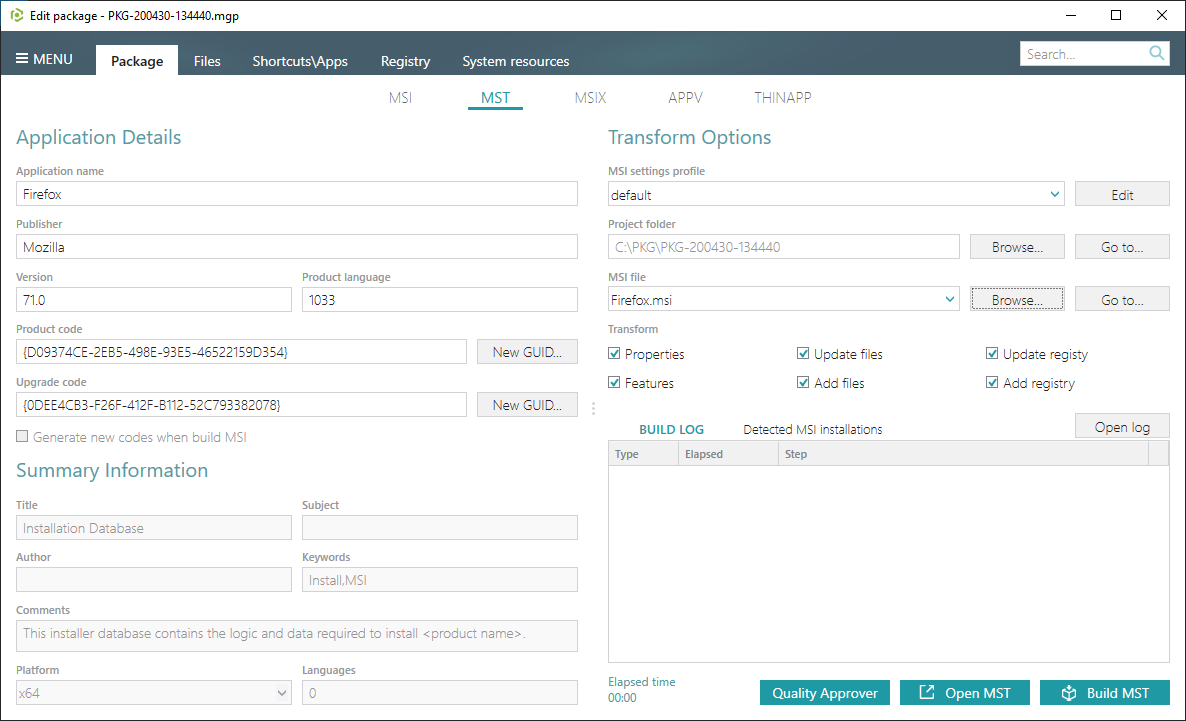
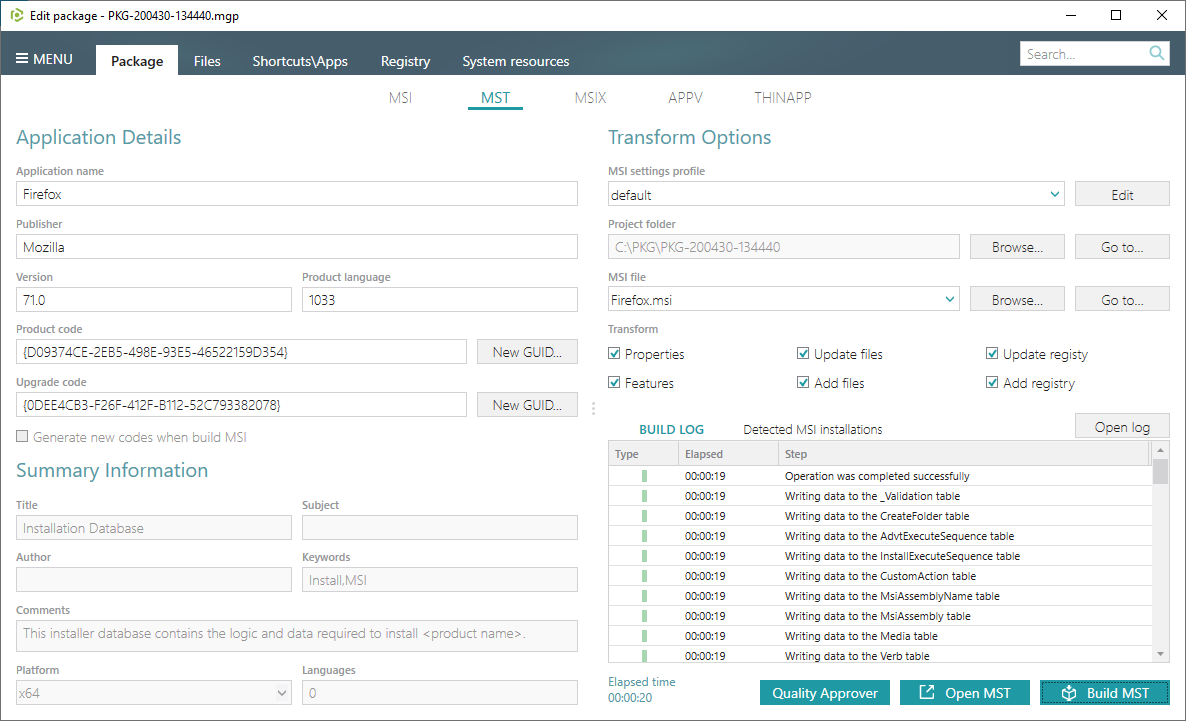
6. Review and update Application Details, Transform options and click Build MST to generate an MSI transform (MST) file. Your MST file is located in the “MST” subfolder of the project folder.
7. To open the project folder, click Go to located next to the Project folder field.
Tools for Creating MST Files
Creating MSI Transform files is easy if you have the right tool, and you can choose between several methods to work with MSTs. Enjoy the fastest and easy-to-use solution PACE Suite that will guide you step-by-step through the creation of MST with the help of intelligent Wizards.
After downloading the tool from our website, you may use the trial version for 21 days with full functionality inside.