A How-To Guide on Creating a Digital Signature in MSI Files
The proven way to guarantee the authenticity and integrity of a software installer file is creating a digital signature. This way, users can be sure that the file originates from a trusted source and has not been modified since it was signed.
Digital signatures are suitable for both software developers looking to distribute their applications and IT professionals responsible for securely deploying software within their organizations.
PACE Suite users can digitally sign your MSI files right in the app without any additional tools. Find out how to create a digital signature for MSI files in this article.
Prerequisites
A digital signature creates a unique hash of the MSI file using a cryptographic algorithm. The hash code is encrypted with the signatory’s private key. When someone verifies the signature, the system decrypts the hash using the signatory’s public key and compares it to the hash of the downloaded file. If two hash codes match, the file is confirmed as authentic and untampered.
It is how a digital signature works “under the hood”. To make a digital signature with PACE Suite, you will only need the digital certificate. It can be one of two types:
- Self-signed certificate: a TLS/SSL certificate generated standalone, without any linkage to an intermediate certificate.
- CA-signed certificate: a certificate issued by a third party called a Certificate Authority (CA) authorized to validate the applicant’s identity.
The choice of a certificate depends on the specific security requirements of your organization or clients. Whether the type you choose, make sure to export your certificate to a PFX file format. It is a password-protected certificate capable of storing multiple cryptographic objects in a single file.
How to Make a Digital Signature with PACE Suite
You only need the PACE Suite and MSI file you want to sign with a digital signature. Follow these clear steps.
1. Run MSI Editor from PACE Suite Launcher or the Start Menu shortcut.
2. Go to MENU > Open to open the necessary MSI package.
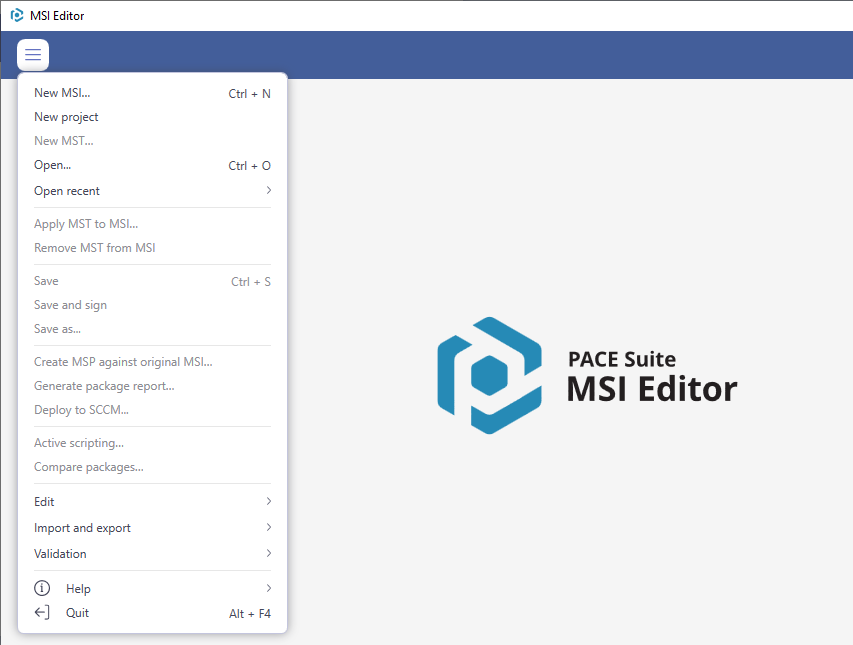
3. (Optional) If you need to apply an MST, choose MENU > Apply MST to MSI.
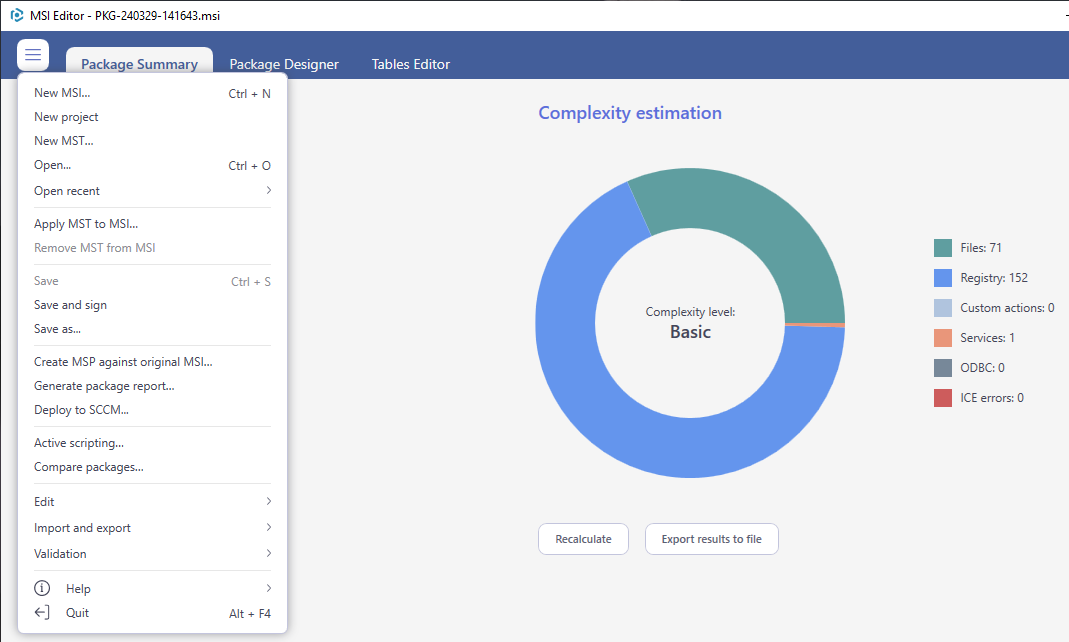
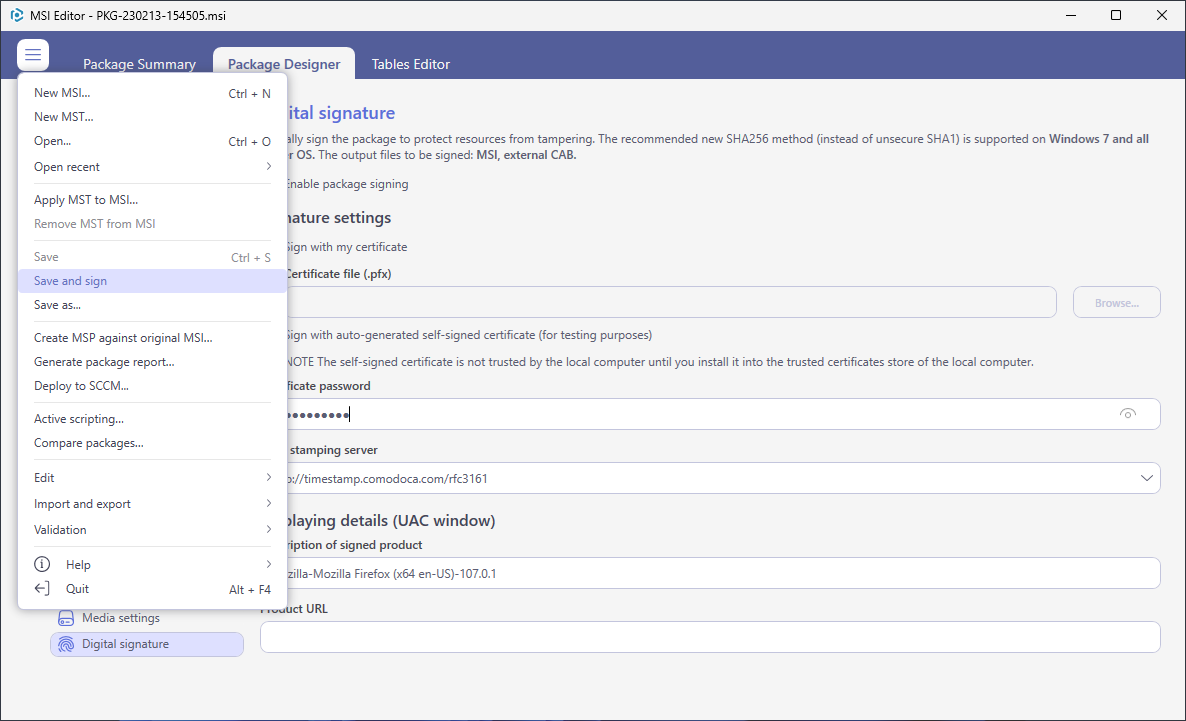
4. Go to the Package Designer > Digital signature tab.
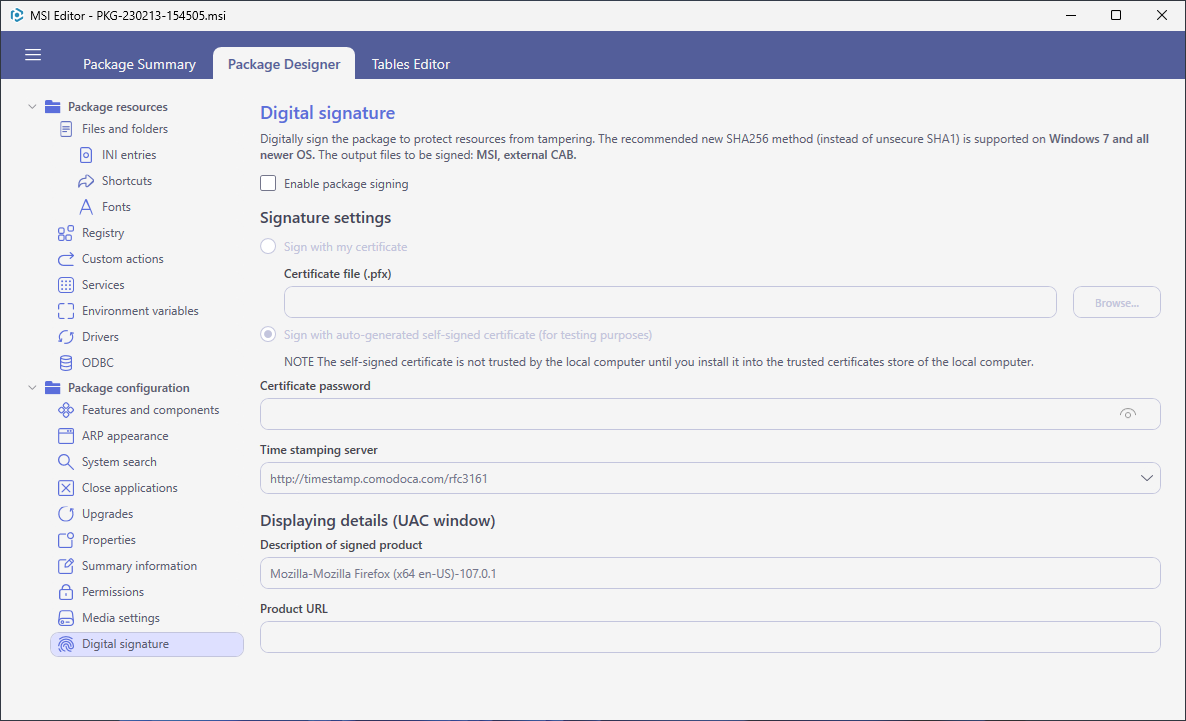
5. Tick the Enable package signing option, select the appropriate certificate, enter its Password, and the Time stamping server data. Add a Description of signed product which the end user will see in the User Account Control (UAC) window.
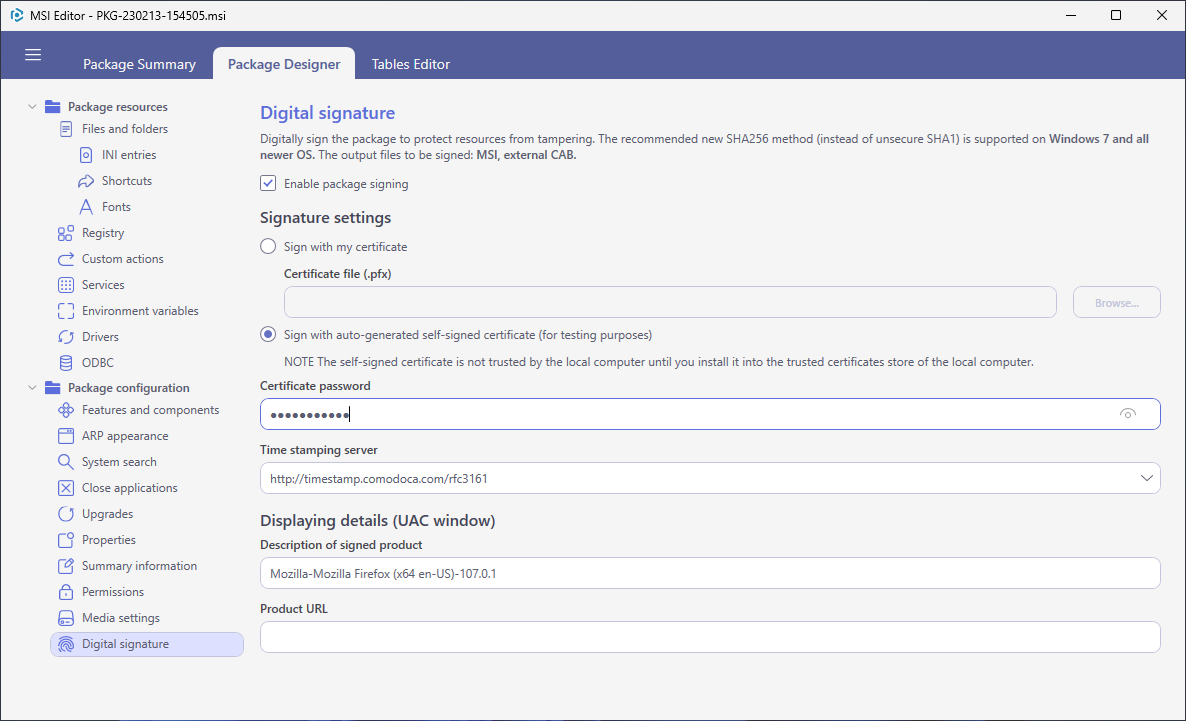
6. Choose MENU > Save and sign to sign the MSI package, including the external CAB (if such exists).
Important: you can only use a certificate trusted by the system. When using the self-signed certificate, install it manually to the Trusted People or Trusted Publishers local machine certificate store. When adding a certificate to a local machine certificate store, you affect the certificate trust of all users on the computer. Make sure to remove those certificates when they are no longer necessary to prevent compromising system trust.
7. Before distributing the signed MSI file, it is recommended to test how it works after signing. Make sure the signature is valid, and the installation process runs correctly.
As you can see, creating a digital signature is a quite straightforward approach that will both ensure end-users in your trustworthiness and protect your MSI installers from unauthorized tampering and distribution. With PACE Suite, signing installers becomes easier, as this option is integrated into the software.


