Run PowerShell Script from MSI
PowerShell is a tool and a framework created by Microsoft to take a load off IT pros’ feet by configuring and automating their tasks. This engine automates tasks with standard .NET classes, cmdlets, executables, and scripts. So, now let’s look closer at how you can run a PS script from MSI.
What is a PowerShell script?
A script is a set of instructions saved in a text file (with the extension “.ps1”) that PowerShell understands and executes in sequence to accomplish a task. PowerShell remains a favourite tool of system administrators because they can script alsmost any task with PowerShell (by the way, here is a handy guide on creating and editing scripts from Microsoft).
How to run PowerShell script from MSI in PACE Suite?
We use PACE Suite for application packaging to showcase how you can quickly run a PowerShell script from an MSI package during installation. You can download the trial version of the tool and use it for 21 days, with no credit card required.
As PACE Suite helps with all the tasks associated with MSI packaging, we’ll show how to import PowerShell script to the MSI package in our software packaging tool in order to execute script in PowerShell during the installation process.
Two ways to run PowerShell from MSI:
- Importing your PowerShell script to a package
- Creating a Custom Action to run PowerShell script from MSI
Import PowerShell script to MSI
Before executing a PowerShell script, import the PowerShell script that you need to run to MSI.
1. Go to the Package Designer in the Files and folders tab.

2. Select Import files from the context menu where you want to import the PowerShell script.

3. Click Add > Add files to choose the script.

4.Choose the PowerShell script from your file system and click Open.

5. Tick the Complete operation with default settings option and click Finish.

Run PowerShell script from MSI via Custom Action
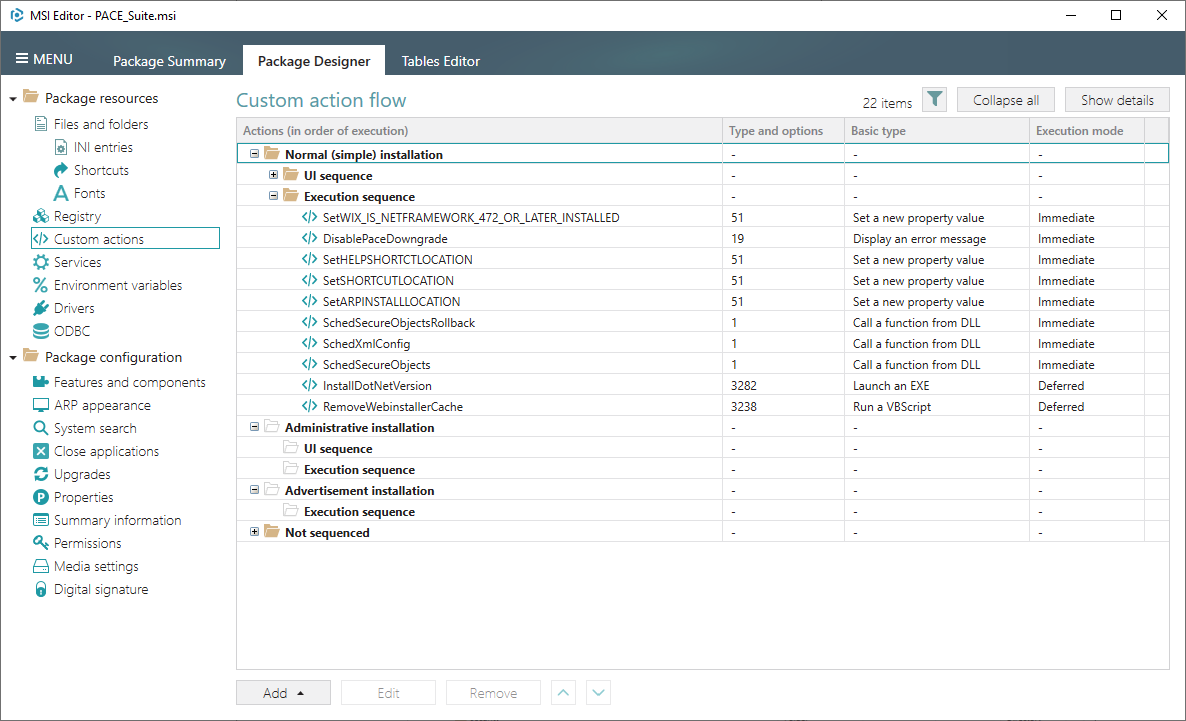
1. Go to the Package Designer > Custom actions tab.

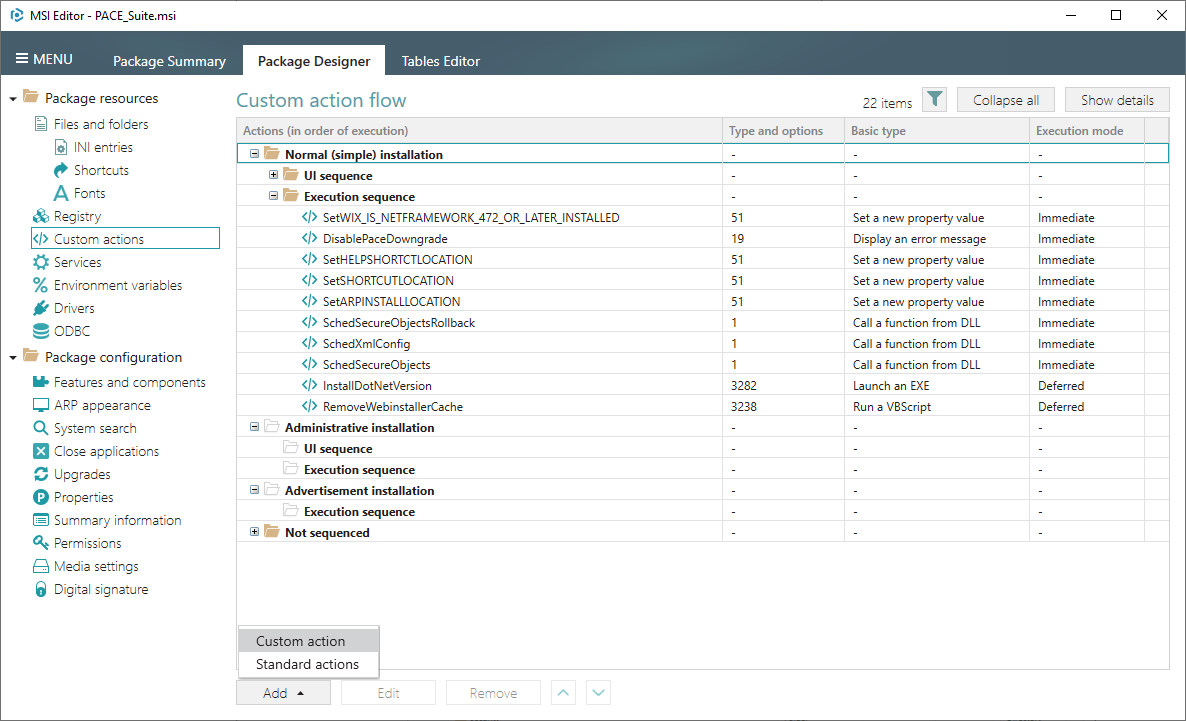
2. Click Add -> Custom action. The Wizard that opens takes into account each option you pick and at further steps, it disables options, which are incompatible with your previous choices, so in the end you get a working Custom Action.

3. Select Launch an EXE and click Next.

4. Tick the Located on the system at the path, which is specified in the Command line field, in the selected working folder and click Browse…

5. Select a folder, to which you have imported the PowerShell script and click Select.

6. Enter the powershell.exe -ExecutionPolicy Bypass -File ““ to the Command line field, where is a name of your imported PowerShell script with the file extension (e.g. psscript.ps1). Then, click Next.

NOTE
-ExecutionPolicy Bypass
parameter was added to ensure the Custom Action will always execute regardless of the current execution policy on the system.
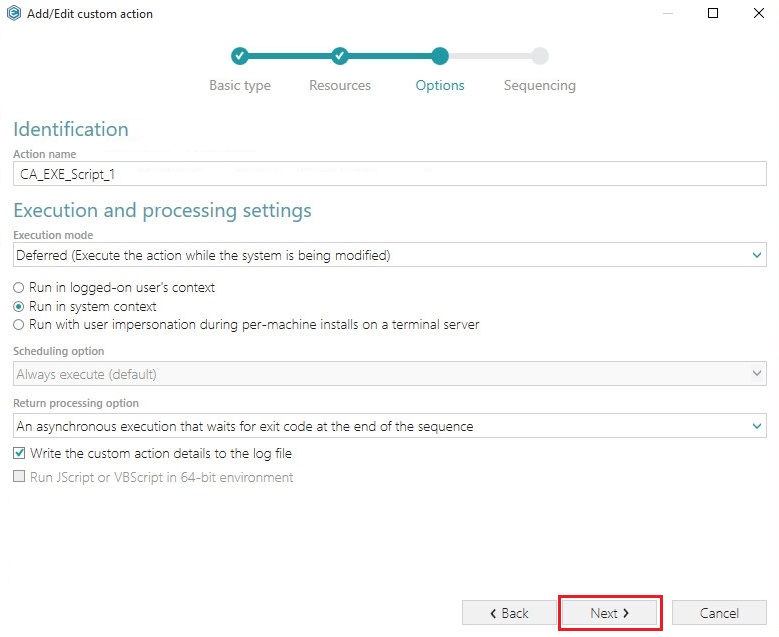
Select Deferred execution mode, Run in system context and An asynchronous execution that waits for exit code at the end of the sequence options, and click Next.

7. Select Run after InstallFiles (or any other position, located below this) from the Execution sequence (recommended) list, if needed, specify execution conditions either by entering them manually or choosing from the drop-down list. Click Finish to add your custom action.

8. From the Execution sequence (recommended) list, select Run after InstallFiles (or any other position located below). If needed, specify the execution conditions – enter them manually or choose from the dropped list. Then, click Finish.

That is how easy it is to import and run PowerShell scripts from MSI packages using PACE Suite. Try our MSI authoring tool today to see what else can you do with our smart Wizards and convenient interfaces.


