Create MSI Installer
This guide shows you the easiest and most straightforward approach to creating an MSI installer.
What is an MSI Installer? Also known as Microsoft installer, it is a type of installer developed by Microsoft for use in the Microsoft operating system.
PACE Suite enables you to create MSI installers via various approaches: repackaging (meaning capturing system changes) and creating an MSI installer from scratch, which, in turn, includes two options:
- Creating a blank MSI package in MSI Editor and managing not only files, registry, and shortcuts, but also services, permissions, custom actions – any setting the package can have.
- Creating a project limited to adding the most basic resources: files, registry, and shortcuts.
The latter is the easiest approach, and we will review it in this guide. With PACE Suite, creating an MSI installer takes only a few clicks. However, you can also find more advanced approaches on our website.
Create MSI Installer from Scratch – the Guide
Get your free PACE Suite trial to create an MSI package as we show in this guide.
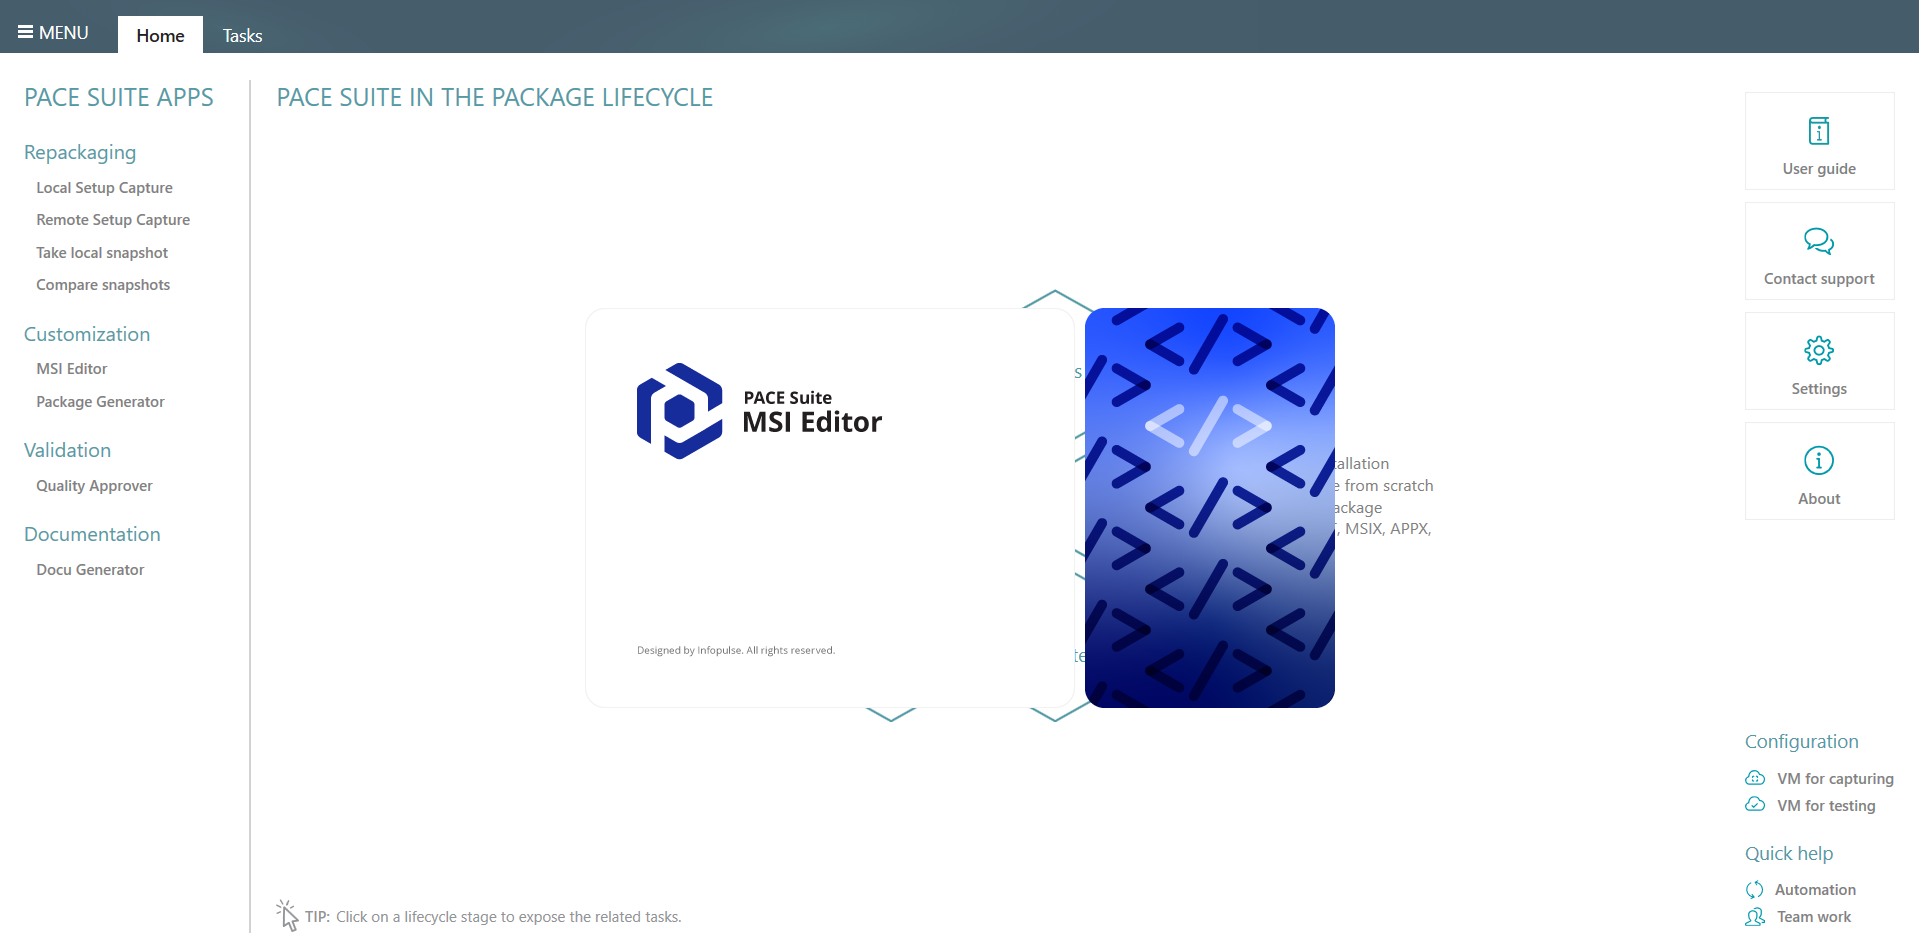
1. Launch MSI Editor, one of the PACE Suite modules.
You can access it either from PACE Suite Launcher or from the Start Menu of your Microsoft Windows.
2. From the MENU tab, select New MSI… to create a new MSI package.
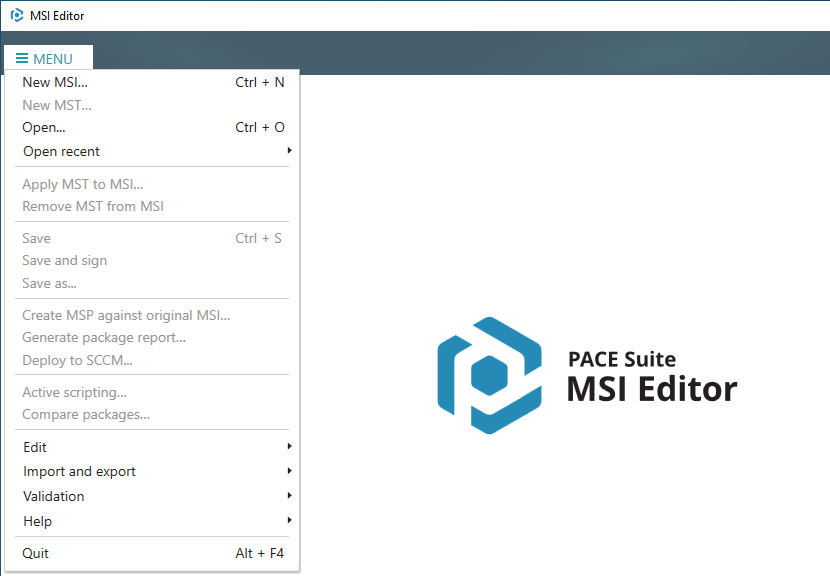
3. Choose a name and location for the package, then click Save.
4. Now, you need to import all the necessary resources into your package and set product information. For more information, please see the User Guide on Editing MSI Installers.
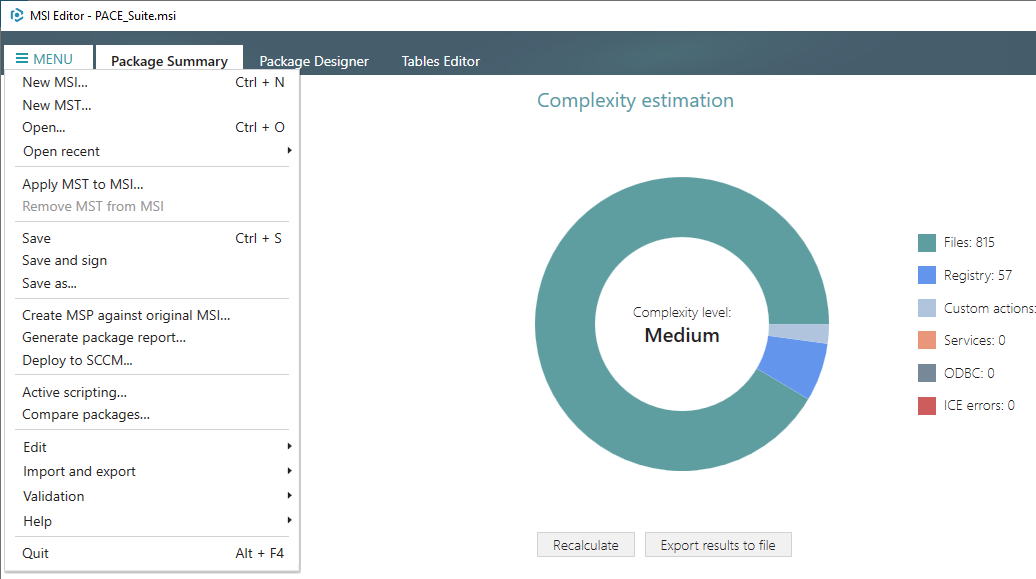
5. After creating an MSI installer, save the package by clicking on Save from the MENU tab.
Add Registry Key and Value to MSI Installer
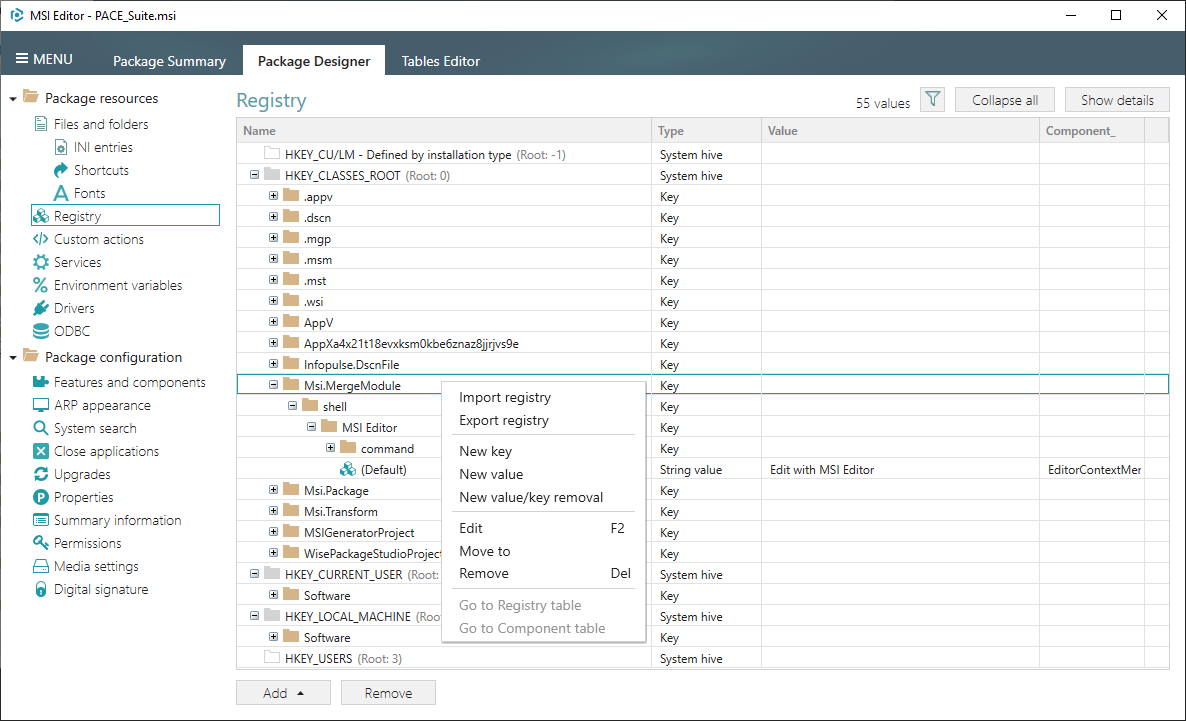
1. To add a new registry key or value to an MSI Installer, you need to go to the Package Designer tab and choose Registry.
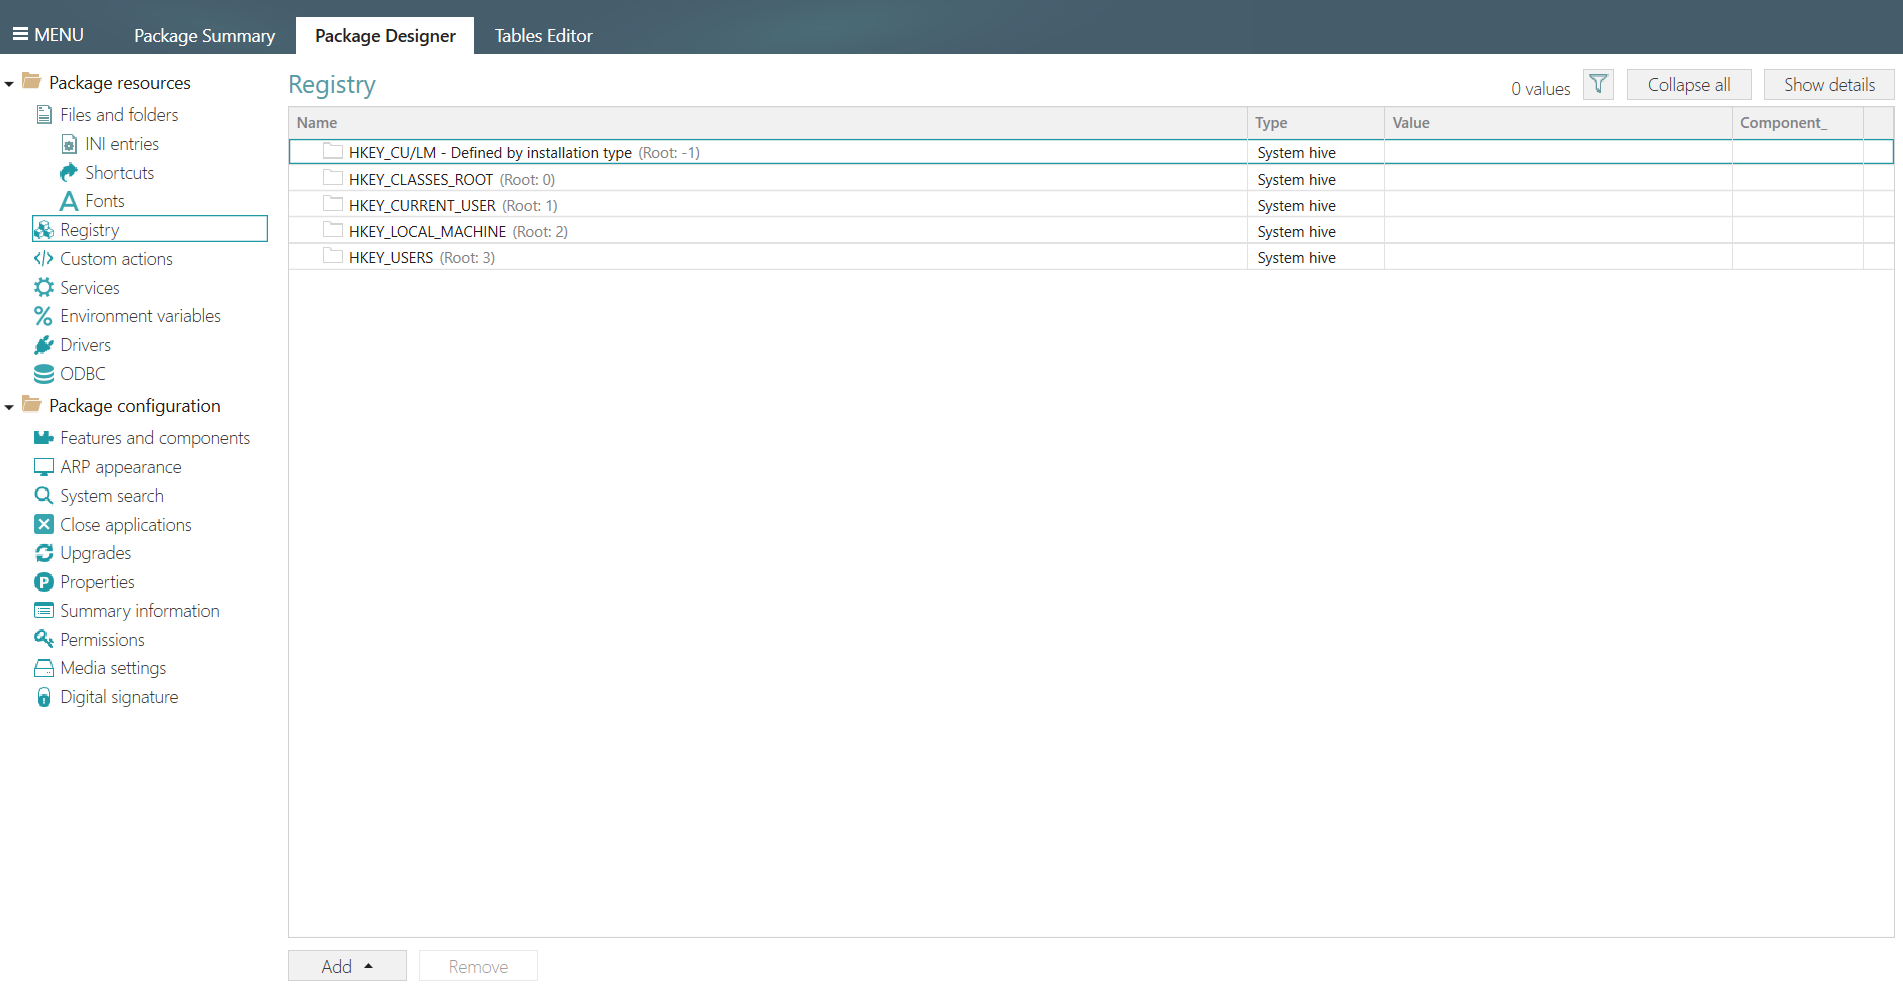
2. Then, select New key or New Value from the context menu where you need to create a new key or value.
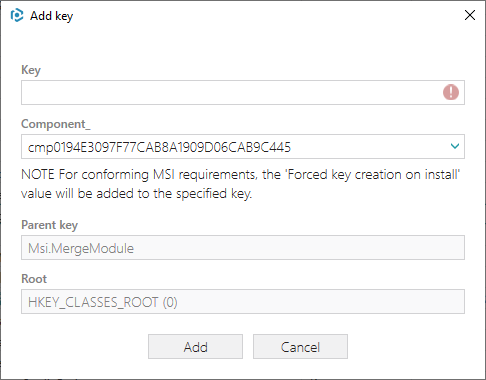
Creating a new registry key
If you want to add a new registry key, you need to enter a key name and select an associated component. Then, click Add.
Creating a new registry value
To create an ordinary value, in the Package Designer > Registry tab from the context menu where you need to create a value select New value. Then enter Name, Value and select an associated Component that will control the installation of the registry value.
Afterwards, click Save.
Keep in mind that creating values directly in the registry root is prohibited.
You can create the ‘Default’ value of the key, or special purpose value for securing an empty key creation or removal by changing the Value processing method.
If you require more assistance when creating MSI Installer, you may access our User Guide, or contact with the Team to arrange a special training, tailored to your organization’s needs.