Note
You are not reading the most recent version of this documentation. See the latest version available.
[MSI Build] Configure a new project
Start from creating a PACEMSI project for your future MSI installer. Later you can deeply customize resources, installation behavior, and the user interface of your MSI package.
- Run PACE Suite Launcher either from the Start Menu or Desktop shortcut on your work station (PC).


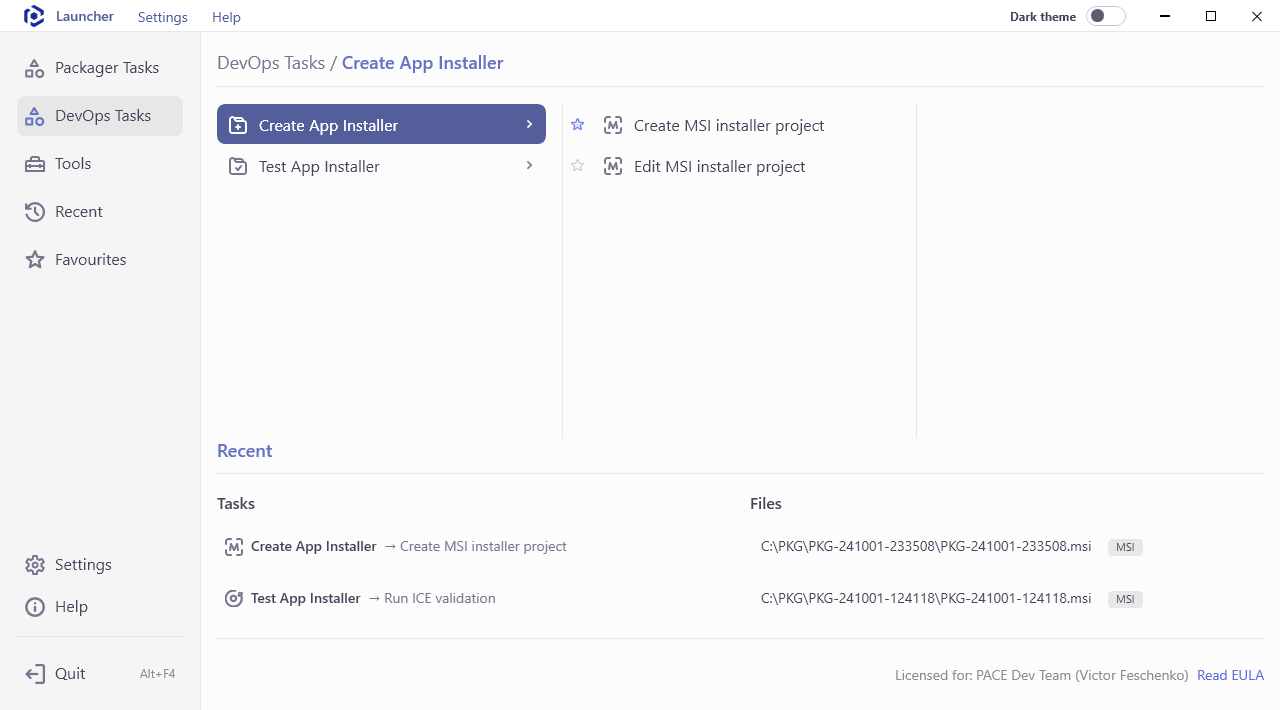
- Select DevOps Tasks > Create Installer > Create MSI installer project.
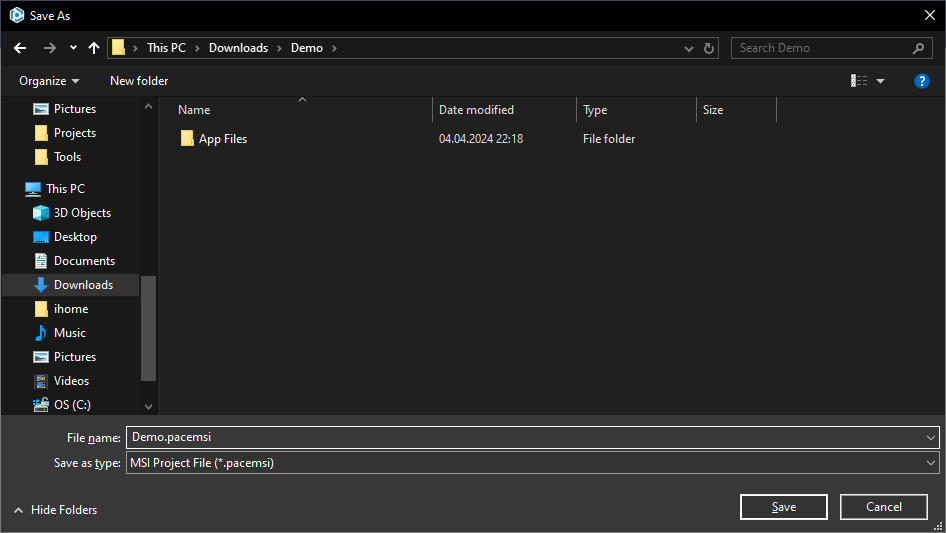
- Choose a destination location and a name for your PACEMSI project file and click Save. This will create an empty project and launch a wizard to configure the basic aspects.
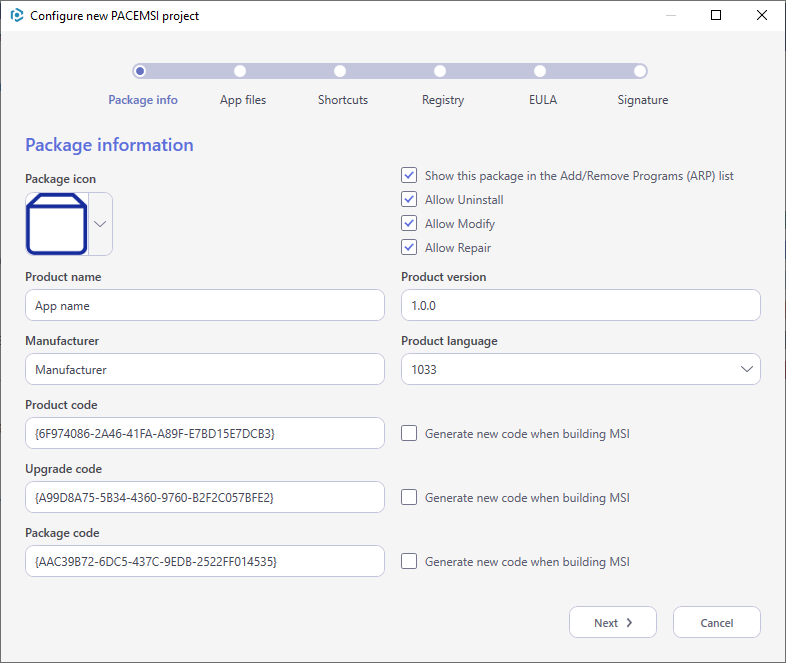
- Enter the app name, manufacturer and app version. Optionally choose a package icon that will appear in the list of installed software. Then, click Next.
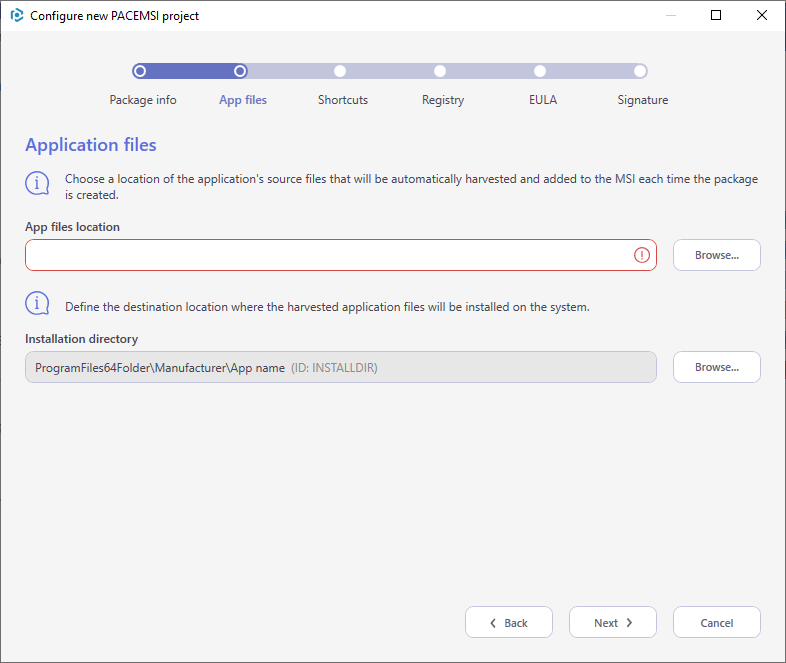
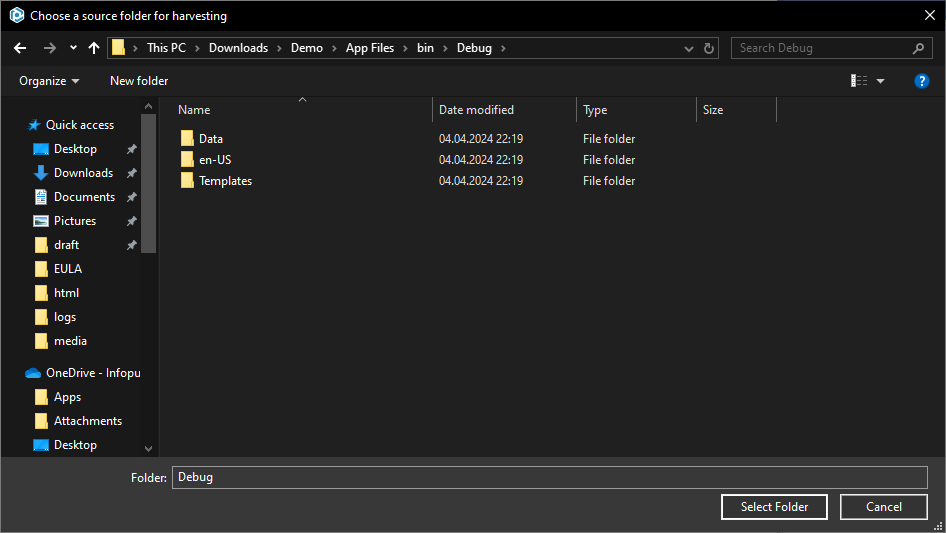
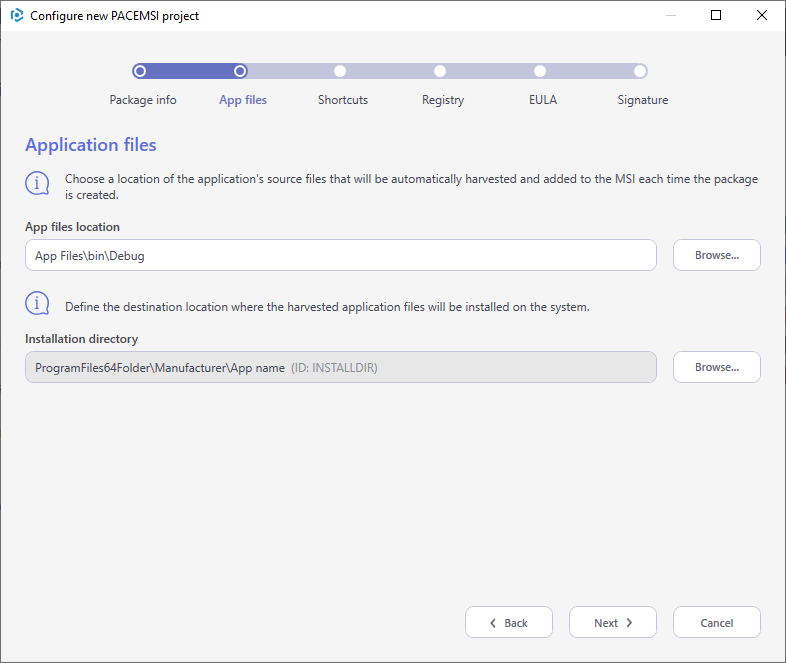
- This is main stage of project configuration. Choose the App files location - a path to folder with your application files that will be automatically harvested and added to the output MSI package each time you run [MSI Build] Command line to build MSI.For this, click Browse, next to the App files location field.
- Choose a folder with your application files and click Select Folder.
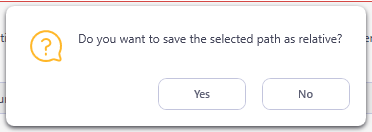
- If the PACEMSI project file and the selected App files location locates on the same drive, it will ask you to save the selected path as relative, instead of absolute one. Recommended to use relative path.
- Review and, if needed, change the Installation directory - a path on the system where your application files will be installed.For this, click Browse, next to the Installation directory field.
- Choose a new installation folder and click Select. If needed, create subfolders in system folders. Note that system folders presented in MSI format, where
ProgramFilesFolderis a 32-bit program files folder, andProgramFiles64Folderrespectively is a 64-bit folder.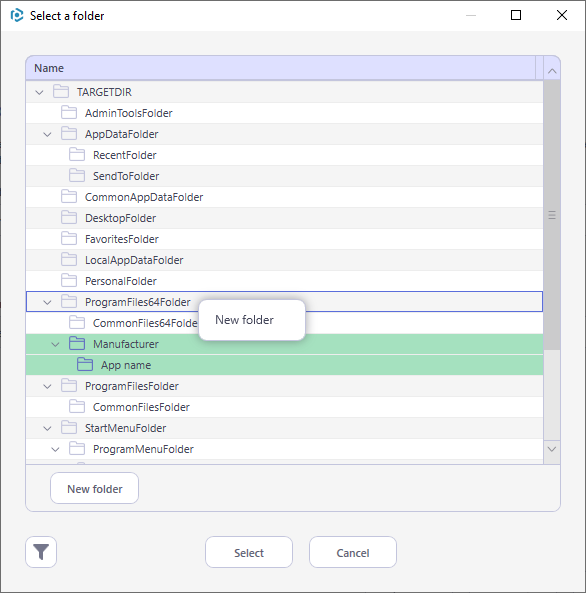
- Finaly, click Next to move to the 3rd wizard step.

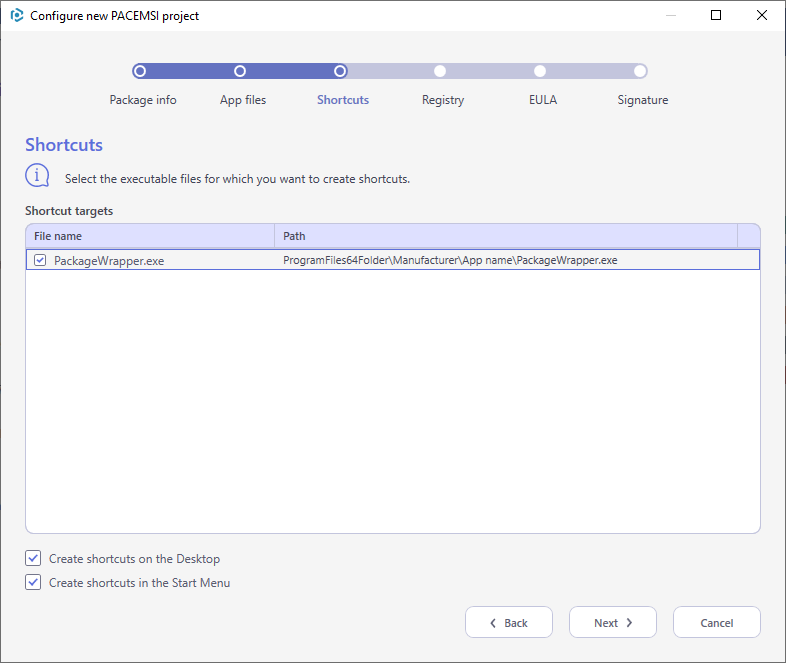
- This step shows all executable files, found in the previously selected App files location. Tick those files, for which you want to create shortcuts. In the bottom of the window, select where these shortcuts should be installed (in Start Menu and/or Desktop). Then, click Next.
- If your application requires some predefined registry entries, click Add to import registry from the
.REGfile. The added registry entries will be installed on the system along with application files. Then, click Next.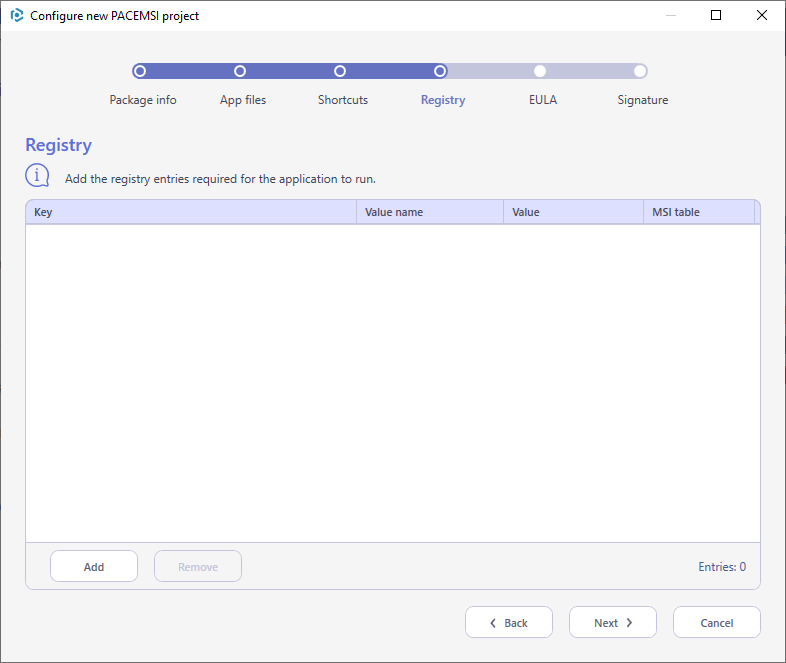
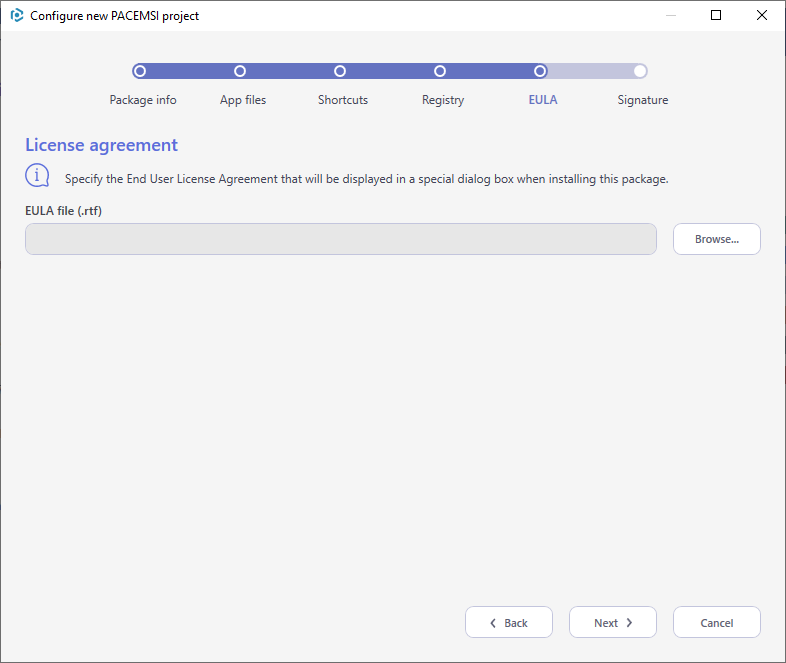
- Choose the EULA file of your application, a content of which will be displayed to the user during the installation. Then, click Next.
- To protect your installer from tampering and distribute it over network consider digitally signing the MSI package. For this, tick Enable package signing and choose your certificate file. Pass the certificate password via the command line parameter
--cert-password "your-certificate-password". For details, see [MSI Build] Command line to build MSI. These settings can be later changed in the project.Click Finish to close the wizard.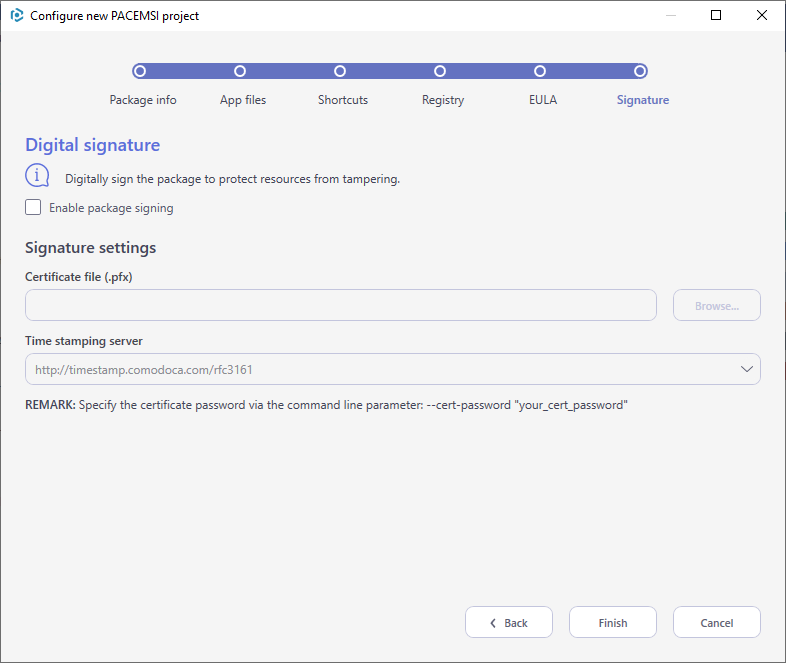
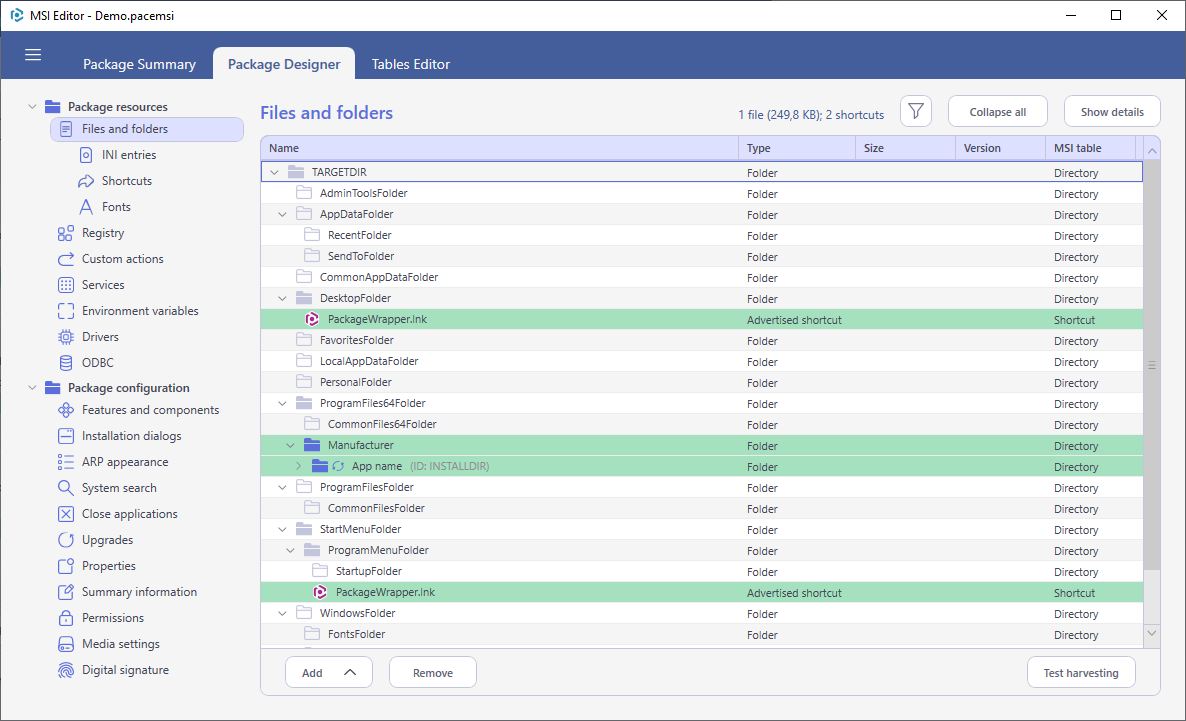
- Afte closing the wizard you can review and customize the project settings and resources. For this, navigate to the Package Designer tab. Items, highlighted in green, are newly added/changed resources.As the PACEMSI project is almost the same as MSI package, for help in customizing the project, see Edit resources and settings of MSI package.NOTE: If you import new files to the project, their sources will be automatically harvested and added to the output MSI package each time you run [MSI Build] Command line to build MSI.
Note
PACE Suite covers the whole range of application packaging tasks - learn more.
Try PACE Suite for free - 21 days no obligations unlimited trial with all functions unlocked.
