How to create App-V packages
Creating App-V packages is a great way of delivering applications to end-users in Windows environment. App-V applications do not make changes directly to the Windows file system and/or Registry; they are contained in an application-specific “bubble”. Also, App-V applications are separated from each other, so mutually exclusive applications can co-exist on the same system. To try creating APP-V packages with PACE Suite, download a FREE trial.The first part of this guide shows how to create App-V packages from scratch by importing resources to the package manually. If you have an existing installation that you want to convert to App-V, go straight to the second part of this tutroial.
MSI Generator, a part of PACE Suite, allows to add folders, files, registry entries and App-V apps, shortcuts and FTAs and then create App-V 5.0/5.1/5.2 (App-V for Windows 10) package. Here is a step-by-step guide on how to do it.
[1]. Launch MSI Generator from the desktop or the start menu shortcut.
[2]. If you have User Account Control enabled, click Yes in the opened window.
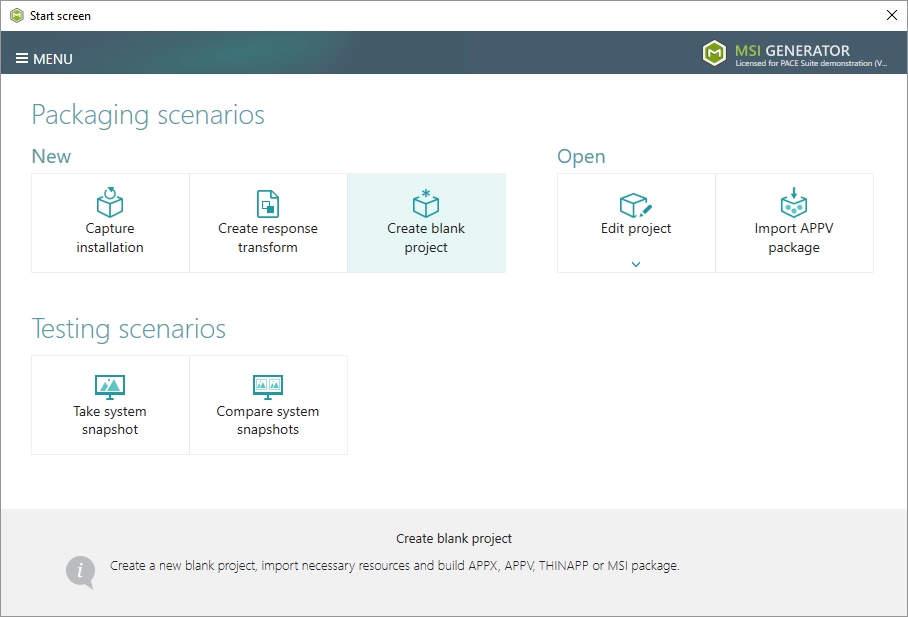
[3]. Click Create blank project.
[4]. Enter a project name and click Create.
[5]. Once the newly created project is opened automatically, you can start adding the necessary resources using MSI Generator. The steps from [6] to [11] describe how to create a new folder, import files to this folder and change the default App-V virtualization level of a folder; the steps from [12] to [15] describe how to import registry entries from the REG file and change the default App-V virtualization level of a registry key; the steps from [16] to [21] describe how create a new App-V application, its shortcuts and associate file extensions with the application; and two last steps [22] and [23] describe how to build App-V package from the prepared project.
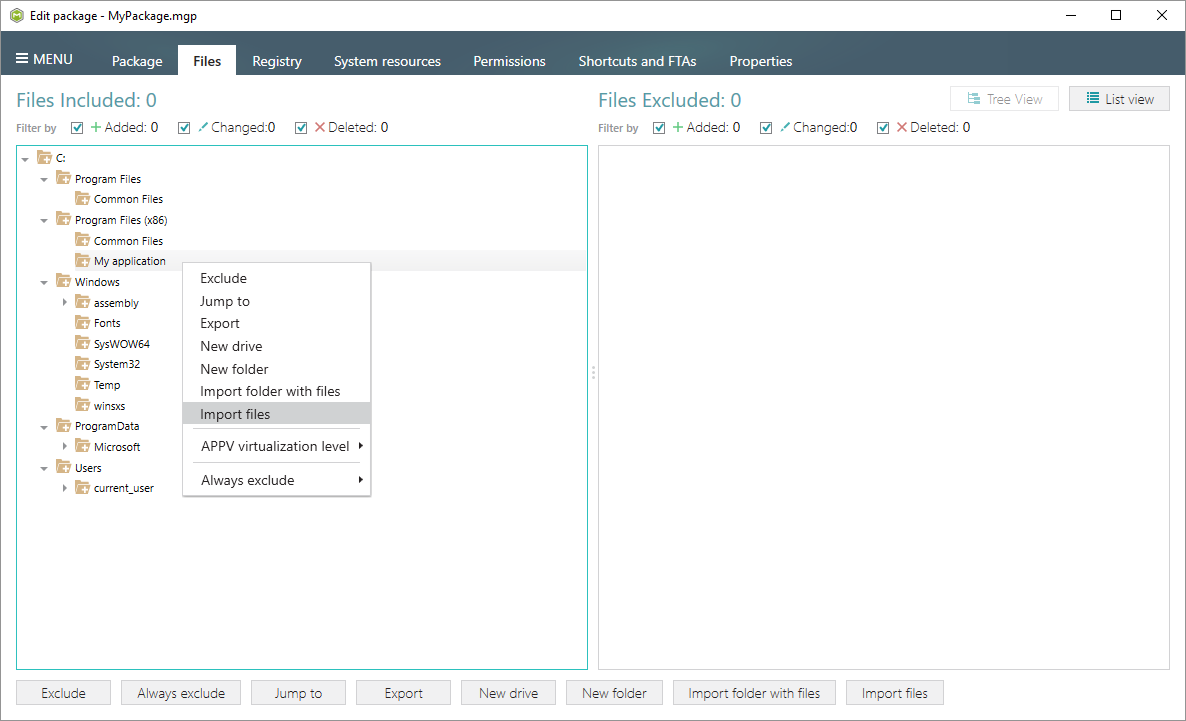
[6]. In order to create a folder and import files, go to the Files tab.
[7]. In the left pane, select New folder from the context menu of a folder, where you want to create a new empty folder. Note that the left ‘Files Included’ pane displays files and folders, which will be a part of your package, and the right ‘Files Excluded’ pane displays files and folders, which will not be saved to the package.

[8]. Enter a folder name and click Create.
[9]. For adding files to your project, select Import files from the context menu of a folder, to which you want to import files.
[10]. Choose files, which you want to import to the project and click Open.
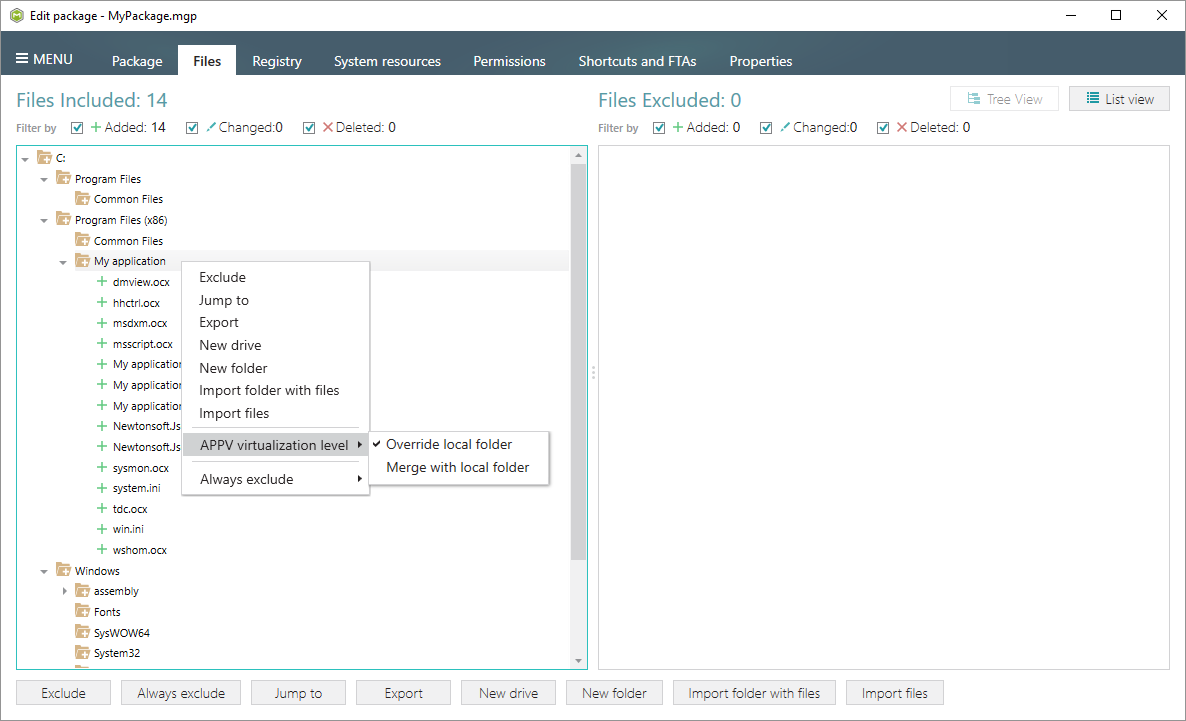
[11]. In order to change the default virtualization (isolation) level of a folder, open the folder context menu, and select either Override local folder or Merge with local folder option from the APPV virtualization level submenu. Note that if the App-V virtualization level submenu is disabled with the Override local folder option selected, it means that this option is inherited from the parent folder. Child folder could not have the Merge with local folder virtualization level, if parent one has the Override local folder virtualization level.
[12]. In order to import registry entries from the REG file, go to the Registry tab and click the Import registry button, located in the bottom part of the window. Note that the left ‘Registry Included’ pane displays registry keys and values, which will be a part of your package, and the right ‘Registry Excluded’ pane displays registry keys and values, which will not be saved to the package.
[13]. Choose a REG file, which you want to import to the project, and click Open.
[14]. Click Ok to close the information dialog.
[15]. In order to change the default virtualization (isolation) level of a registry key, open the registry key context menu, and select either Override local key or Merge with local key option from the App-V virtualization level submenu. Note that if the App-V virtualization level submenu is disabled with the Override local key option selected, it means that this option is inherited from the parent registry key. A child registry key could not have the Merge with local key virtualization level, if the parent one has the Override local key virtualization level.
[16]. If you need to create an App-V application, its shortcuts and associate file extensions with this application, go to the Shortcuts and FTAs -> APPV apps and FTAs tab and click New application…
[17]. Select the main executable file (EXE) of your application from the tree and click Select.
[18]. To create a shortcut for the application, click New… in the Shortcuts section.
[19]. Enter a shortcut name, select a destination location (“Folder” field), icon and click Save.

[20]. To associate some file extension with your application, click New… in the File Type Association section.
[21]. Enter a file extension and click Save. Optinally you can modify other FTA settings according to your needs.
[22]. In order to build App-V package from your project, navigate to the Package -> APPV tab, update Application Details, select the necessary App-V Settings, App-V package format version, and then click Build APPV.
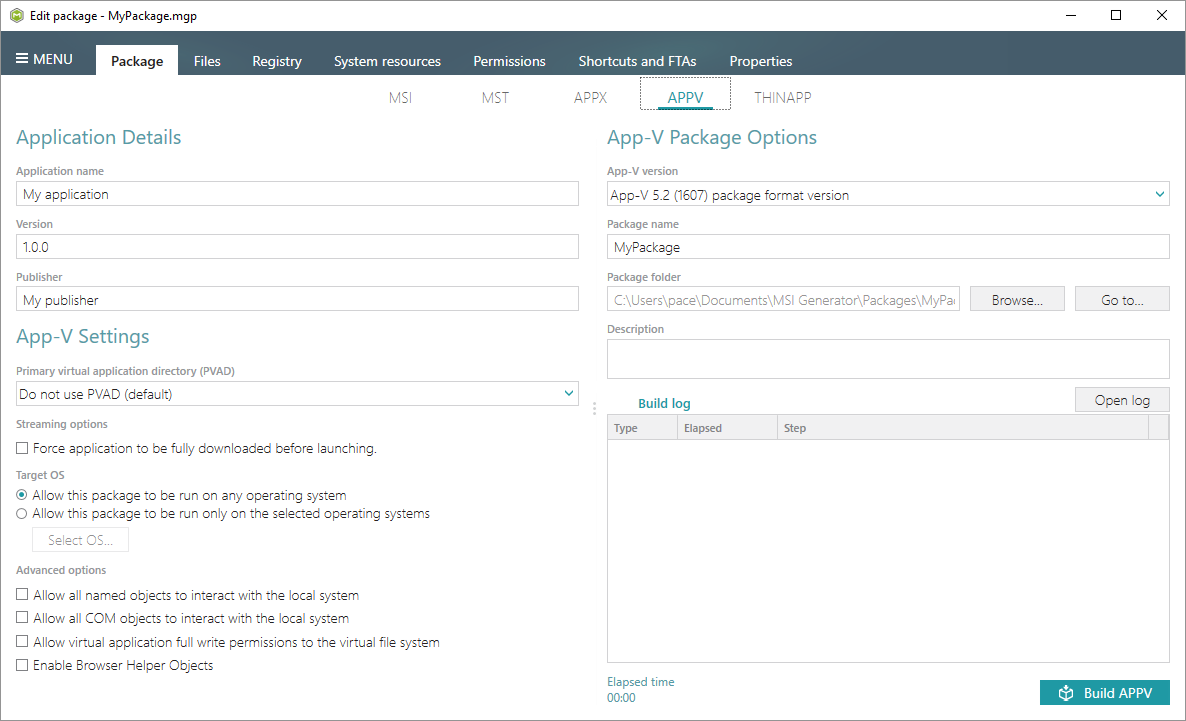
[23]. Click Go to…, located next to the Project folder field, to open the package containing folder in Windows Explorer.
How to convert your installations to App-V packages
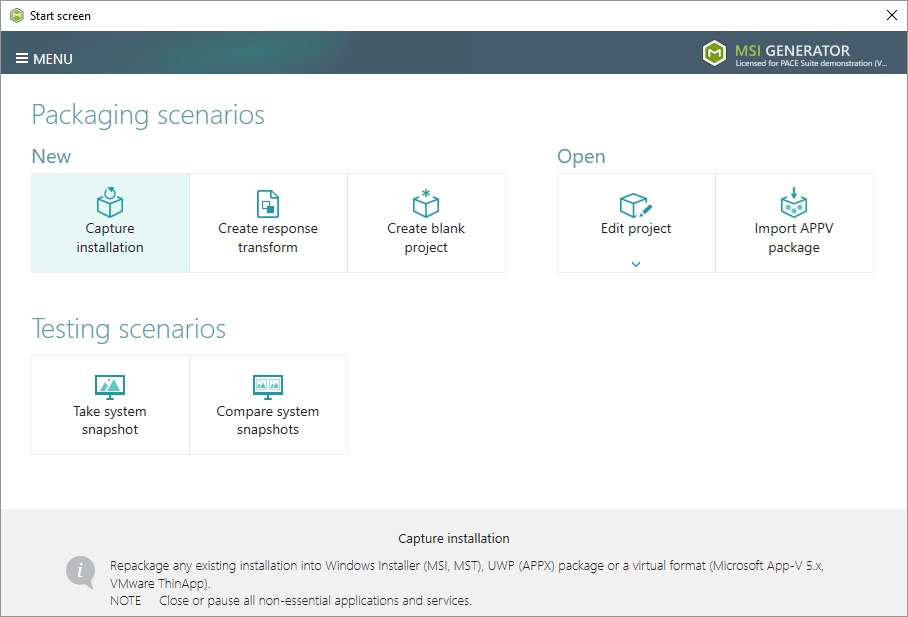
You can Repackage your source installation (EXE, MSI, VBS, CMD, etc.) into App-V 5.0/5.1/1607 (5.2) package using MSI Generator.Launch MSI Generator from the desktop or the Start menu shortcut and click Capture installation.
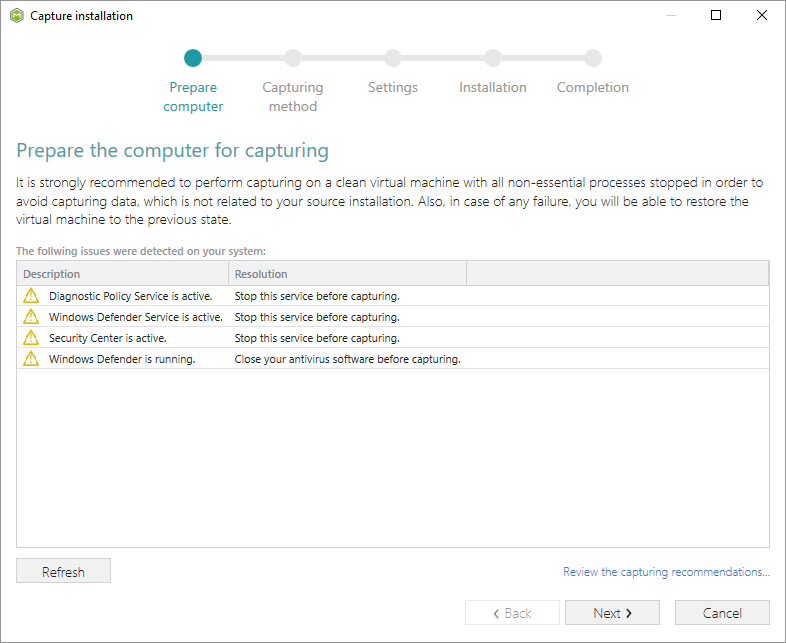
Review the issues, which were detected on your system, and try to resolve them by closing the non-essential applications and stopping services. Thereafter, click Next.
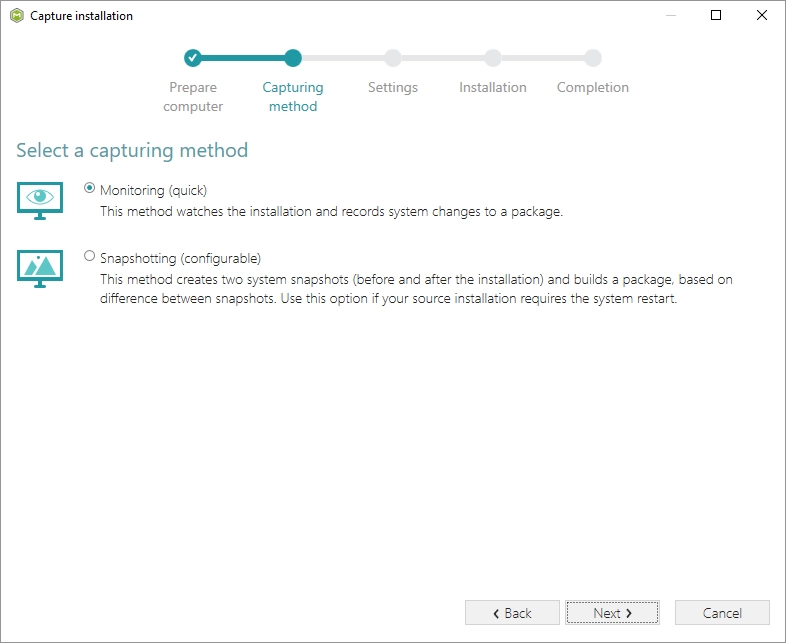
Select the Monitoring method for the quicker capturing (or use the Snapshotting one if you need to continue capturing after the system restart) and click Next >.
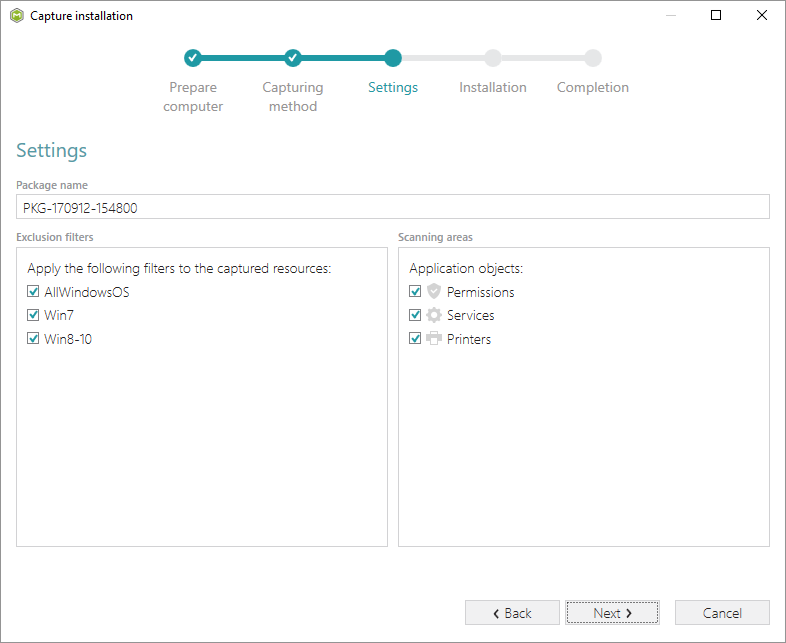
Here you can review and update package name, disable needless exlusion filters and scanning areas. Click Next > to start the capturing.
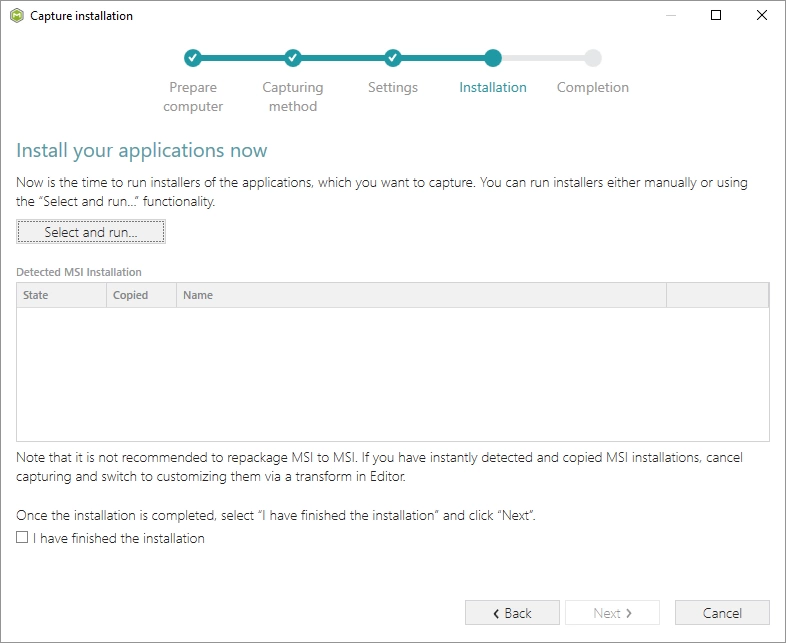
Click Select and run… to choose source installation for repackaging.
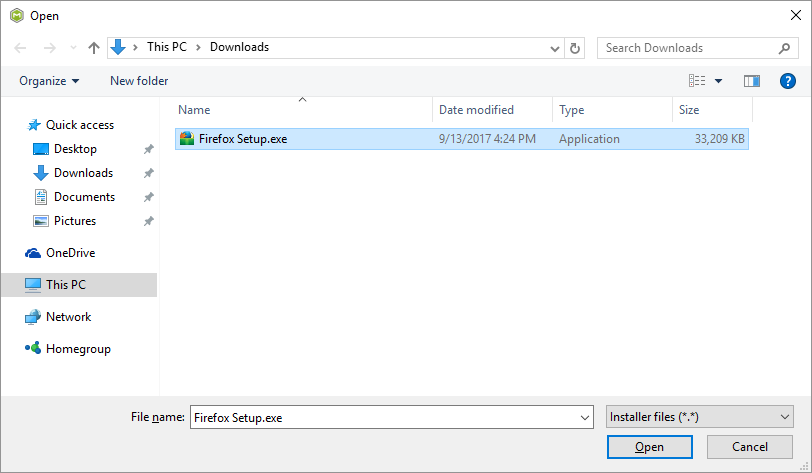
Select the installer file (e.g. Firefox Setup.exe) and click Open.
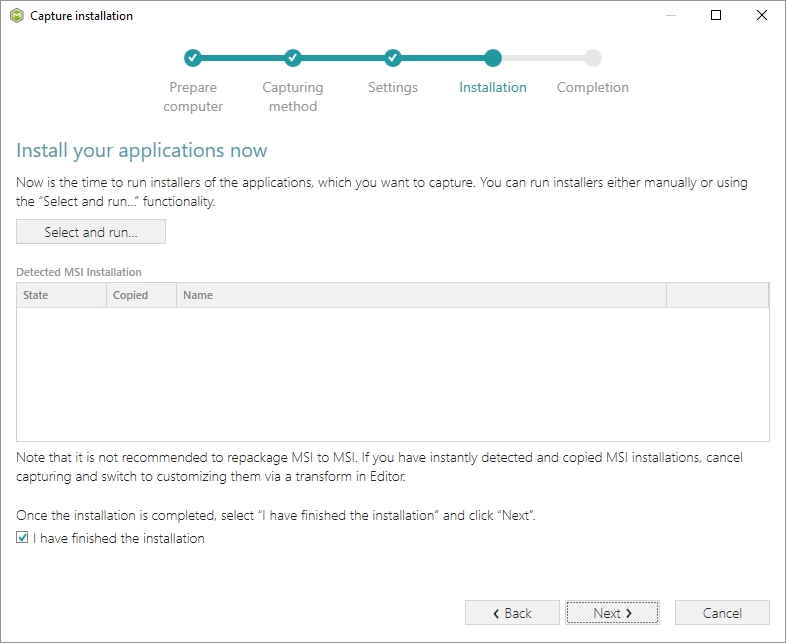
Follow the installation dialogs of the launched source installation to complete it. Now you can make any changes to the file system and registry, which you want to capture and include to the package. For instance, you can create new or copy-paste existing files, import REG file to the system registry, changes permission settings, or launch the installed application in order to capture the necessary application configurations, like disabling updates and so on. Finaly, to complete the capturing, select I have finished the installation and click Next >.
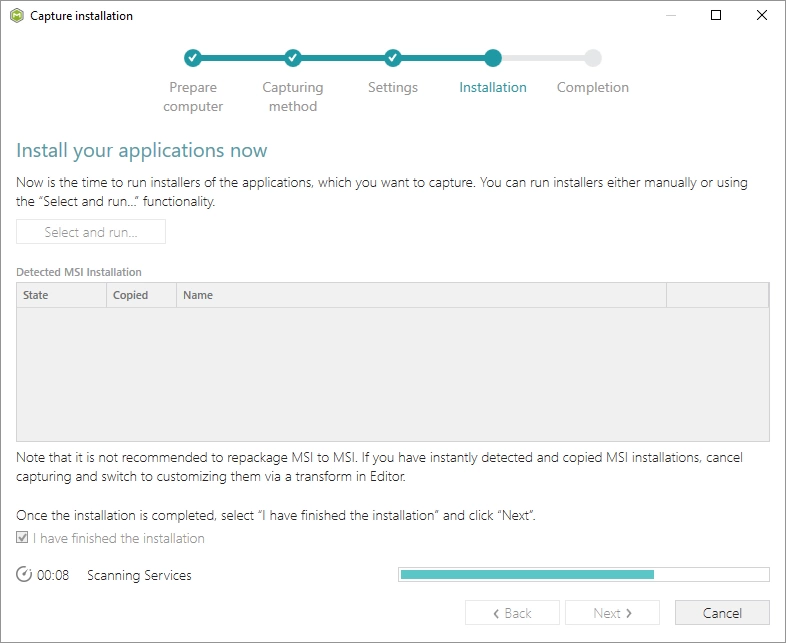
Wait a little, while the capturing process is finishing, filtering captured data and creating the project.
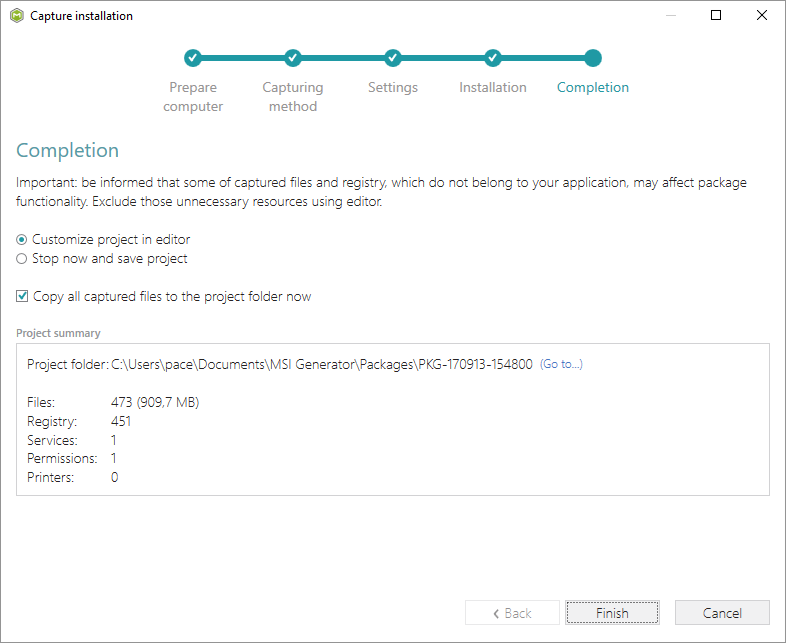
Leave selected the Customize project in editor and Copy all captured files to the project folder now options are selected and click Finish..
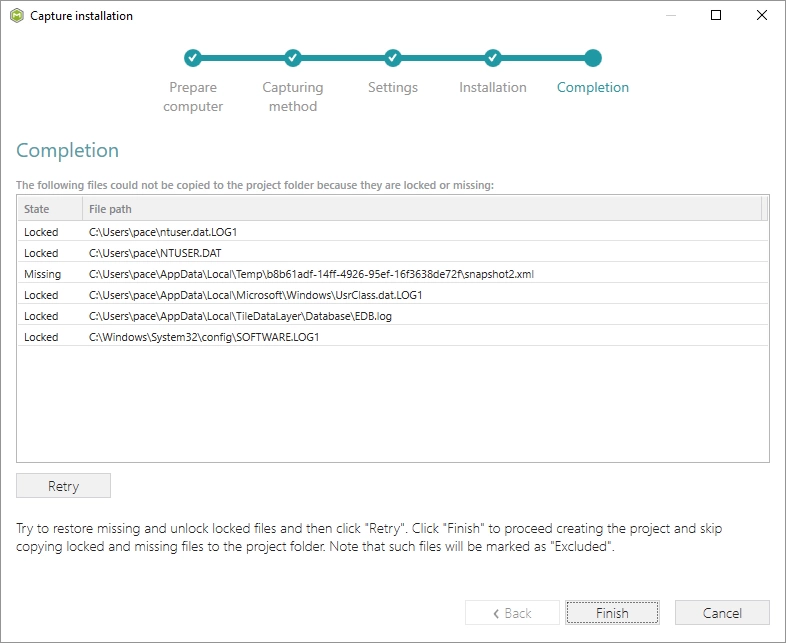
The following dialog displays captured files, which could not be copied to the project folder because they do not exist anymore or locked by the system or by an application. Try to resolve these issues and then click Retry. Click Finish to skip copying the missing and locked files and mark them as Excluded resources.
Once the project is opened in the project editor, review the captured resources at the Files, Registry, System resources, Permissions, and Shortcuts and FTAs tabs and exclude unnecessary ones from the project. Use the infromation from the first part of this guide: the steps from [6] to [11] describe how to create a new folder, import files to this folder and change the default App-V virtualization level of a folder; the steps from [12] to [15] describe how to import registry entries from the REG file and change the default App-V virtualization level of a registry key; the steps from [16] to [21] describe how create a new App-V application, its shortcuts and associate file extensions with the application; and two last steps [22] and [23] describe how to build App-V package from the prepared project.
When you are done with customizing your App-V and ready to build the package from the project, navigate to the Package -> APPV tab, review and update (if necessary) Application Details, select the necessary App-V Settings, App-V package format version, and then click Build APPV.
Again, click Go to…, located next to the Project folder field, to open the package containing folder in Windows Explorer.
Download a FREE trial now to start creating virtual packages with PACE Suite.