Note
You are not reading the most recent version of this documentation. See the latest version available.
Capturing on a remote virtual machine
Capture all changes to the local drives, registry, services and other areas of the remote virtual machine.
The changes can be made by an existing installation (like a black-box EXE) or by the user’s actions (like copying files, importing .REG to the system registry, changing app settings).
The captured resources will be automatically transferred from the virtual machine to specified project location via host, where the capturing wizard is run.
Attention
In order to use a remote virtual machine for capturing, first configure it. See Configuration of capturing environment.
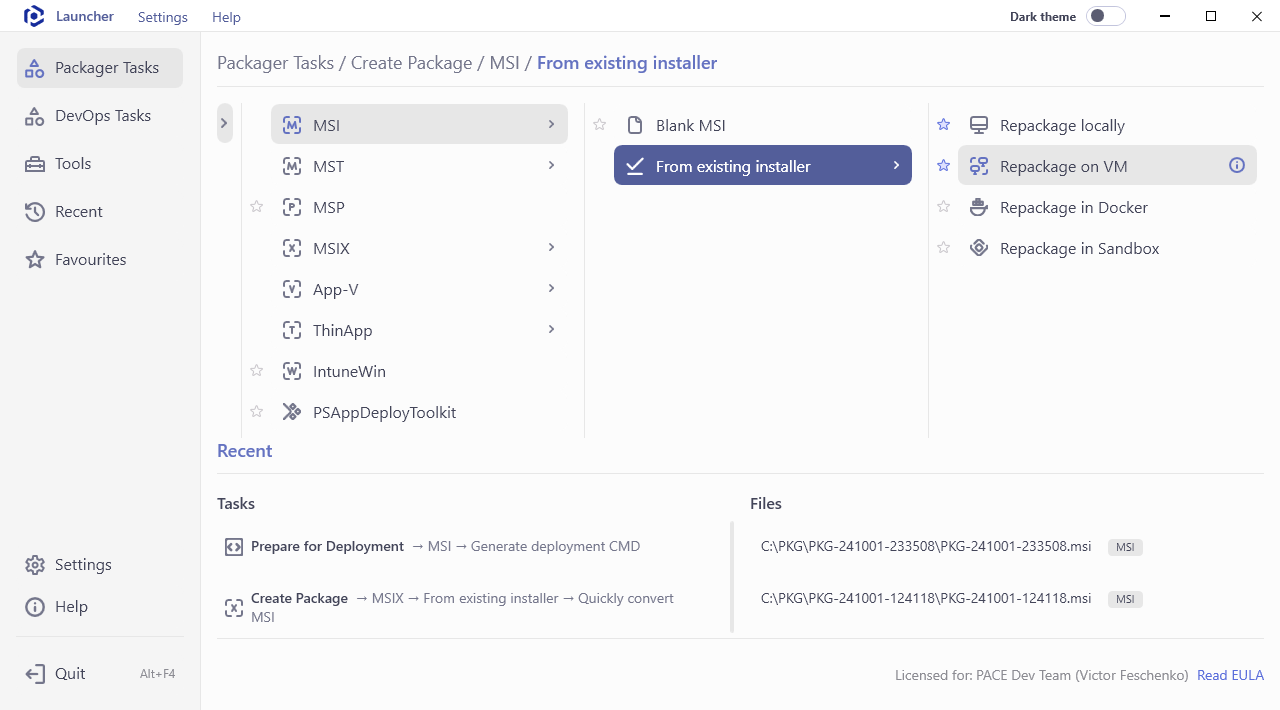
- Run PACE Suite Launcher either from the Start Menu or Desktop shortcut on your work station (PC).


- Select the Packager Tasks > Create Package > (your packager format) > From existing installer > Repackage on VM.
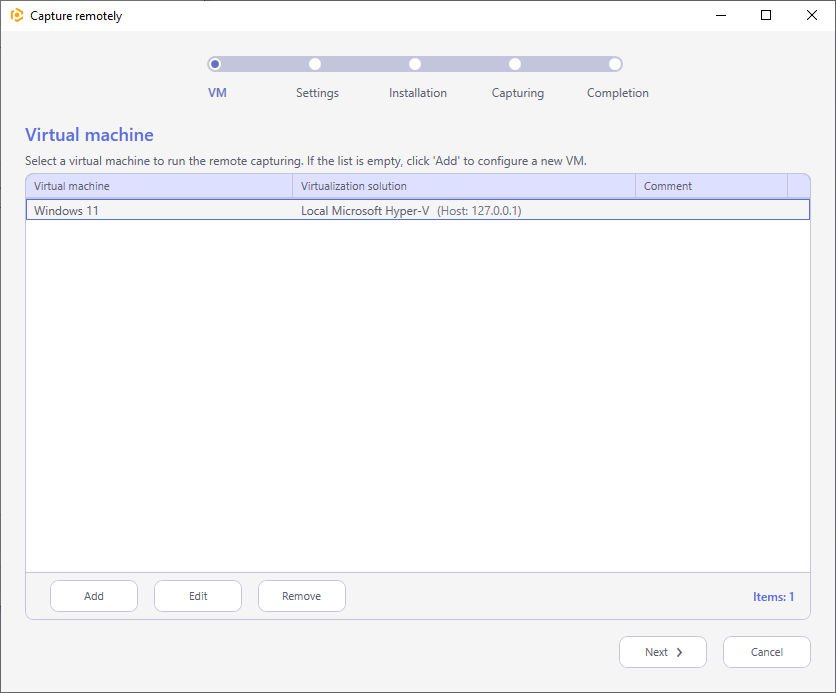
- Select your configured virtual machine fom the list and click Next >.
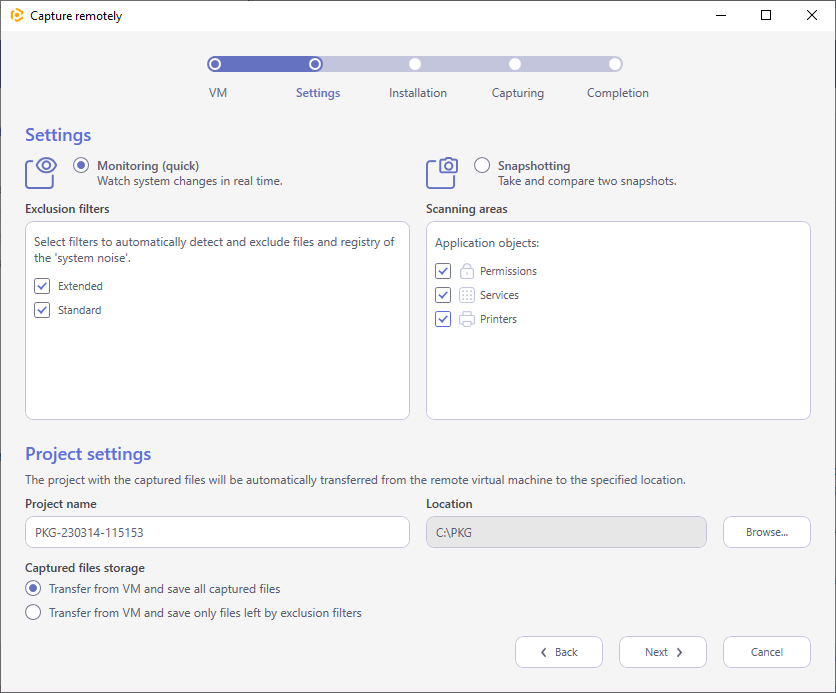
- Select the capturing method, project name and its location. Choose exclusion filters that will be used to detect and filter out the unnecessary resources. Then, click Next >.
Use Monitoring method for the quicker capturing.
Use Snapshotting method for capturing huge installations and those that require the system restart.
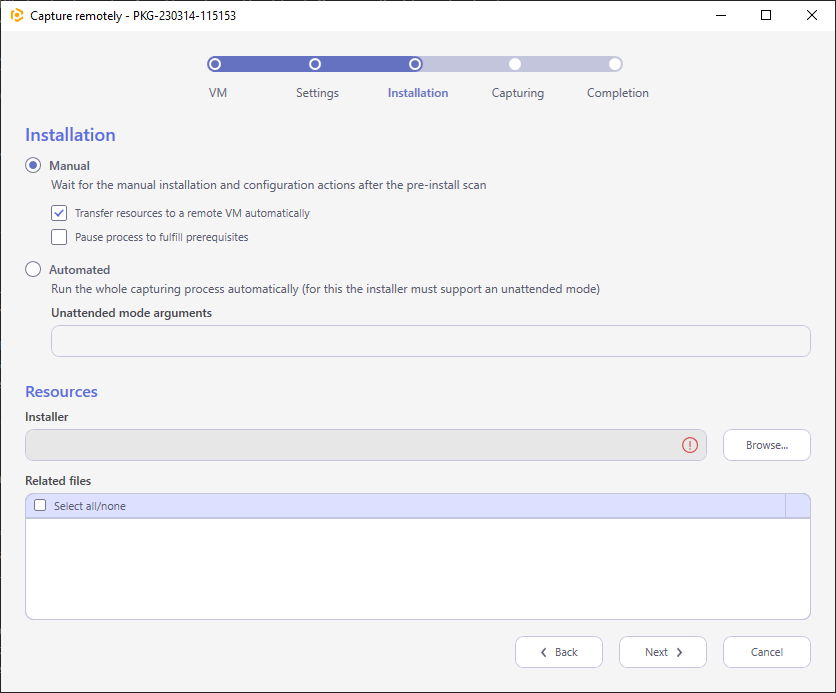
- Select the installation processing mode, installer and its related files to transfer to the virtual machine and click Next >.
In the Manual mode, the wizard will pause after the pre-install scan to allow you to install any set of apps, change the required app settings and make any system changes that you need to capture and include in the package. If you need to install or configure prerequisites before capturing, tick the Pause process to fulfill prerequisite option.
In the Automated mode the wizard runs the specified Installer with Unattended mode arguments between the pre-install and post-install scans. The post-install scan runs once the installer process is ended.
- If you have selected the Manual mode:
Wait while the virtual machine preparation and pre-install scan are made.
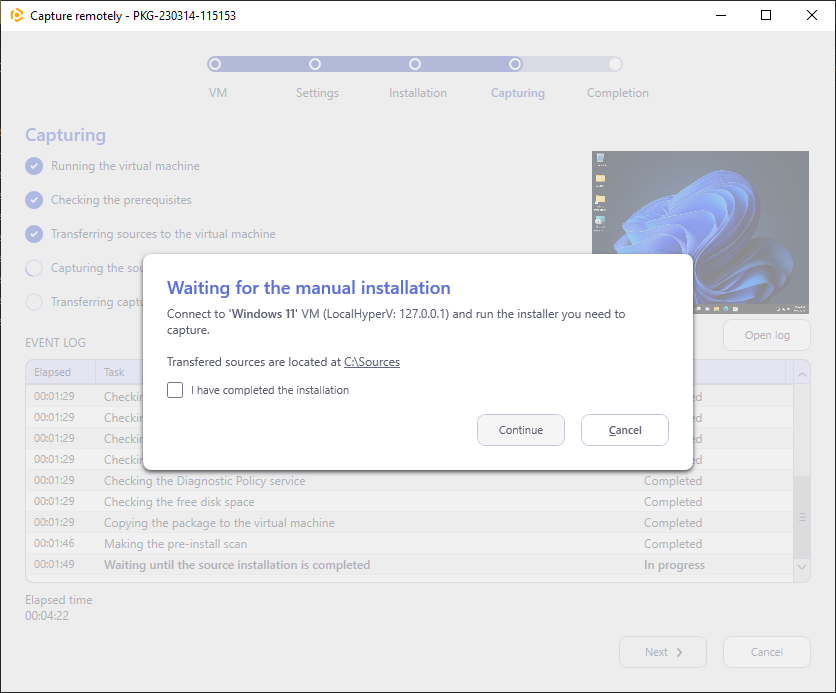
Connect to the virtual machine in your usual way to to be able to see the desktop and run the source installation for capturing. The specified source installation is copied to the
C:\Sourcesfolder of the virtual machine.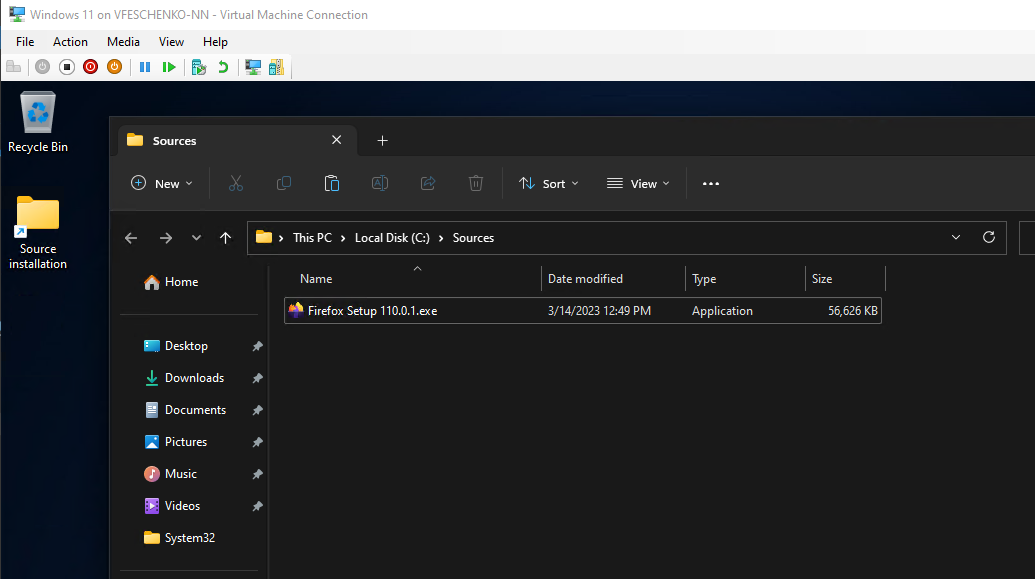
Run and complete installers of apps that you need to capture manually on the virtual machine. Also at this stage you can make any system changes that you need to capture along with apps.

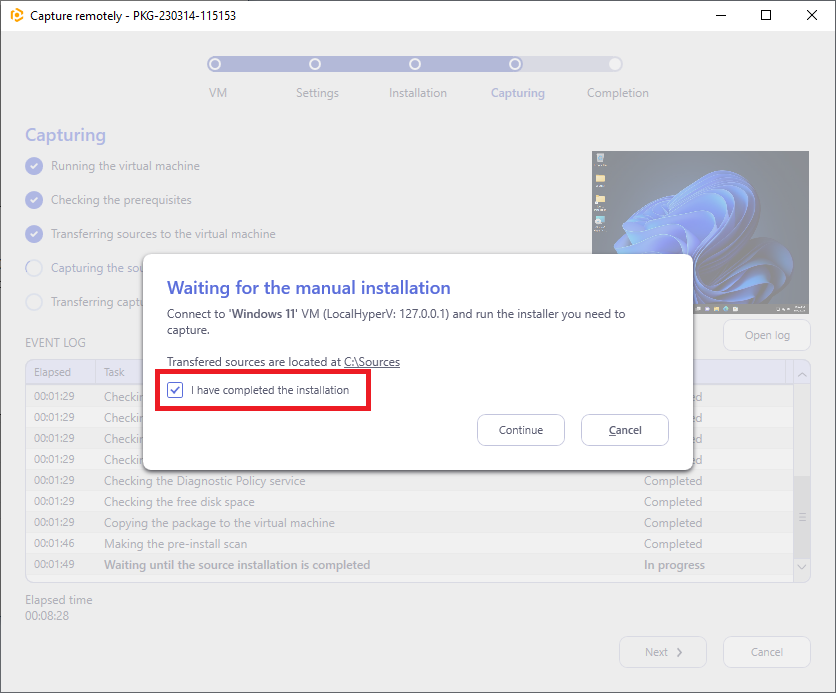
When finished, switch back to the capturing wizard on your work station (PC), tick I have completed the installation and click Continue.
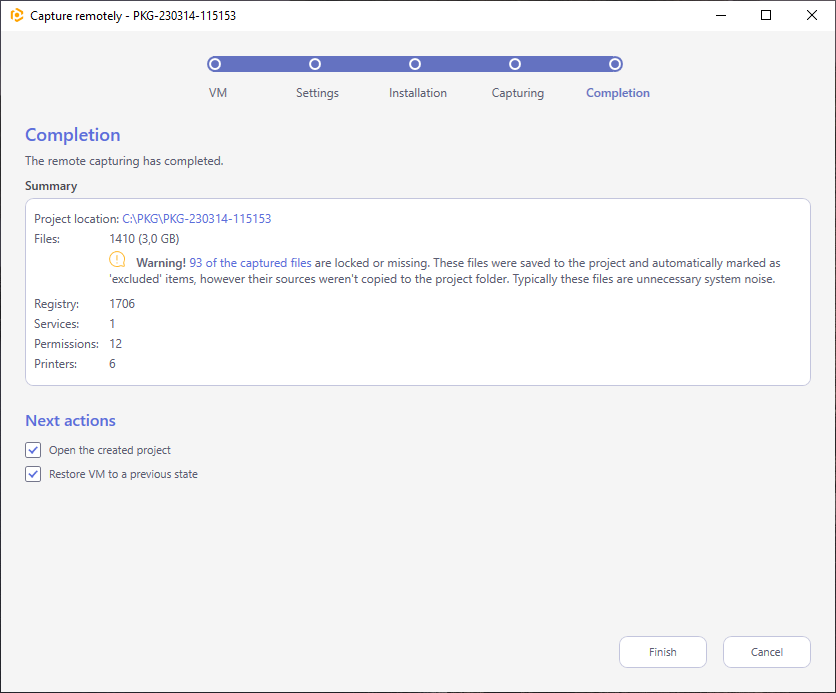
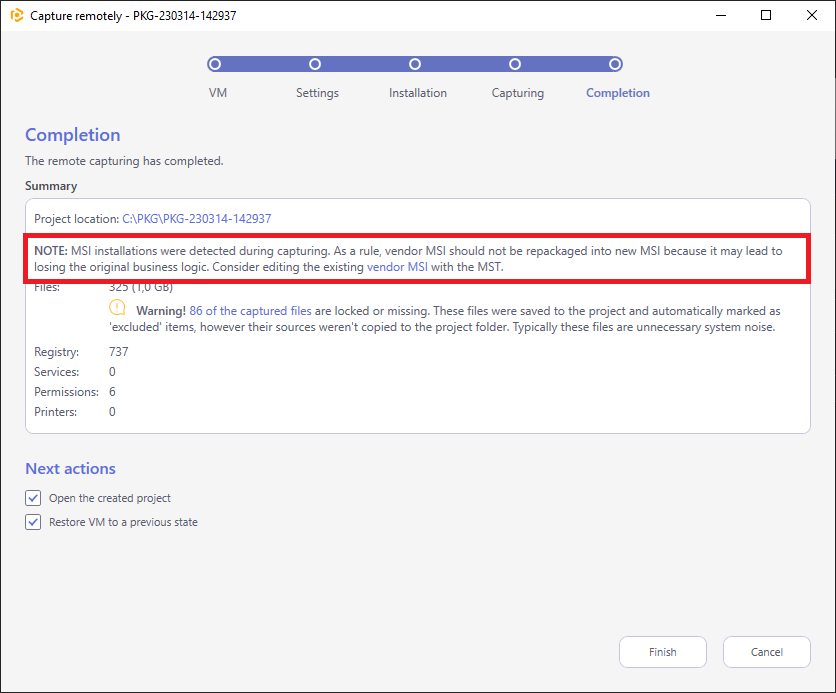
- Capturing is completed. Click Finish to close the wizard. By default, the created capturing project will be opened for editing and the virtual machine be restored to the previous state.
Note
If the capturing Summary contains the detected ‘vendor’ MSI packages, consider editing them via transform (MST) instead of repackaging. Repackaging the existing vendor MSI into a new MSI may lead to losing the original business logic.
Note
PACE Suite covers the whole range of application packaging tasks - learn more.
Try PACE Suite for free - 21 days no obligations unlimited trial with all functions unlocked.
