Note
You are not reading the most recent version of this documentation. See the latest version available.
MSIX from scratch
Create a blank project, add files, registry, select package settings and build MSIX/APPX package.
- Run MSI Generator either from the Start Menu shortcut or from Launcher on your work station (PC).


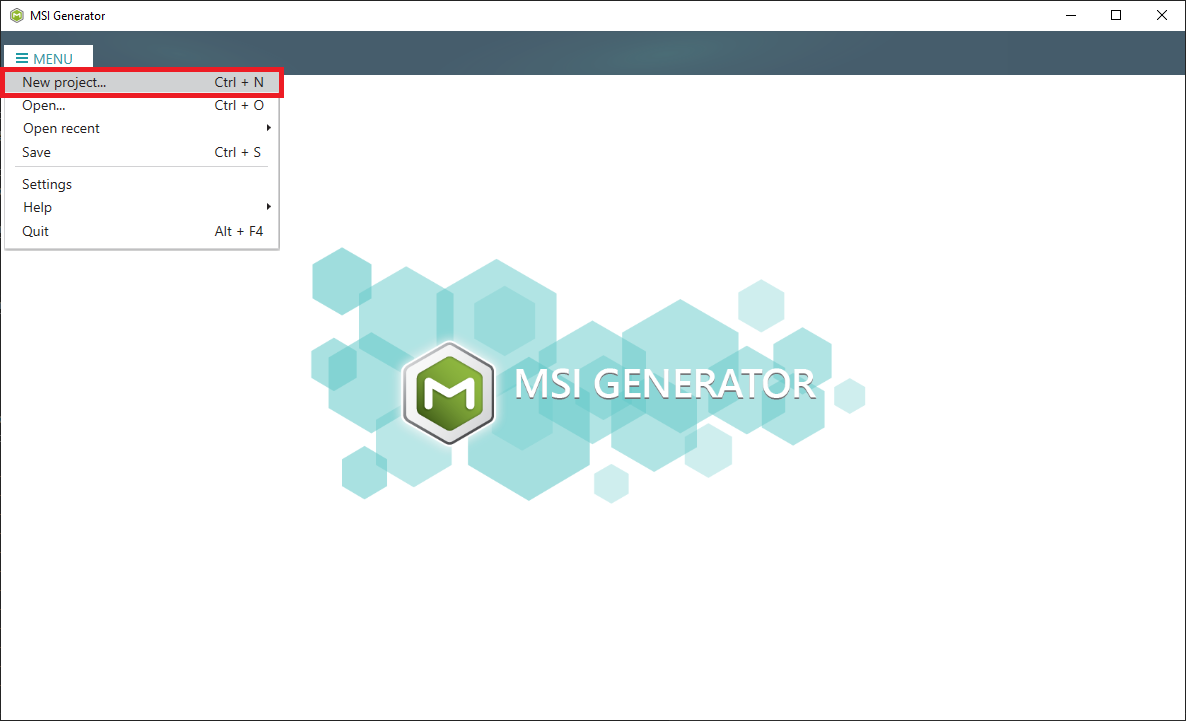
- Select MENU > New project.

- Enter a project name and click Create.

- Now, import resources into your project, set product information and package settings:
- Generate the MSIX/APPX package clicking Build UWP in the Package > MSIX tab.

- Find your package in the “
AppX\Output” subfolder of the project folder. To open the project folder, click Go to…, located next to the Project folder field.
Warning
In order to install the generated MSIX/APPX package:
(1) Enable the Developer Mode or Sideloading apps on the target system.
(2) Ensure that the certificate, used for signing, is trusted on that system. If you are using the self signed certificate, install it manually to the Trusted People or Trusted Publishers local machine certificate store. By adding a certificate to local machine certificate stores, you affect the certificate trust of all users on the computer. It is recommended that you remove those certificates when they are no longer necessary to prevent them from being used to compromise system trust.
Note
PACE Suite covers the whole range of application packaging tasks - learn more.
Try PACE Suite for free - 21 days no obligations unlimited trial with all functions unlocked.
