Note
You are not reading the most recent version of this documentation. See the latest version available.
Capture system changes to MST
Capture system changes, which were made to the file system and registry, by script, by application or manually and save them into MST file, generated against the selected MSI package. Along with files and registry, services and environment variables, you can capture the modified permissions to the file system and registry.
- Launch MSI Generator.
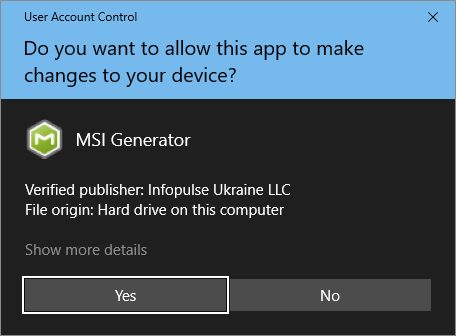
- If you have the User Account Control enabled, click Yes to launch the application.
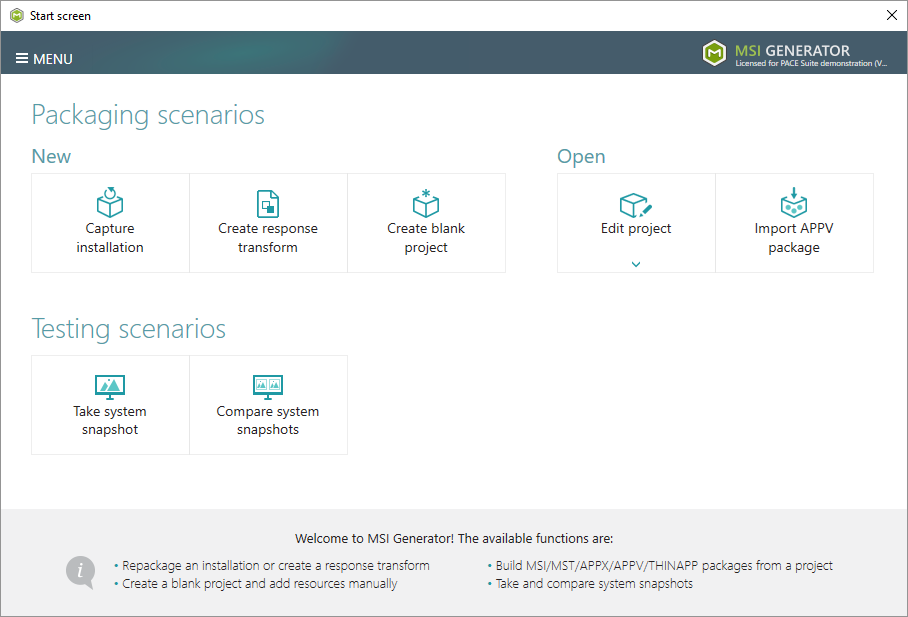
- Click Capture installation.
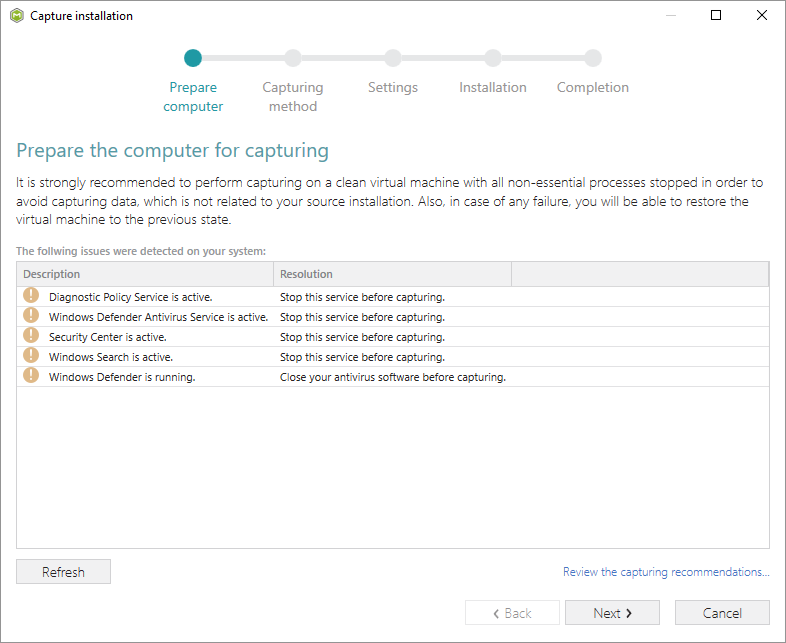
- Review the issues, which were detected on your system, and try to resolve them by closing the non-essential applications and stopping services. Thereafter, click Next >.
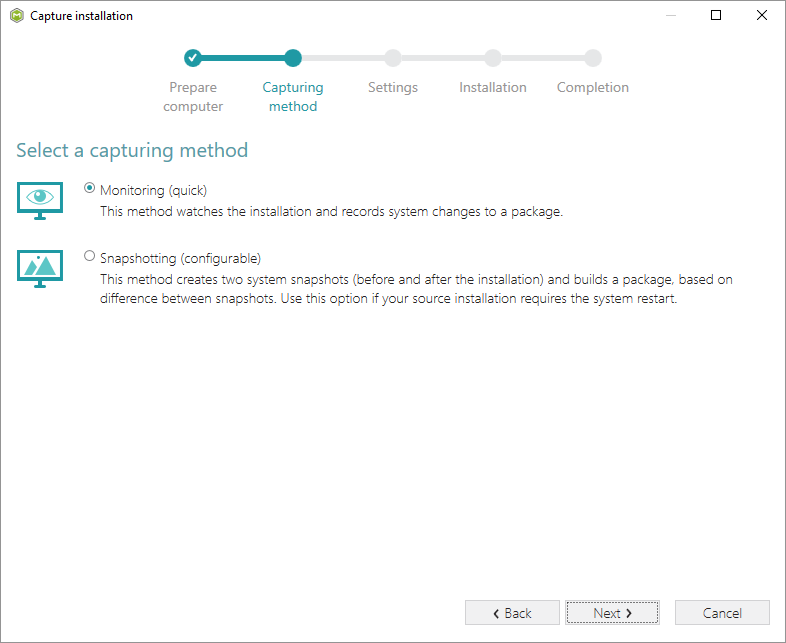
- Select the Monitoring method for the quicker capturing (or use the Snapshotting one if you need to continue capturing after the system restart) and click Next >.
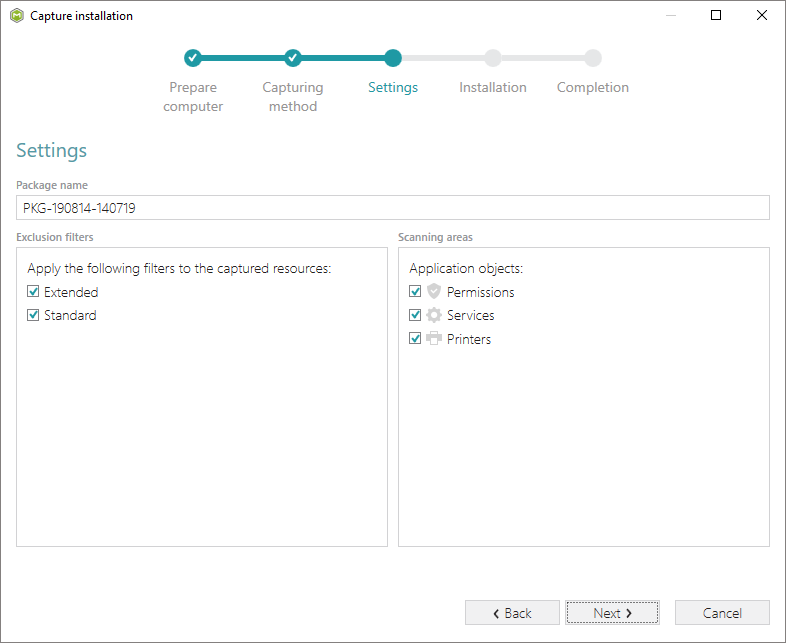
- Set (update) the package name. If needed, disable unnecessary exlusion filters and scanning areas. Click Next > to start the capturing.
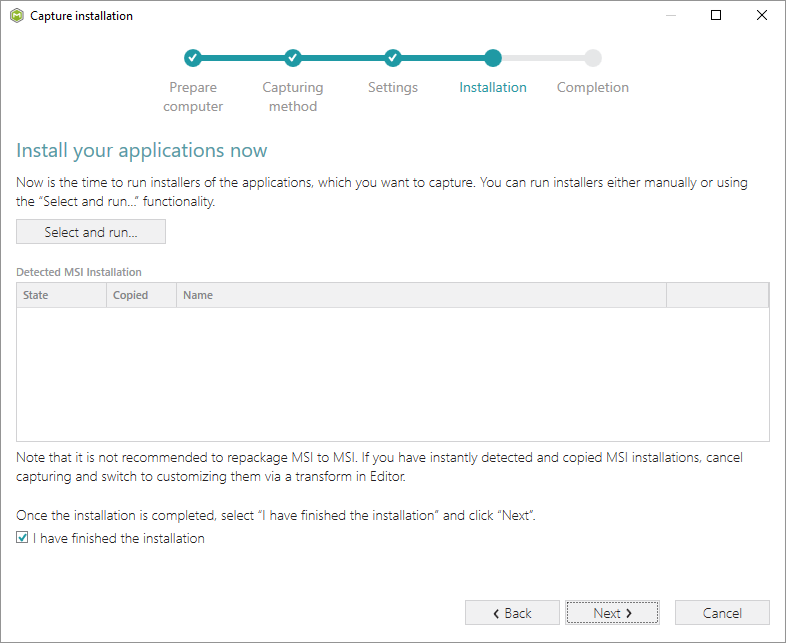
- Now you can make any changes to the file system and registry, which you want to capture and include to the MST file. For instance, you can copy files, import REG file to the system registry, change file, folder permissions, or launch the installed application in order to capture the necessary application configurations, like disabling updates and so on.
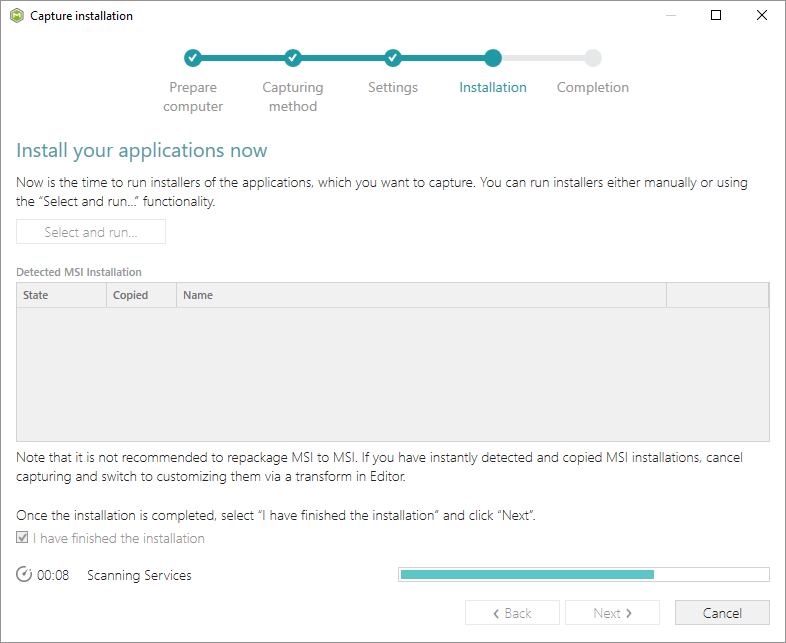
- Finally, to complete the capturing, select I have finished the installation and click Next >.
- Wait a little, while the capturing process is finishing, filtering captured data and creating the project.
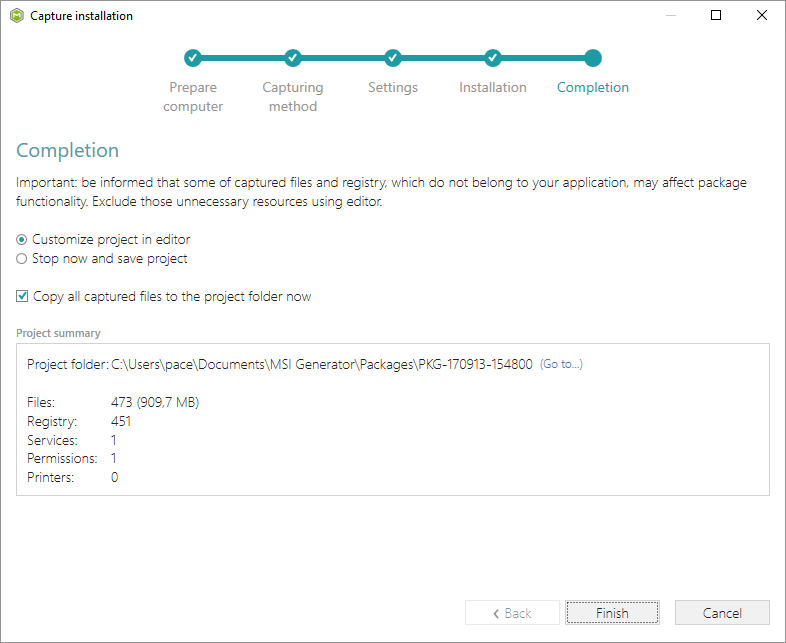
- Leave selected both the Customize project in editor and Copy all captured files to the project folder now options and click Finish.
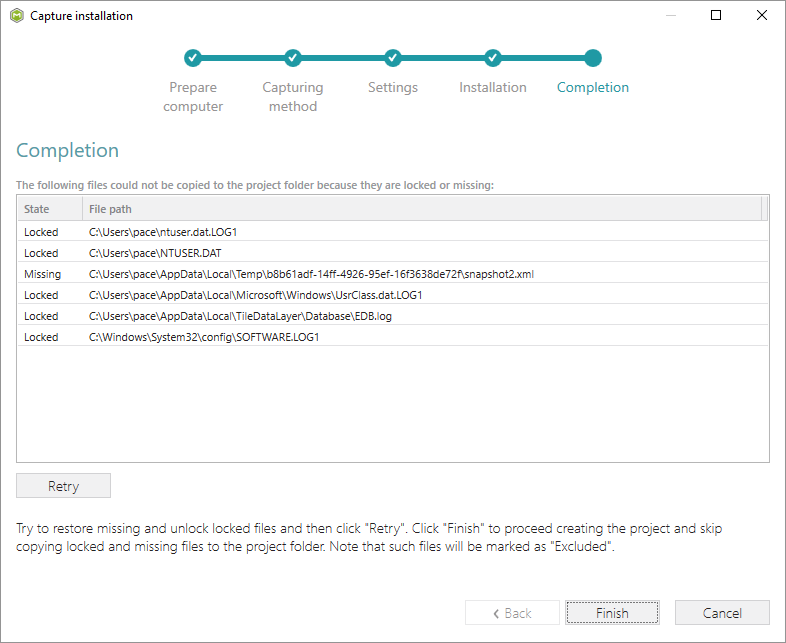
- If some of captured files are locked or missing and as result they could not be copied to the project folder, they will be displayed as illustrated below. Usually, the displayed files are system noise and do not refer to the captured application.
Click Finish to continue with skipping locked and missing files. Note that such files will be automatically marked as ‘Excluded’ in your project.
- Once the project is opened, it is strongly recommended to review the captures resources (files, registry, services, etc.) and Exclude those items, which do not belong to the captured application. Such accidentally captured resources are also called system noise and it could be Windows Updates, Search indexing, Antivirus software and so on.
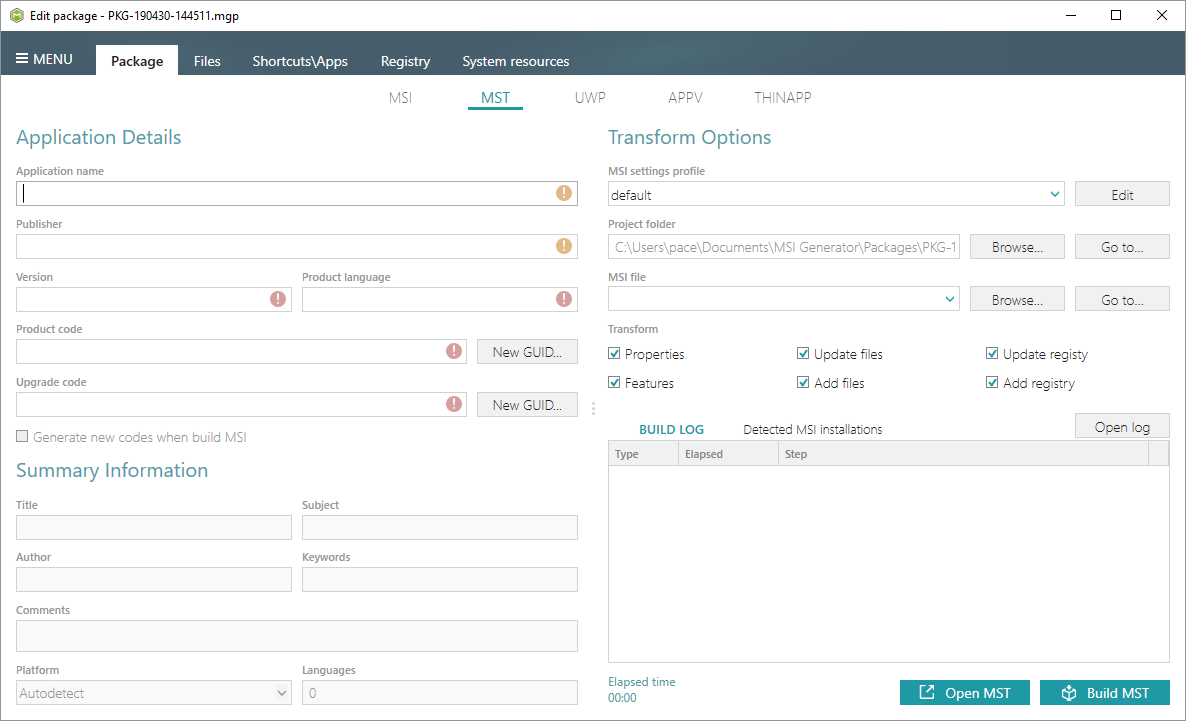
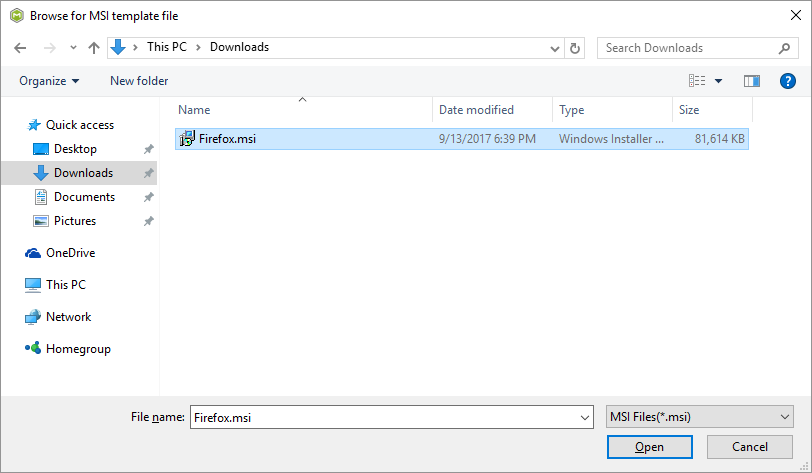
- Navigate to the Package > MST tab and specify an MSI package, for which you want to create an MST. For this, click Browse…, located next to the MSI file
- Choose an MSI package (e.g. Firefox.msi) and click Open.
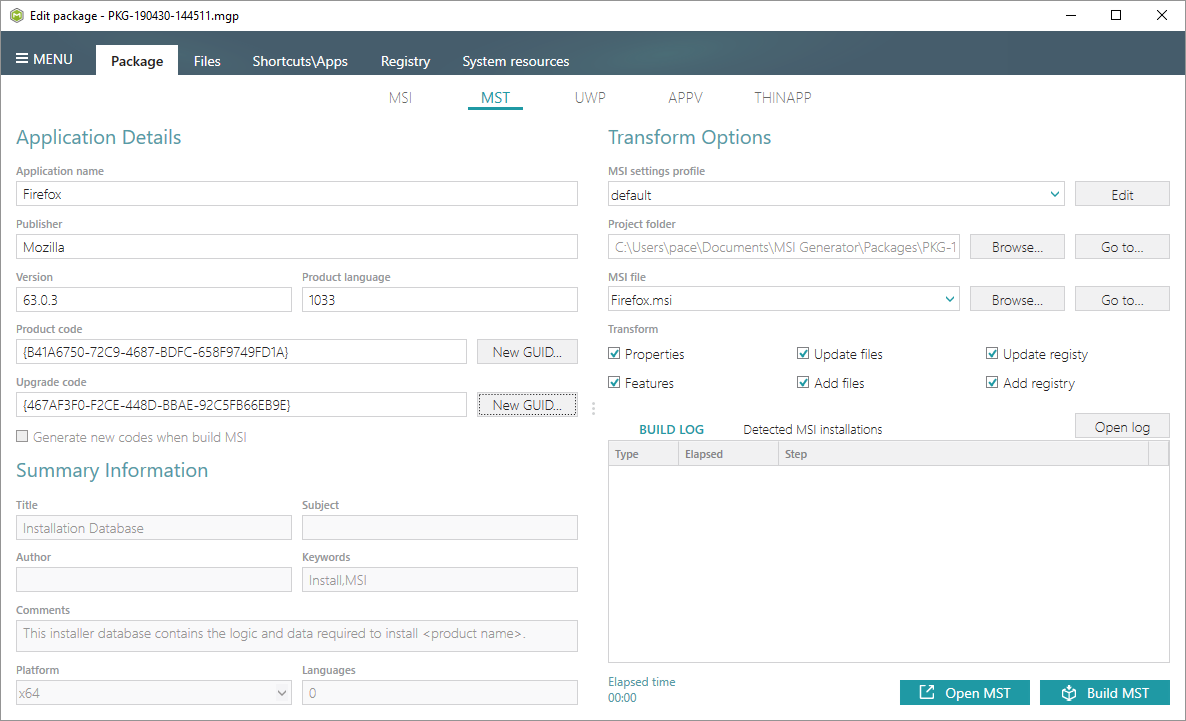
- Specify (update) product information, compression type, advertising tables, active setup and other MSI settings:
[MGP][MSI settings] Advertising tables (Class, ProgID, Extension, etc.)
[MGP][MSI settings] Media settings (compression type)
Note
Internal cabinets (option name ‘Compressed in MSI’) are incompatible with MST.
- To generate an MST click Build MST on the Package > MST tab.
Note
The generated MST will contain only those resources that do not exist in the selected MSI package.
- Find your MST in the “
MST” subfolder of the project folder. To open the project folder, click Go to…, located next to the Project folder field.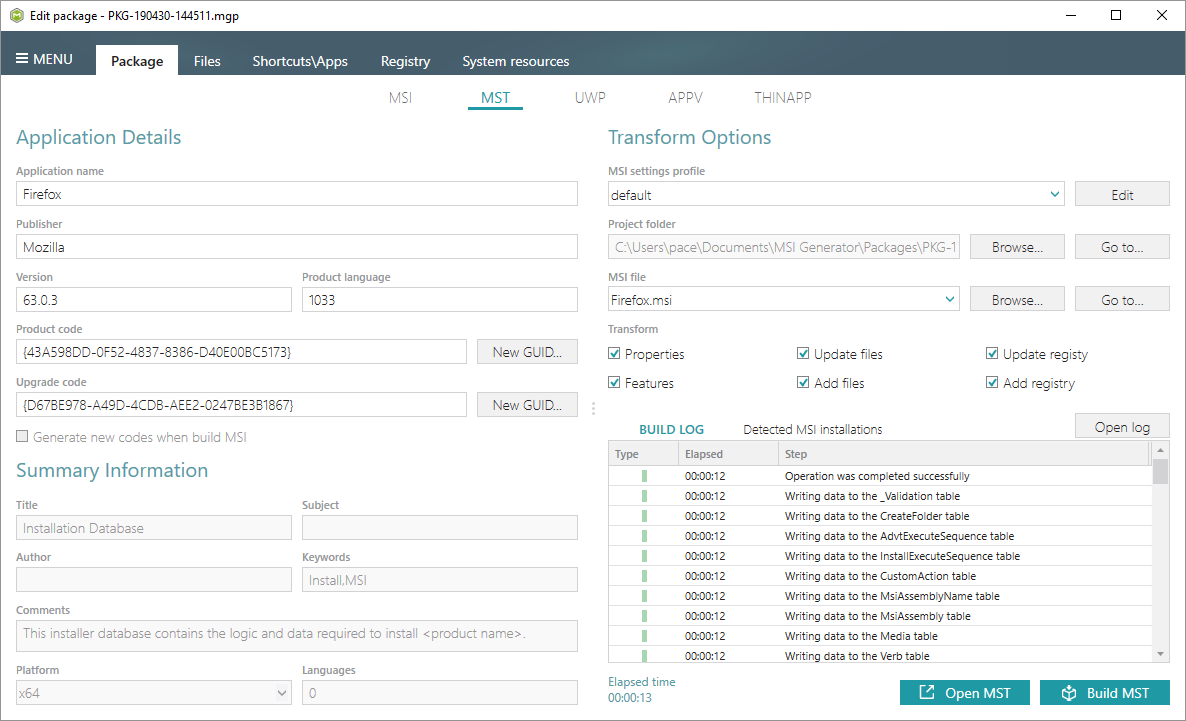
Note
PACE Suite covers the whole range of application packaging tasks - learn more.
Try PACE Suite for free - 30 days no obligations unlimited trial with all functions unlocked.