Note
You are not reading the most recent version of this documentation. See the latest version available.
Capturing in the Docker
Capture all changes to the local drives, registry, services and other areas of the Docker container.
The changes can be made by an existing installation (like a black-box EXE) or by the user’s actions (like copying files, importing .REG to the system registry, changing app settings).
The captured resources will be automatically transferred from the Docker container to specified project location via host, where the capturing wizard is run.
Attention
Make sure Docker Desktop is installed and Docker Engine can be started manually without errors.
- Run PACE Suite Launcher either from the Start Menu or Desktop shortcut on your work station (PC).


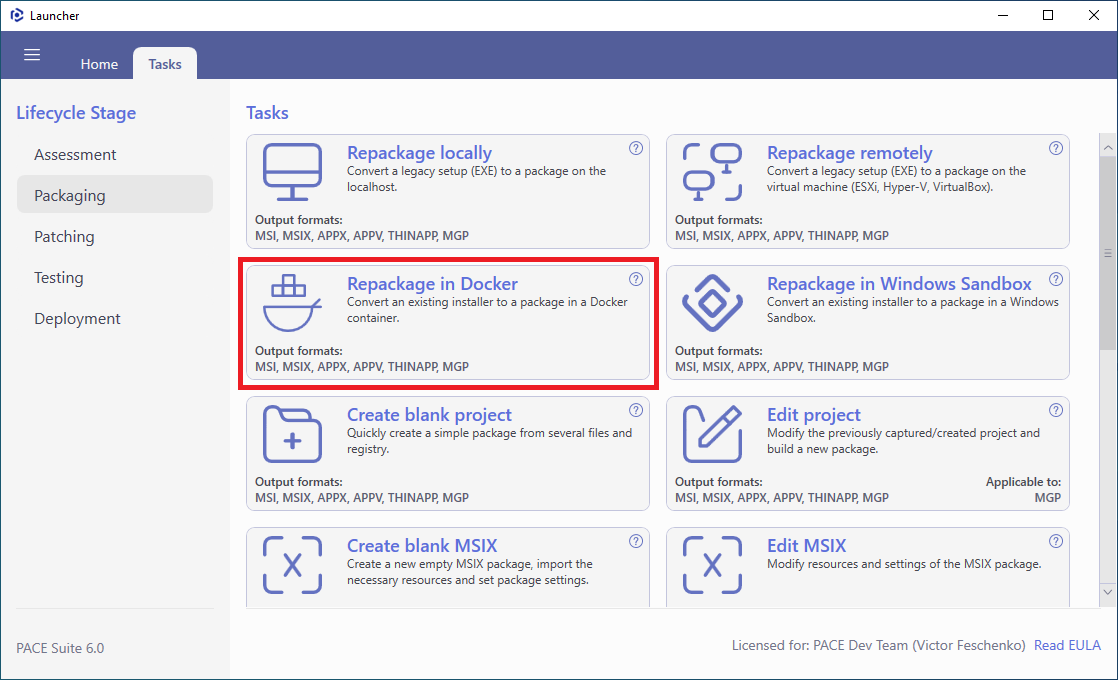
- Click Repackage in Docker in the Tasks > Packaging group.
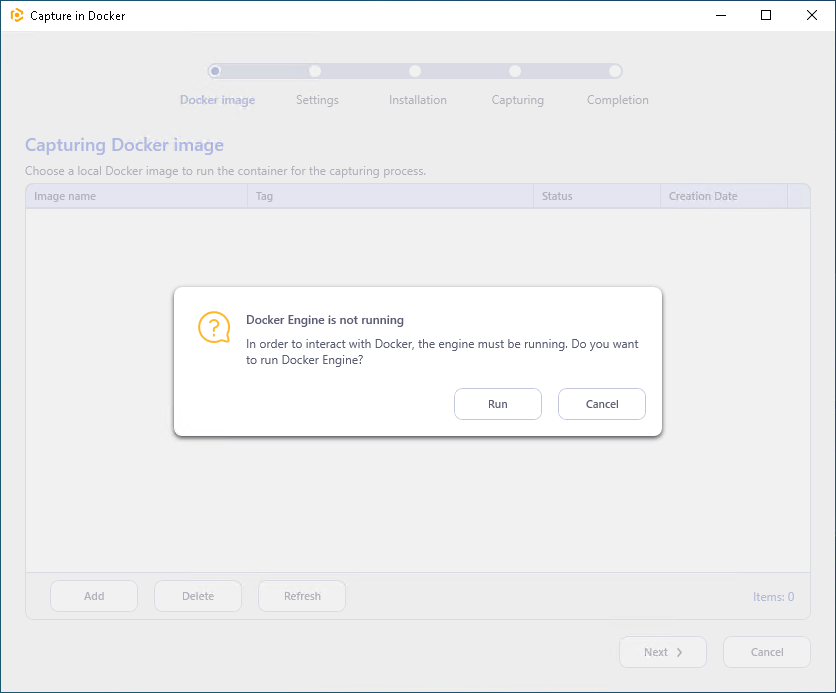
- The wizard checks whether the Docker Engine is running. If not so, click Run to automatically run the Docker Engine.
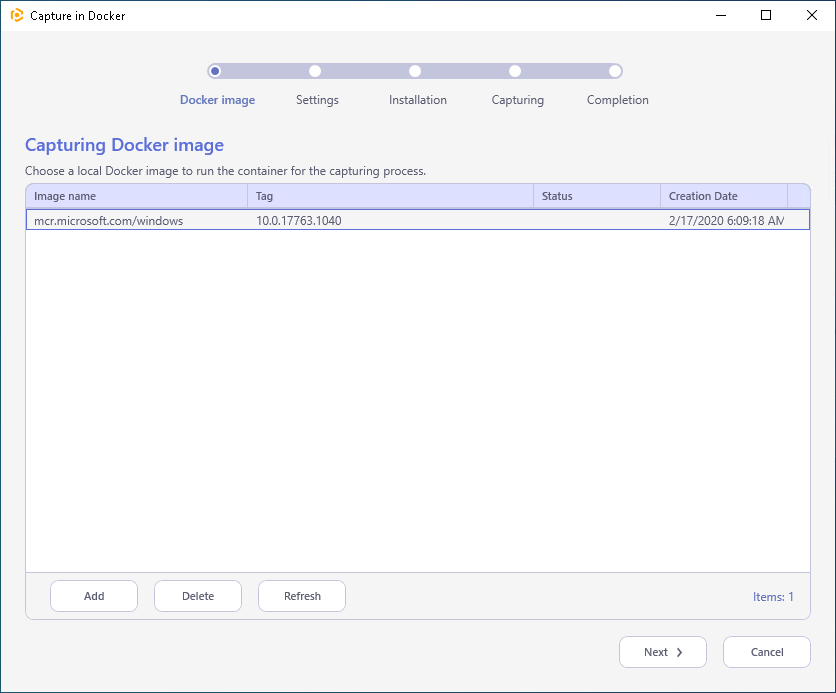
- Select the Docker image with Windows OS to start the container for capturing and click Next >.
If there are no images in the list, click Add to get a new Windows OS image. It will be automatically downloaded from the Docker Hub.
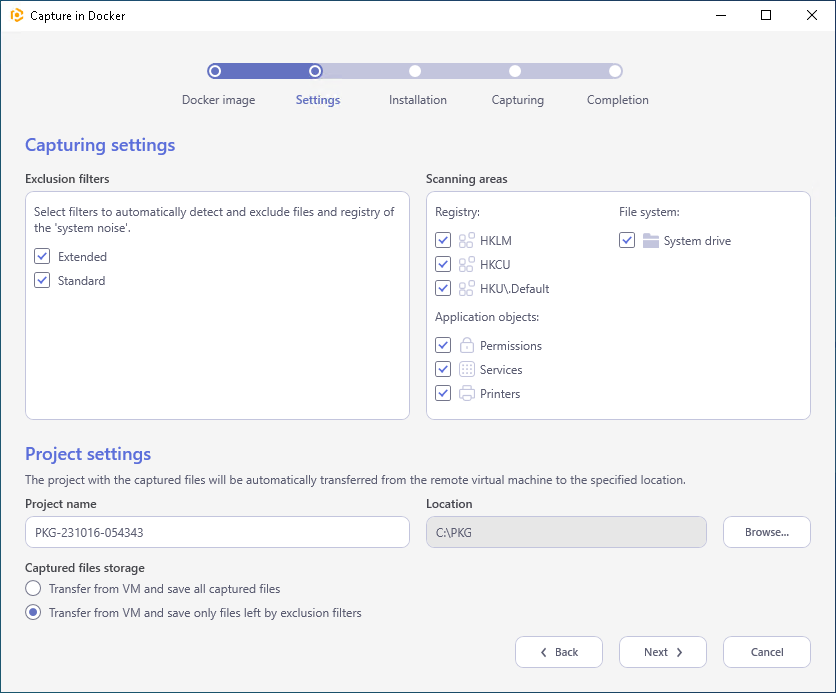
- Customize the project name, its location, choose exclusion filters that will be used to detect and filter out the unnecessary resources. Then, click Next >.
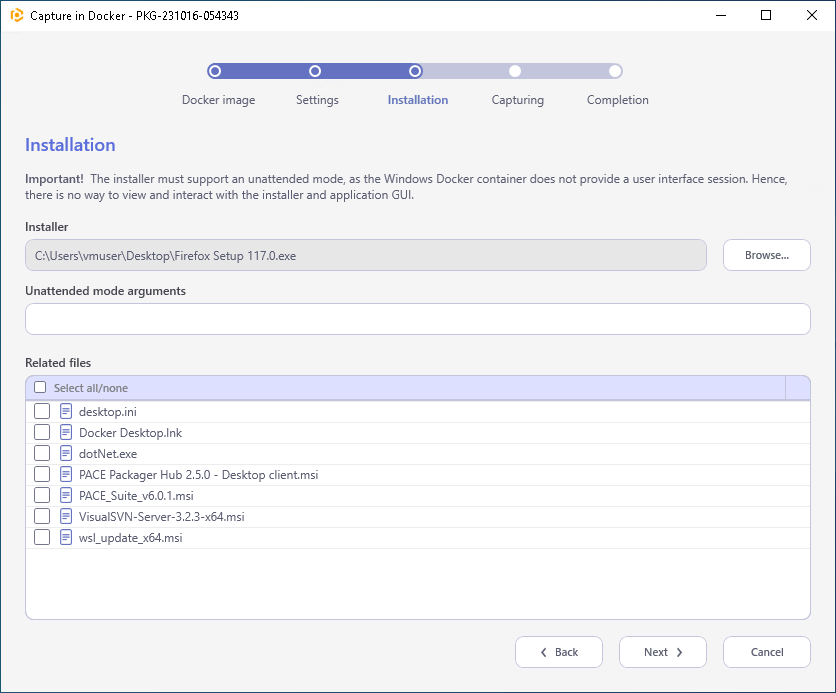
- Select the source Installer and specify Unattended mode arguments for the silent install. For the MSI installer, Unattended mode arguments can be left empty. Also, select the installation Related files that must becopied to the Docker container along with the source installer and click Next >.
Note
The selected installer must support an unattended mode, as the Windows OS image for Docker does not provide a user interface session. Hence, there is no way to view and interact with the installer and the installed app.
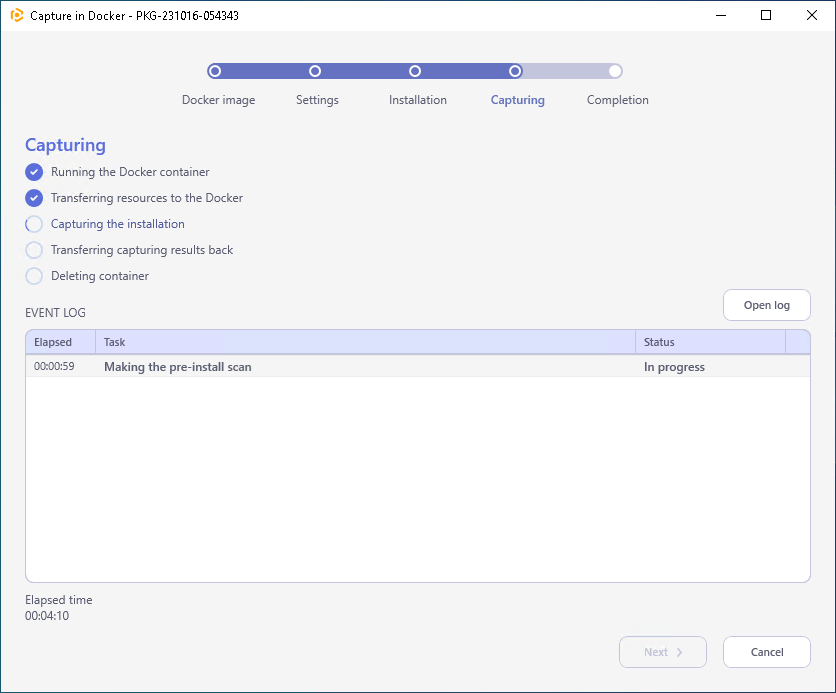
- Wait while the wizard creates the Docker container with the selected OS image, transfers source files to that container, starts and completes the capturing process, transfers the capturing results back to the specified project folder.
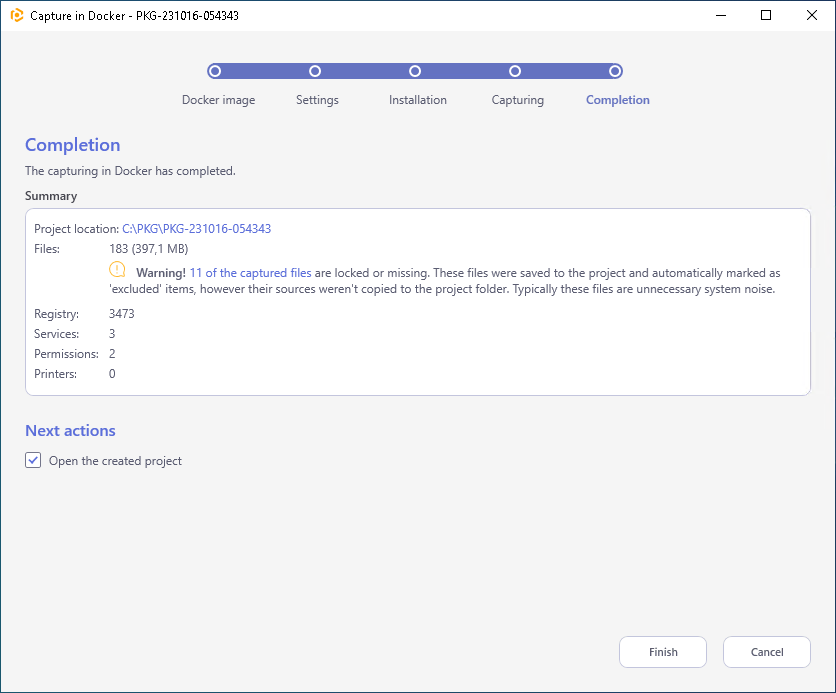
- Capturing is completed. Click Finish to close the wizard. By default, the created capturing project will be opened for editing in the Package Generator.
Note
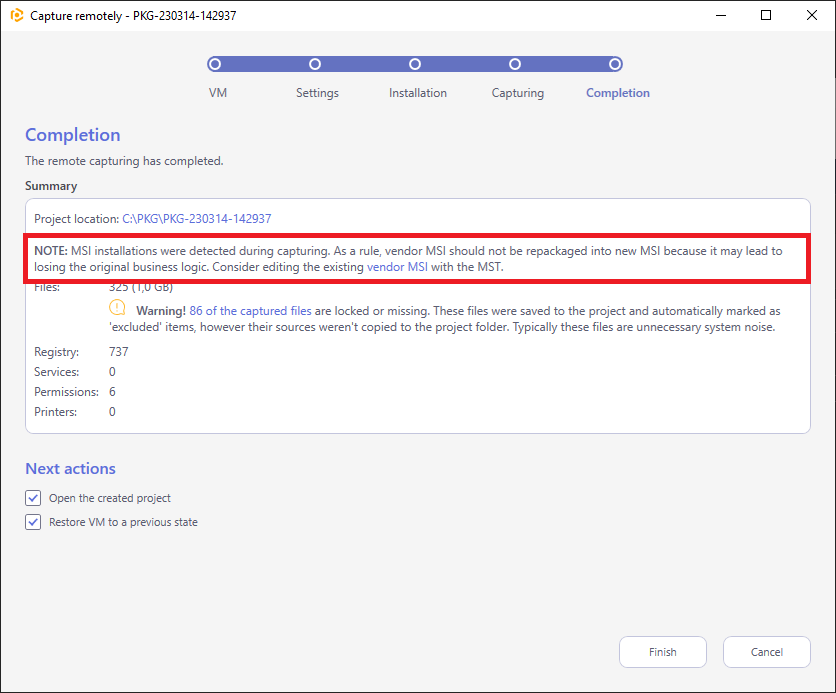
If the capturing Summary contains the detected ‘vendor’ MSI packages, consider editing them via transform (MST) instead of repackaging. Repackaging the existing vendor MSI into a new MSI may lead to losing the original business logic.
Example:
Note
PACE Suite covers the whole range of application packaging tasks - learn more.
Try PACE Suite for free - 21 days no obligations unlimited trial with all functions unlocked.
