Note
You are not reading the most recent version of this documentation. See the latest version available.
[MSI] Import fonts from file system
Import fonts to the MSI package and register them on the target system.
Important
Precondition: Open an MSI package in MSI Editor (see Open MSI/MST).
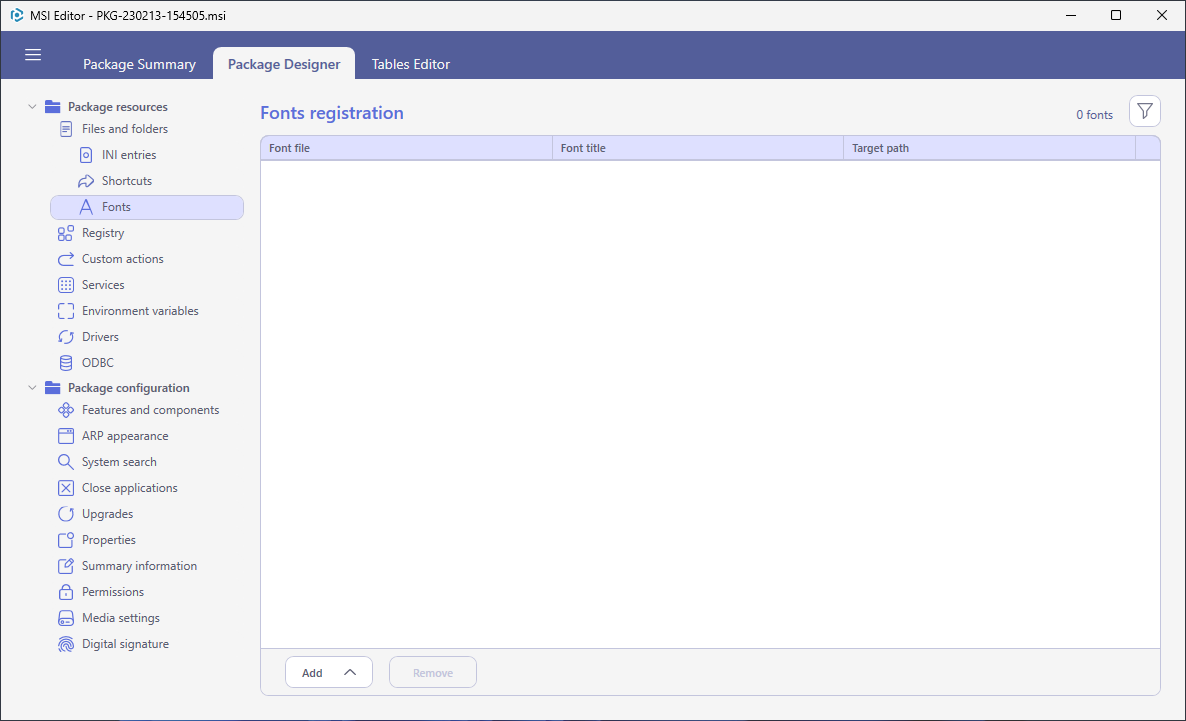
- Go to the Package Designer > Fonts tab.
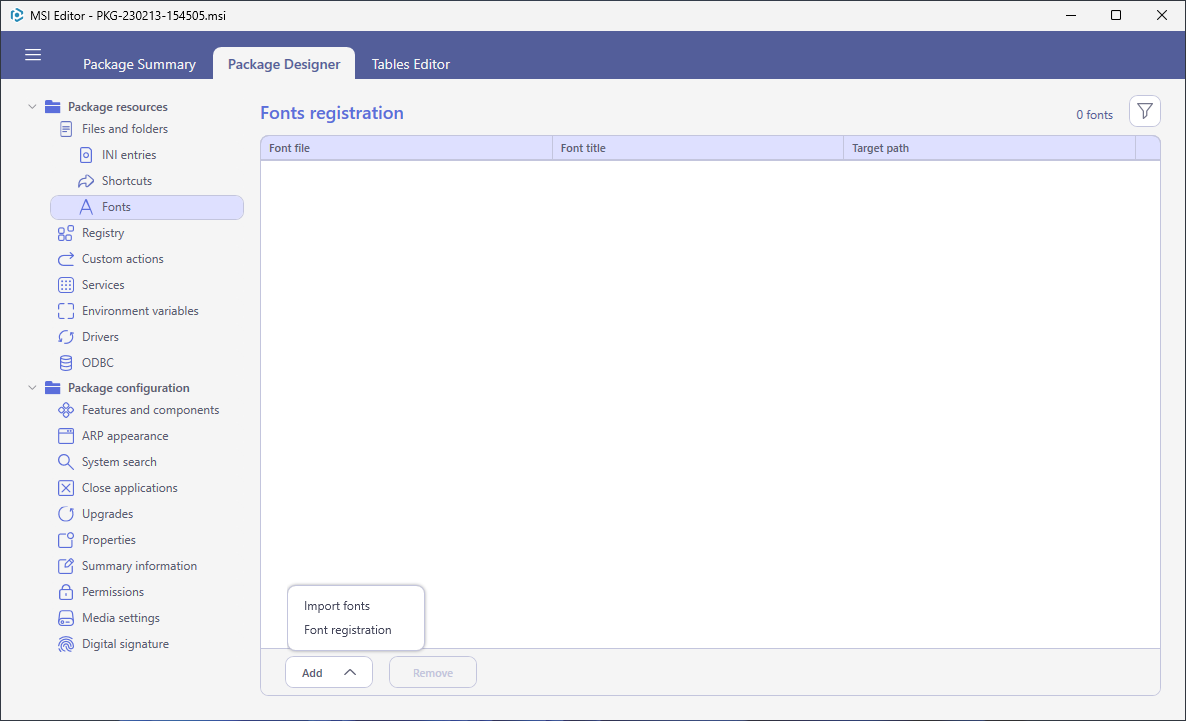
- Select Add > Import font from the toolbox.
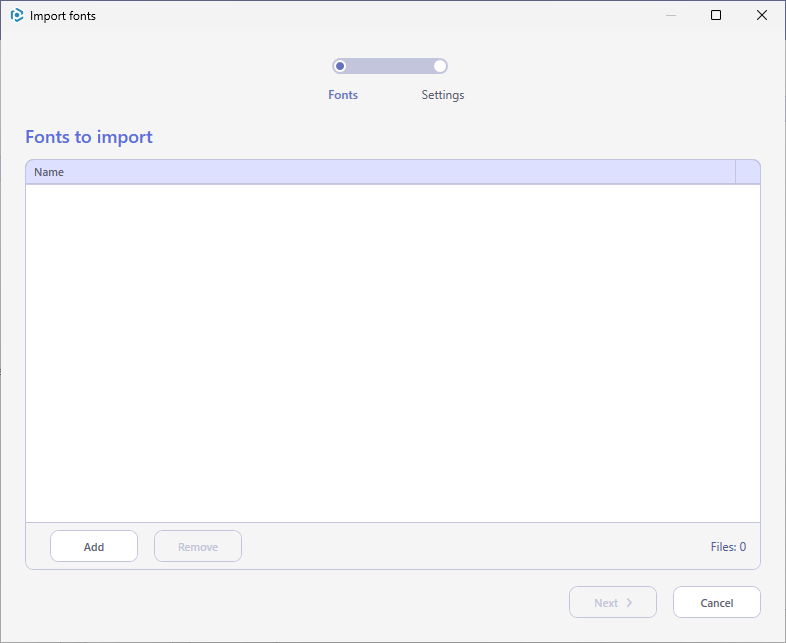
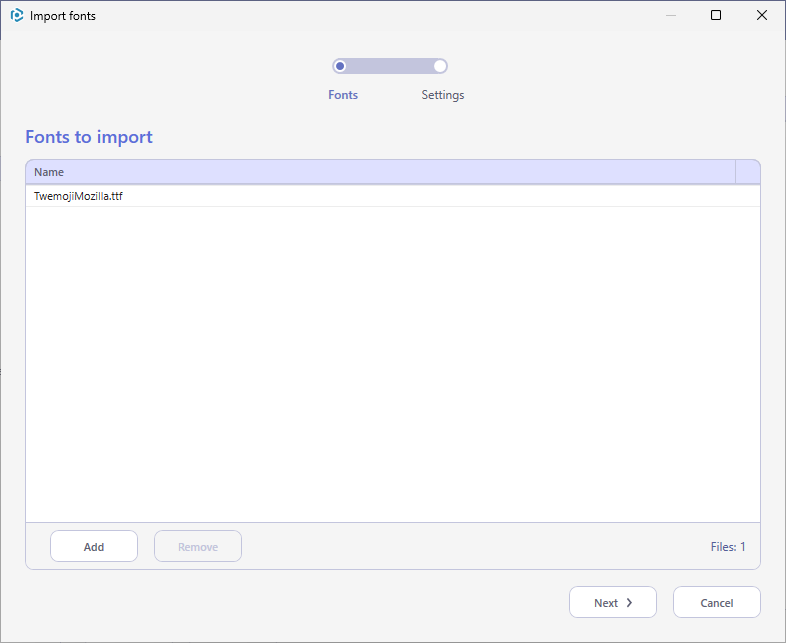
- In the opened wizard, click Add to select fonts to import.
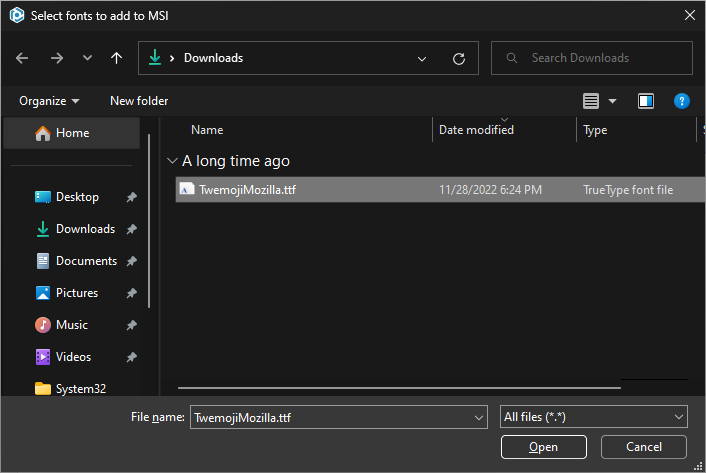
- Choose the font files you need to import and register. Then, click Open.
- Click Next to proceed to the settings.
- Select the feature-component assignment settings, a location where the font files will be installed, and click Finish.
Note
It is recommended to install Fonts to
C:\Windows\Fonts(‘FontsFolder’ directory property)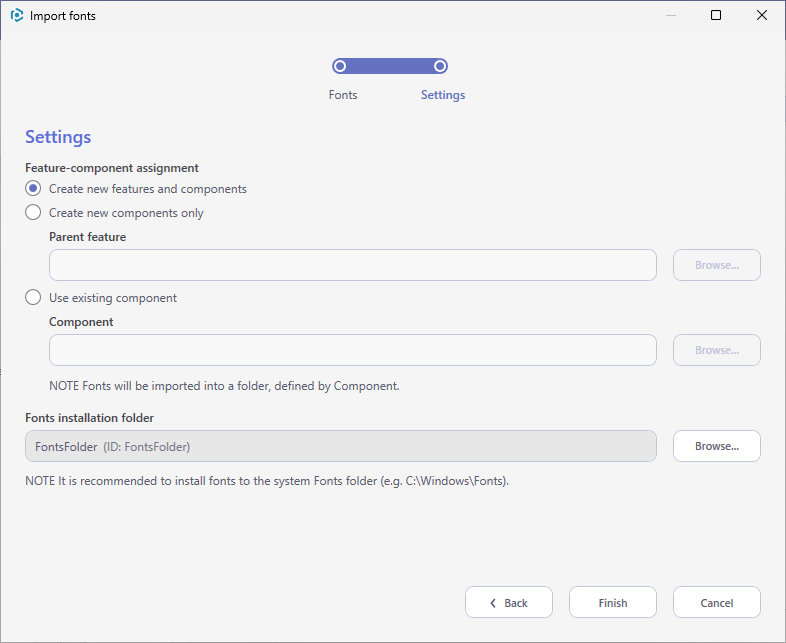
- To choose the media settings (compression type) for the imported font files, go to the Package Designer > Media settings tab. For additional information, see [MSI] Change media (compression type).

Warning
In fact, the selected font files will be imported to the package
only during saving the package. The Media table will be
filled-in only when files are processed and copied.
Save (Ctrl+S) the package before running the ICE or other validation.
Note
PACE Suite covers the whole range of application packaging tasks - learn more.
Try PACE Suite for free - 21 days no obligations unlimited trial with all functions unlocked.
