Note
You are not reading the most recent version of this documentation. See the latest version available.
Discovery documentation
Record all your on-screen actions into a DOC/DOCX document with the screenshots and annotations. Such document could contain installation and configuration instructions and the like.
Note
To take screenshots of the app that is run in the admin mode run Docu Generator in the admin mode - press Shift and select Run as administrator from the context menu of the Docu Generator shortcut.
- Run Docu Generator either from the Start Menu shortcut or from PACE Suite Launcher.


- Click Record scenario to start taking series of screenshots.
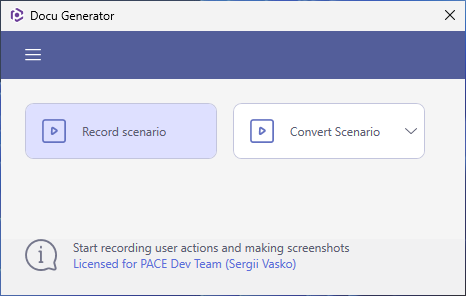
- To review or update Docu Generator hot keys, used for taking snapshots, click Hot Keys.
By default, Shift + Left mouse click is used to take a screenshot of an active window or screen area; Ctrl + Shift + PrintScreen to select a screen area to grab.
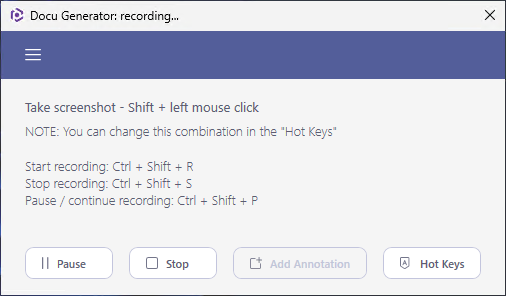
- Now, perform actions that you need to record and save to document. Using the Docu Generator hot keys run some app, go through dialogs selecting the necessary options and entering values.
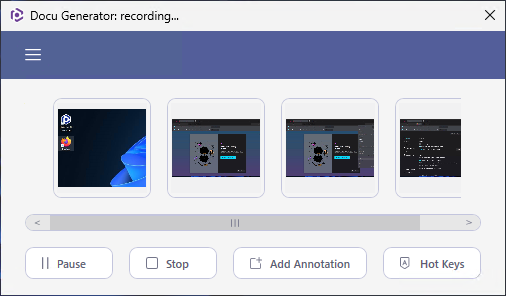
A preview of every taken screenshot appears in the Recording window.
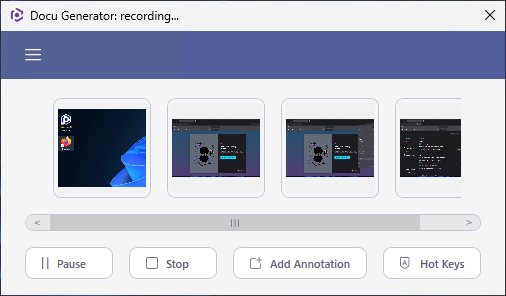
- For every taken screenshot you can Add annotation or Remove the unnecessary ones.
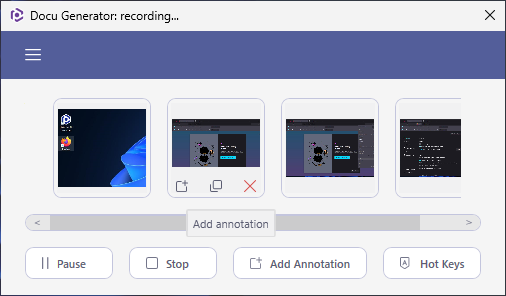
- To compete recording click Stop.
- Select the document format, saving options and click Save to create document.

Note
The created DSCN file in the output folder is the Docu Generator project that lets you return to your scenario later.
Document saving options
Option |
Description |
|---|---|
Save user actions |
Add names of controls (which were clicked on), captured windows and dialog boxes. |
Show mouse position |
Add mouse pointer position and highlights it with a red circle on screenshots. |
Show started application info |
Add paths and command line arguments of the run apps. |
Show contents of edited fields |
Add content of input fields of the captured windows and dialog boxes. |
Template |
Specify a Microsoft Word (DOT/DOTX) or HTML/MHT file that will be used as a template for the output documents. The template must contain the textual
placeholder If you specify placeholder If placeholder |
Note
PACE Suite covers the whole range of application packaging tasks - learn more.
Try PACE Suite for free - 21 days no obligations unlimited trial with all functions unlocked.
