How to convert EXE to APPX
Universal Windows Platform (UWP) format is getting increasingly important for modern application packaging, and repackaging installers to APPX packages for Desktop Bridge is the best way to bring your desktop apps to the Universal Windows Platform. Use this guide if you want to convert EXE to APPX or MSI to APPX. To create APPX package from scratch, view this tutorial.Looking for MSIX, the latest packaging format from Microsoft? PACE Suite supports MSIX too. Check out the guide on creating packaging in MSIX.
Why Use PACE Suite to Convert EXE to APPX?
Our approach to creating UWP packages is to make the repackaging of installers to APPX packages as easy as possible. There is no need to deep-dive into the details of the APPX technology, install Windows SDK components, and prepare peculiar environments to start packaging in this new format. PACE Suite perfectly works as a exe to appx converter and can convert installers to APPX packages independently in your standard packaging environment under Windows 10 or Windows Server 2016 or newer. PACE Suite does not use any third-party utilities (like MakeAPPX.exe) and SDK that either get updates significantly less often than Windows itself or even do not receive updates at all. As our approach uses only Windows libraries that get updated alongside the OS, PACE Suite is always up-to-date when it comes to creating APPX packages.Convert EXE to APPX, MSI to APPX
Repackage your source installation (EXE, MSI, VBS, CMD, etc.) into Universal Windows Platfrorm app package (APPX) using MSI Generator (a part of PACE Suite).To try everything from this guide, download a free PACE Suite trial. Launch MSI Generator and click Capture installation.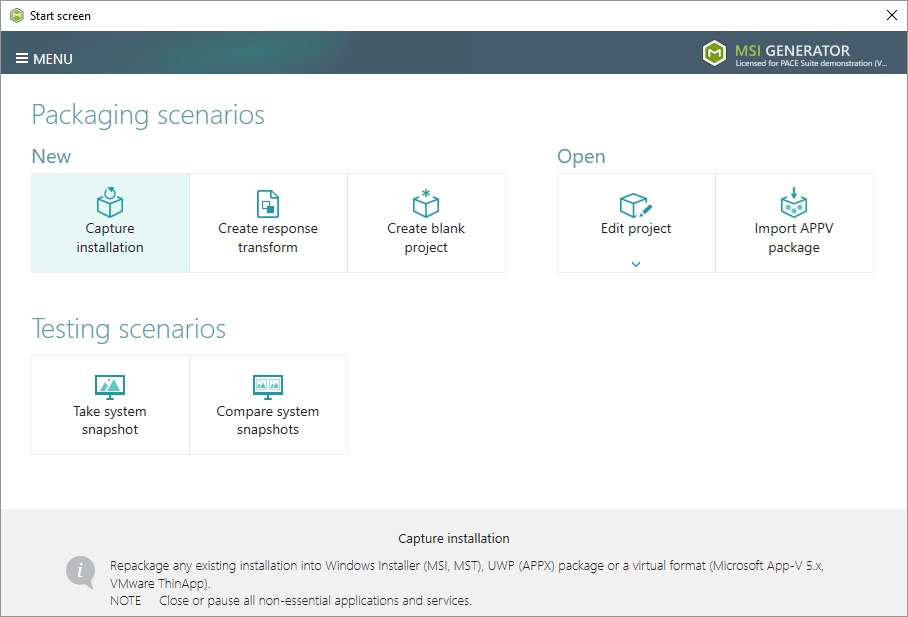
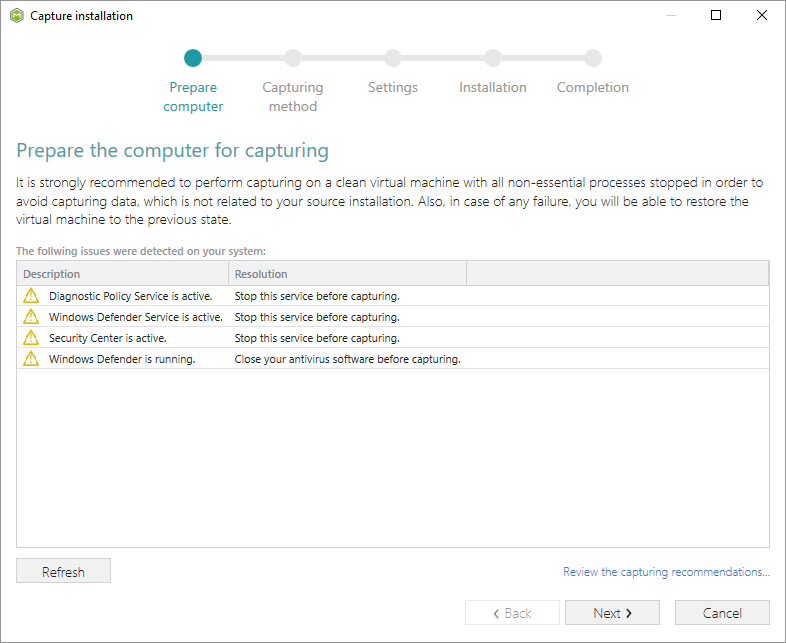
Review the issues, which were detected on your system, and try to resolve them by closing the non-essential applications and stopping services. Thereafter, click Next >.
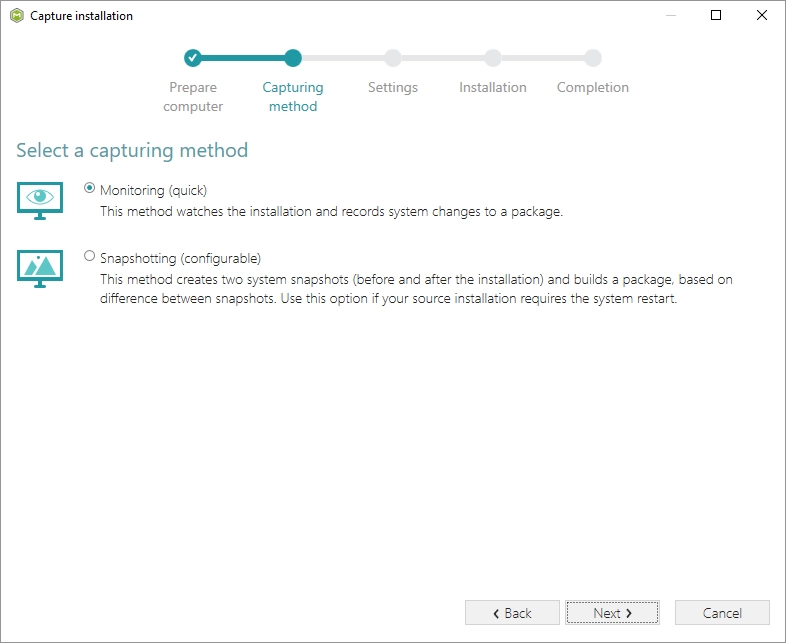
Select the Monitoring method for the quicker capturing (or use the Snapshotting one if you need to continue capturing after the system restart) and click Next >.
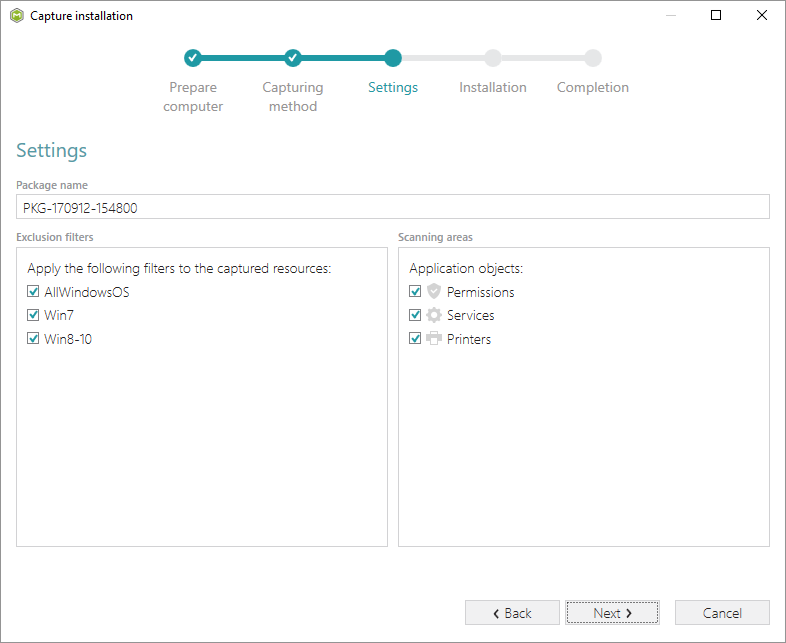
Here you can review and update package name, disable needless exlusion filters and scanning areas. Click Next > to start the capturing.
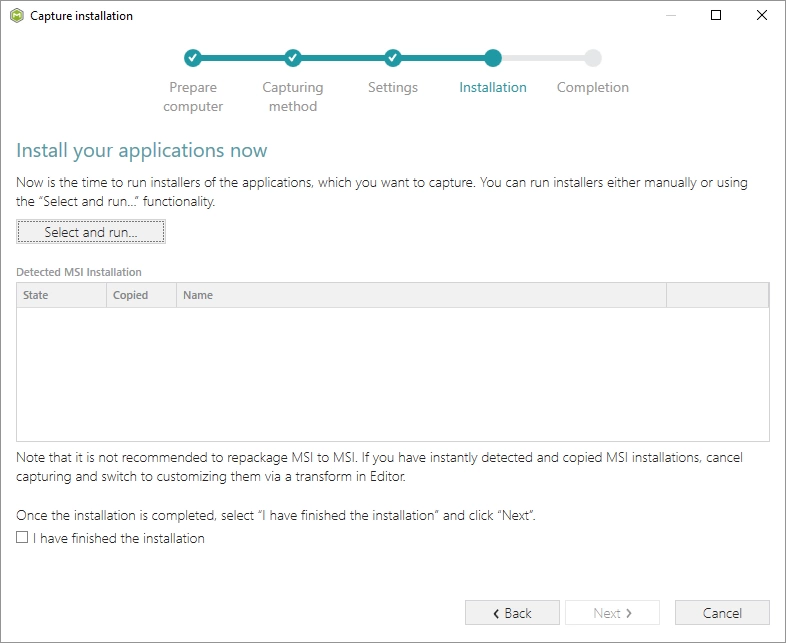
Click Select and run… to choose source installation for repackaging.
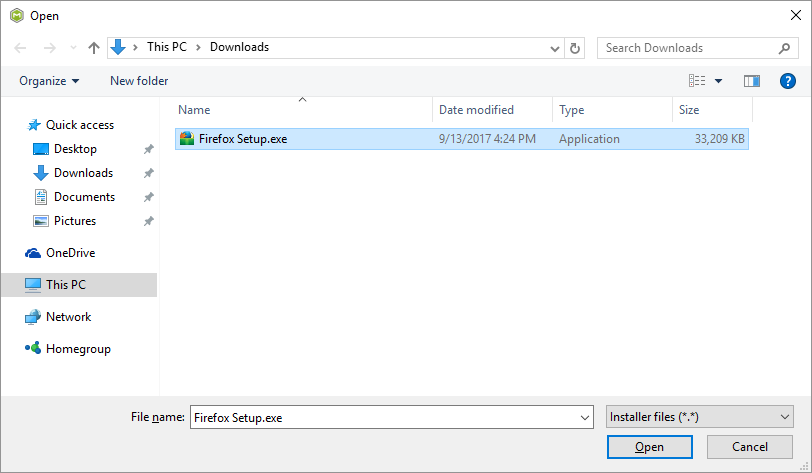
Select the installer file (e.g. Firefox Setup.exe) and click Open.
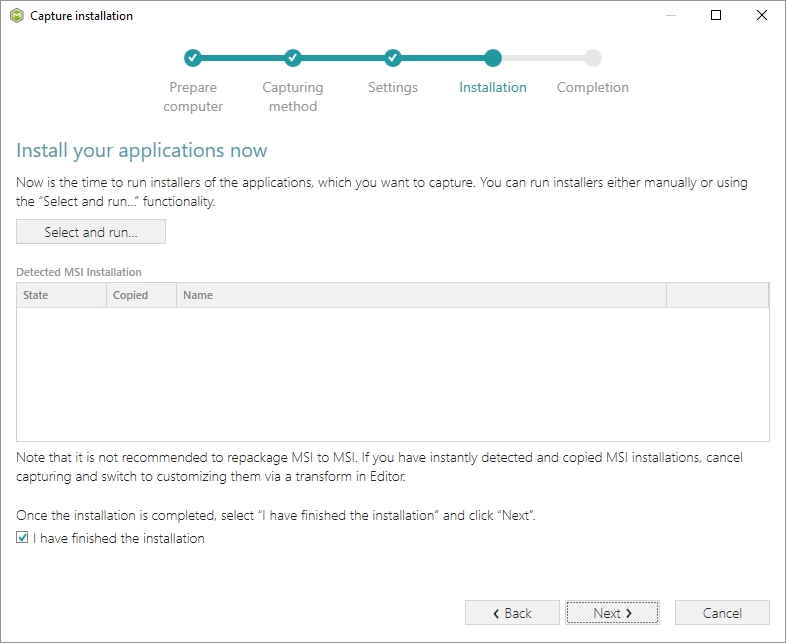
Follow the installation dialogs of the launched source installation to complete it. Now you can make any changes to the file system and registry, which you want to capture and include to the package. For instance, you can create new or copy-paste existing files, import REG file to the system registry, changes permission settings, or launch the installed application in order to capture the necessary application configurations, like disabling updates and so on. Finaly, to complete the capturing, select I have finished the installation and click Next >.
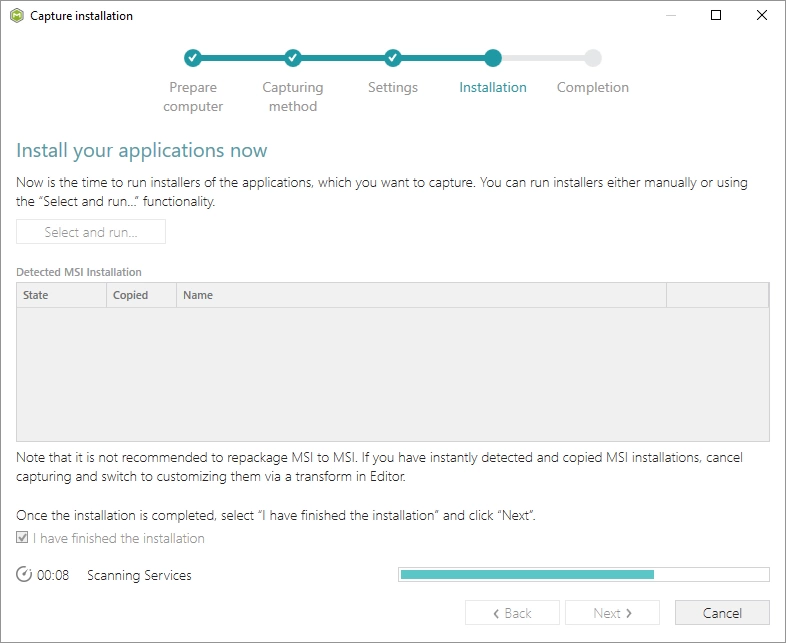
Wait a little, while the capturing process is finishing, filtering captured data and creating the project.
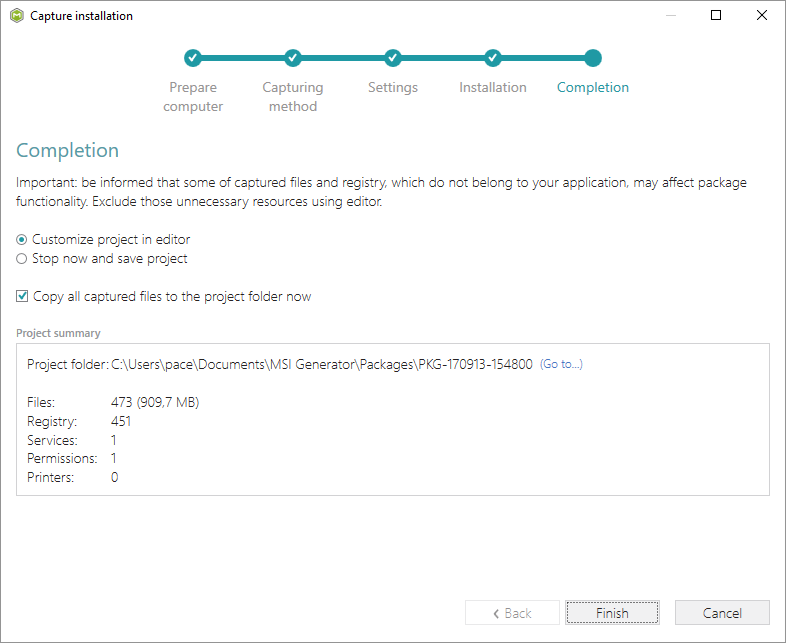
Leave selected the Customize project in editor and Copy all captured files to the project folder now options are selected and click Finish..
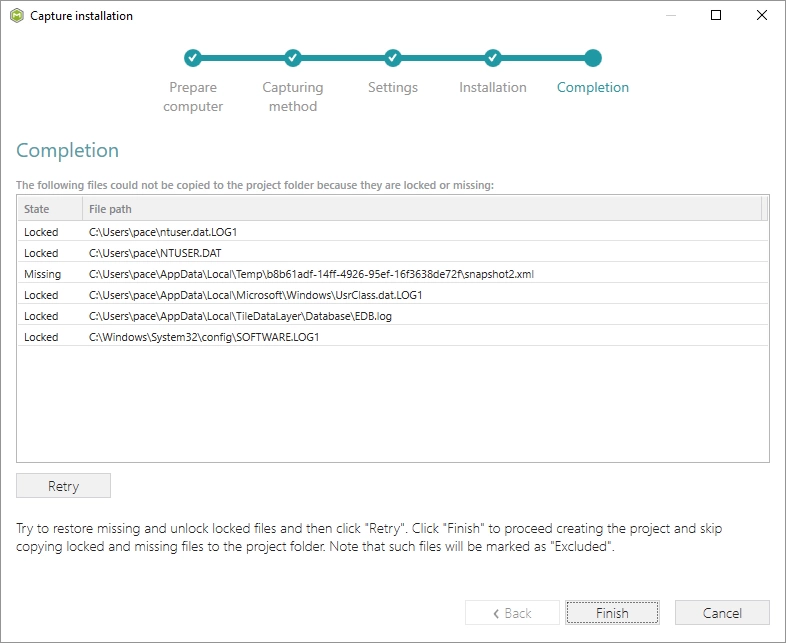
The following dialog displays captured files, which could not be copied to the project folder because they do not exist anymore or locked by the system or by an application. Try to resolve these issues and then click Retry. Click Finish to skip copying the missing and locked files and mark them as Excluded resources.
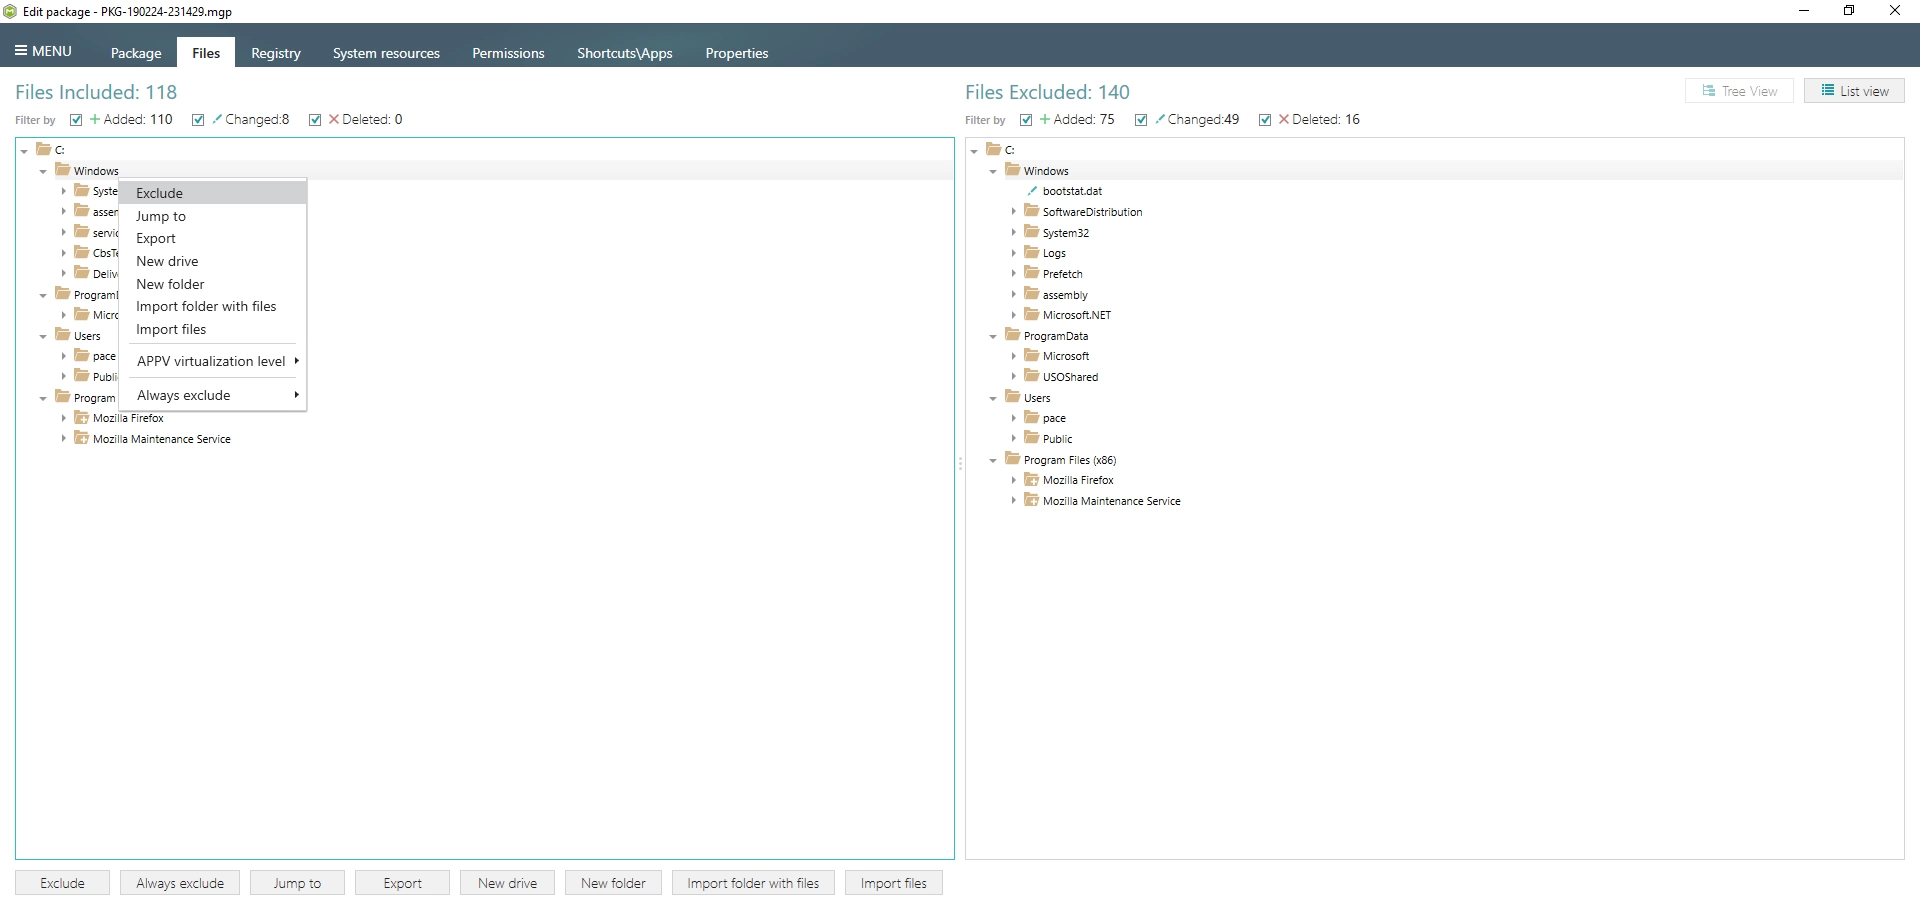
Once the project is opened in the project editor, review the captured resources at the Files, Registry, System resources, Permissions, and Shortcuts and FTAs tabs and exclude unnecessary ones from the project. Unnecessary resources are files, registry entries, which are usually created or modified in the result of operating system work, and such resources could not be a part of your captured application. Unfortunately, there is no universal rule to discover which of captured files or registry entries should be excluded, so exclude only those ones, which almost 100% do not refer to your captured application (e.g. NOD32 antivirus files couldn’t be a part of Firefox application). In order to review and exclude unnecessary files or folders, go to the Files tab, and select Exclude from the context menu of an item, which is located in the left ‘Files Included’ pane.
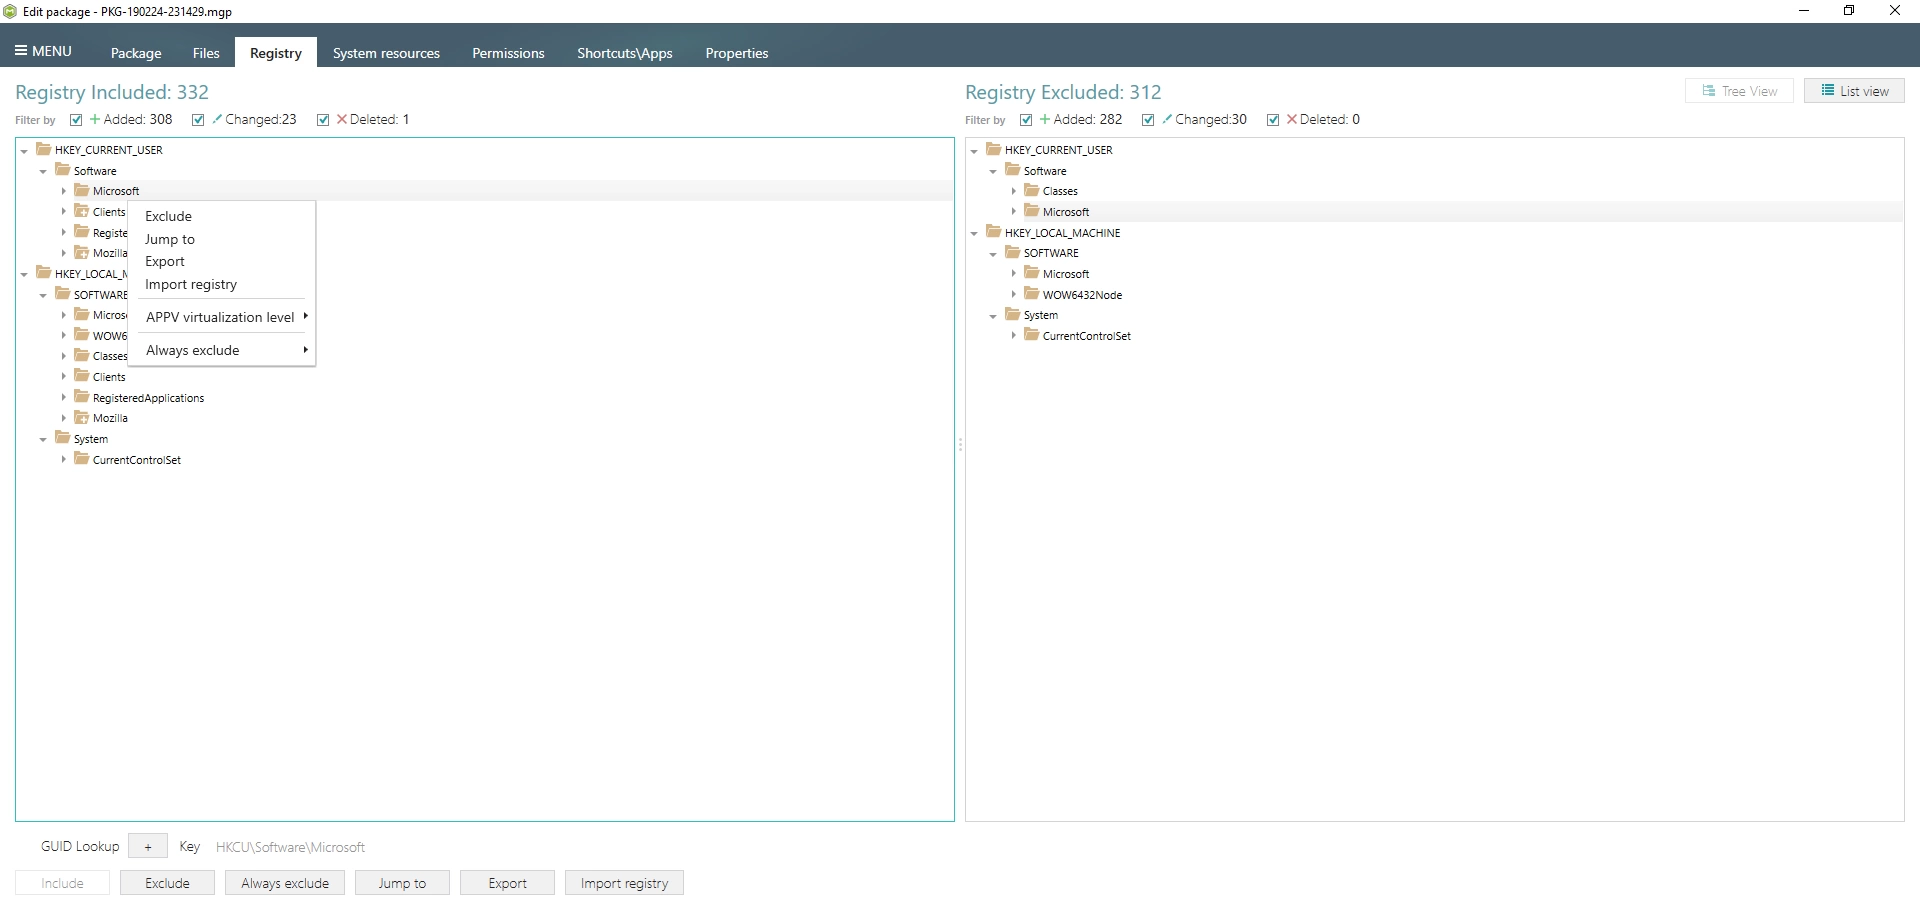
In order to review and exclude unnecessary registry keys or values, go to the Registry tab, and select Exclude from the context menu of an item, which is located in the left ‘Registry Included’ pane.
To review and exlude unnecessary APPX apps (shortcuts), go to the Shortcuts and FTAs -> APPX apps tab and uncheck the checkbox, located before the app name in the list, for those apps, which you want to exclude. Using the details pane, you can update the app display name, logos and so on.

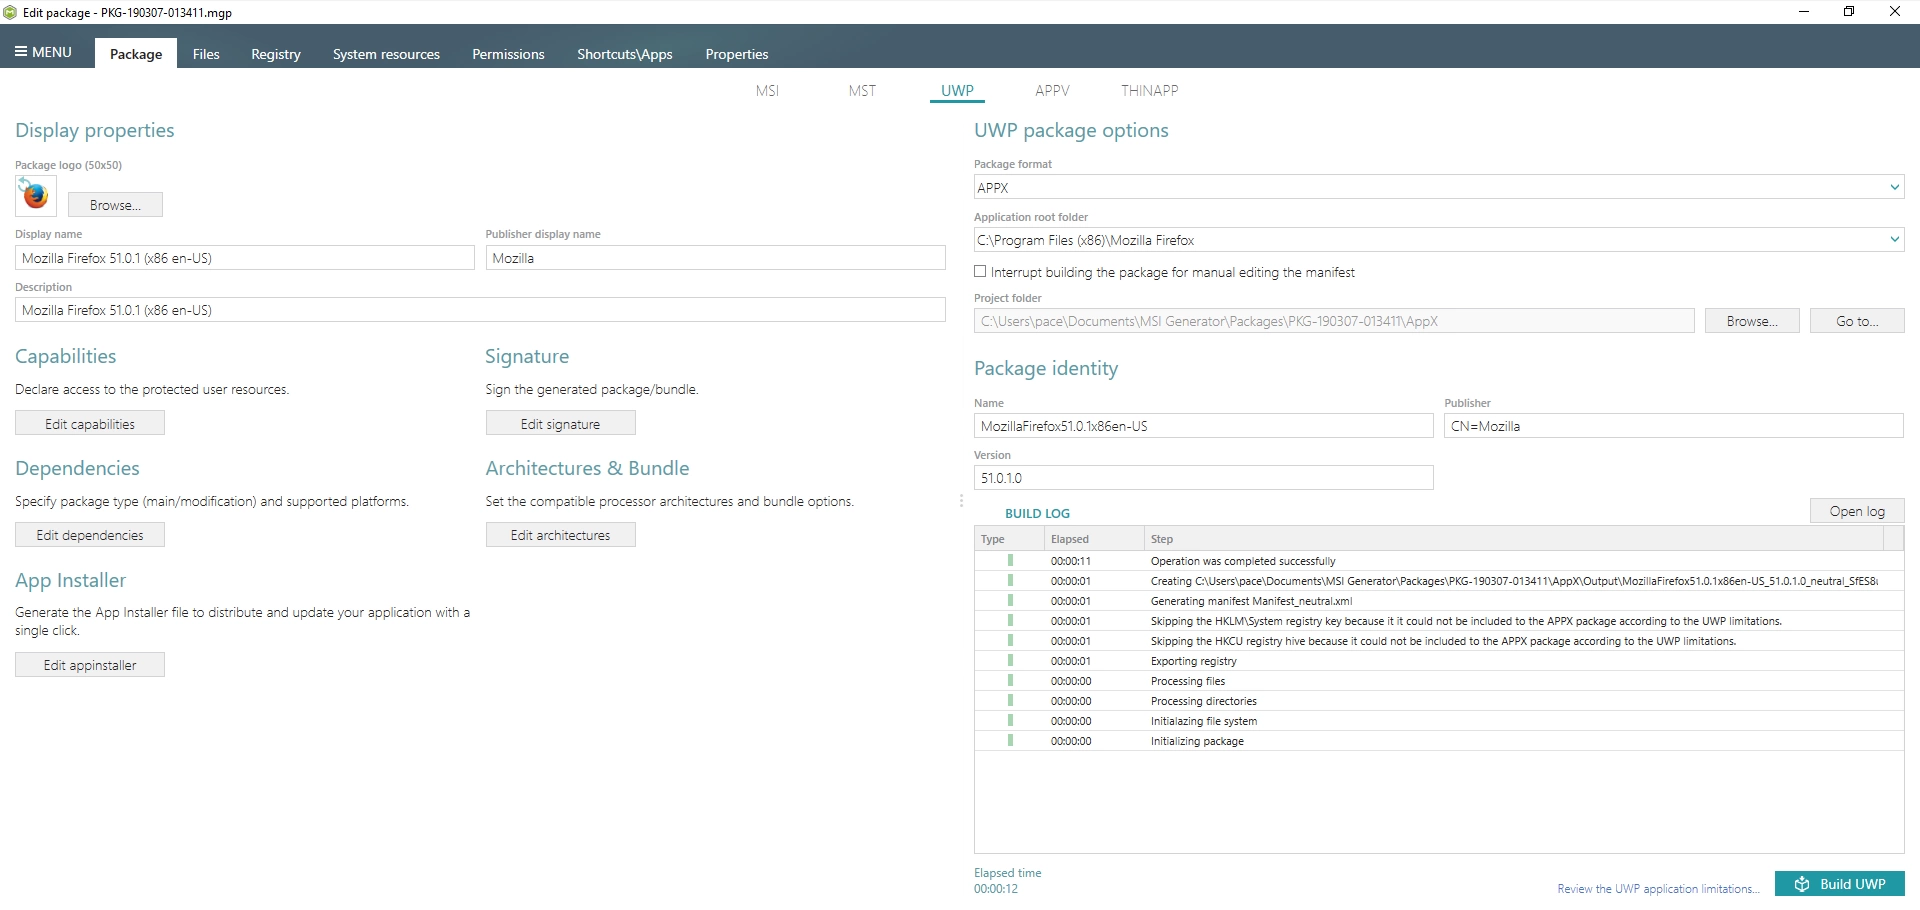
To build APPX package from the project, navigate to the Package -> APPX tab, review and update (if necessary) Application details, Indentity information, choose the digital signing option and click Build APPX. Find description of the APPX settings below in the table.
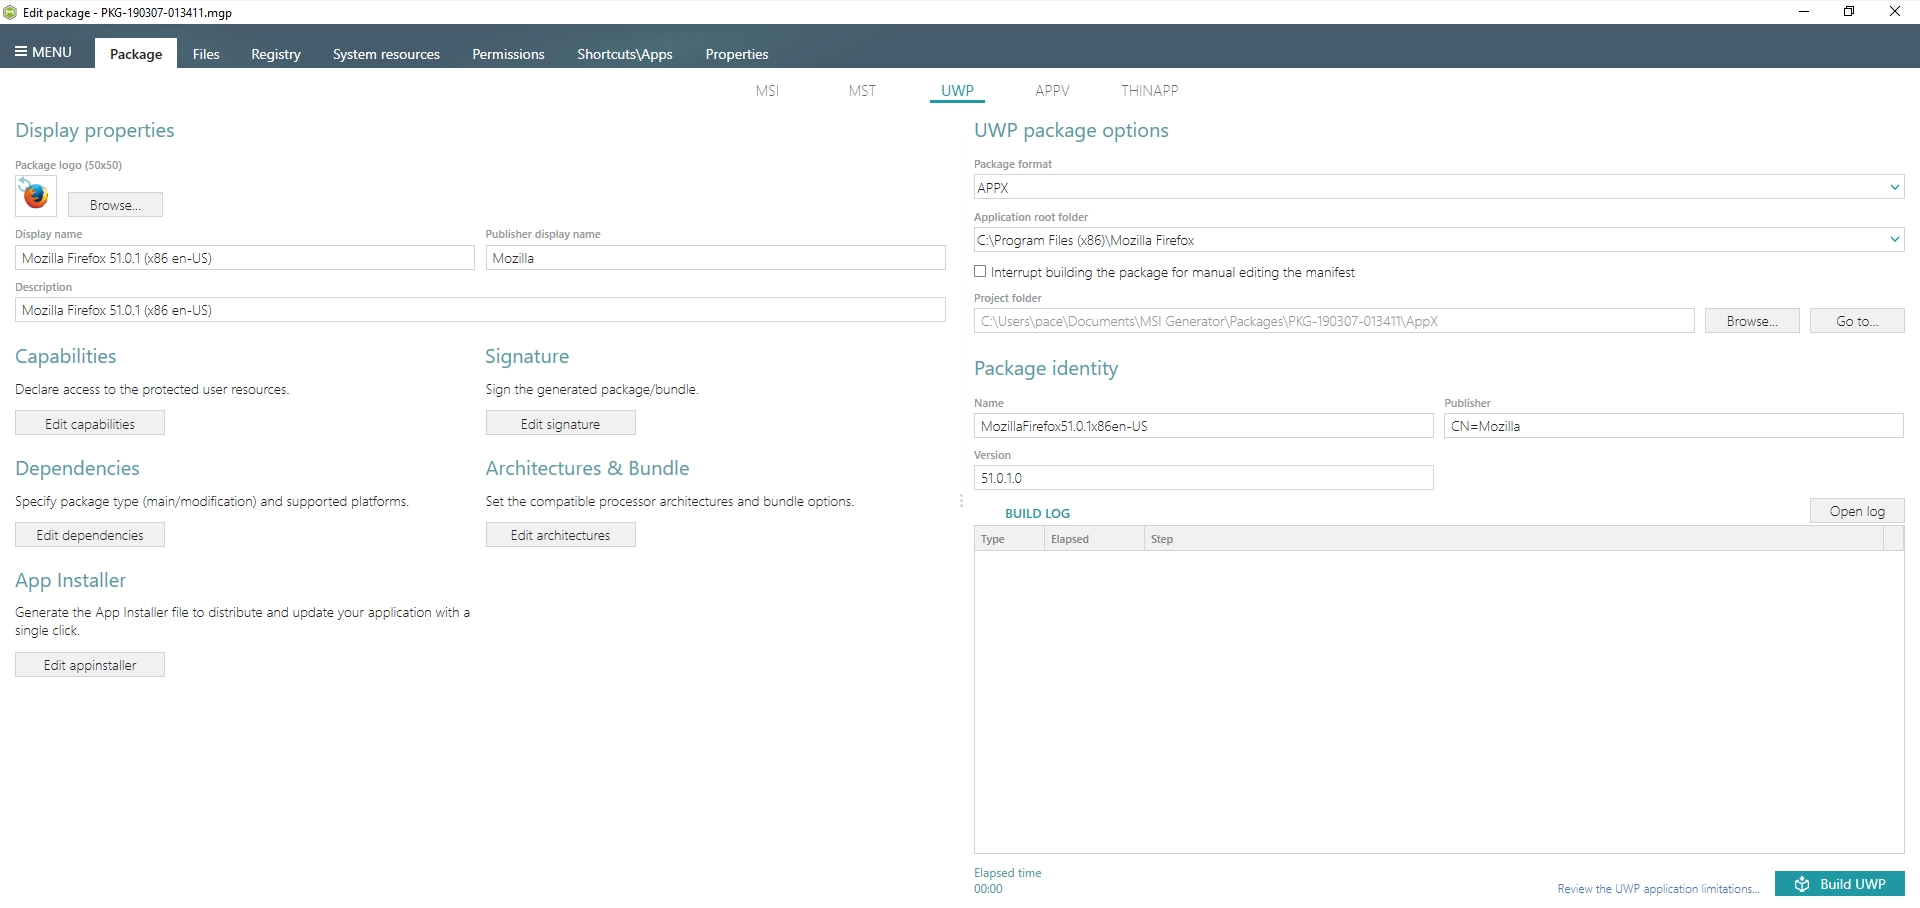
Application details
Display name. A friendly name of the package that can be displayed to users.Publisher display name. A friendly name for the publisher of the package that can be displayed to users.
Description. A friendly description that can be displayed to users.
Application root folder. A location of the main application folder. The content of the selected folder will be placed in the package root, instead of VFS.
Logo (50×50). A logo image of the package that can be displayed to users.
Signature
Do not sign the package. Use this option if you are planning to submit the package to Windows Store or sign it manaully.Sign the package with my certificate. Use this option to sign the generated package with the valid certificate that you already have.
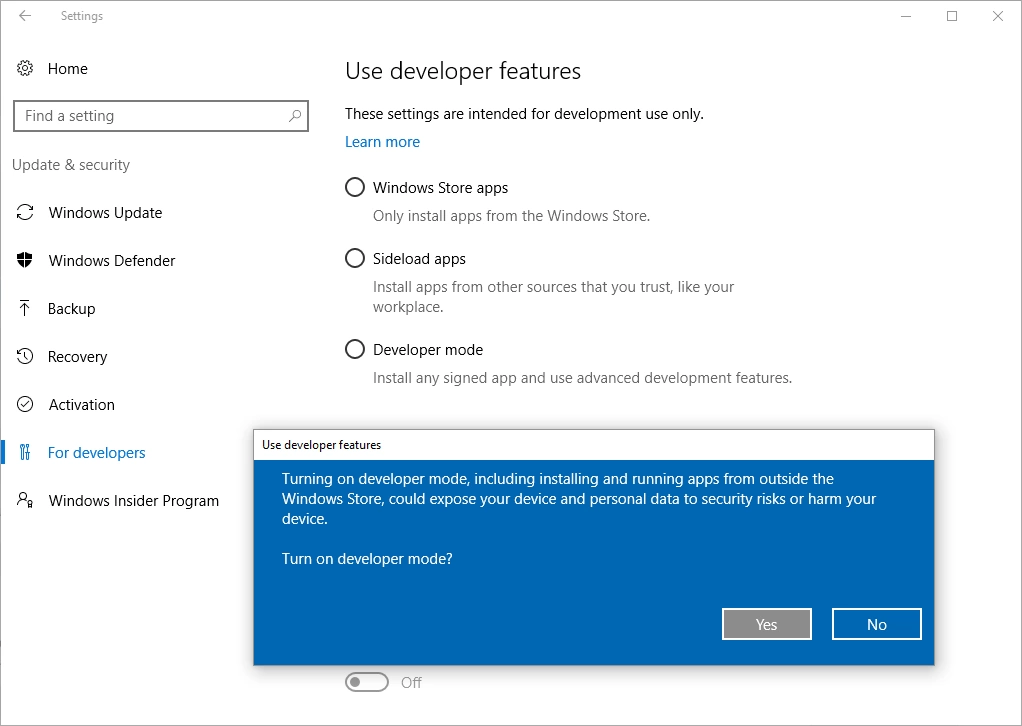
Sign the package with an auto-generated self-signed certificate. Use this option to generate the self-signed certificate and sign the package with this certificate. NOTE In order to deploy your package, install the generated certificate before (double-click the auto-generated.pfx file, and in the Certificate Import Wizard, install the certificate onto the Local Machine, and place the certificate in the Trusted People certificate store) and enable the Developer mode in Windows settings, as described in the next step.
Identity information
Name. Describes the contents of the package.Мersion. The version number of the package.
Publisher. Describes the publisher information. The Publisher attribute must match the publisher subject information of the certificate used to sign a package.
Processor architecture. Describes the architecture of the code contained in the package.
If you decide to convert EXE to APPX package with the Sign the package with the auto-generated self-signed certificate option selected, do not forget to install that generated certificate to the Trusted People certificate store and enable the Developer mode in the Windows settings to install the self-signed package.
Click Go to…, located next to the Project folder field, to open the package containing folder in Windows Explorer.
That is all you need to do to convert EXE to APPX package for Desktop Bridge using PACE Suite. Download a free PACE Suite trial now to try creating UWP app packages yourself and contact iur support in case you have any questions.